By The Power Of UnRAID – The Secret Reveal Of ESXi And Windows 11 VMs
For the last few episodes of Hancock’s VMware Half Hour, we have been quietly building something a little different.
On the surface it looked like a simple DIY UNRAID NAS project and a couple of Windows 11 P2V demonstrations.
In reality, everything was running inside virtual machines on an UnRAID host.
In Part 7 of the DIY UNRAID NAS series, we finally pull back the curtain and reveal what has really been powering the lab:
UnRAID running nested ESXi and Windows 11 VMs, complete with PCI passthrough.
This post walks through the idea behind the episode, how it ties back to earlier parts, and why I keep saying,
“By the power of UnRAID.”
Recap: Parts 6, 100 and 101
If you have been following along you will have seen:
Part 6 – Installing and testing Samsung 990 PRO NVMe drives in the Intel NUC based NAS.
Part 100 – Performing P2V migrations of Windows 11 systems.
Part 101 – Continuing the Windows 11 P2V work and refining the process.
In those episodes the star of the show appeared to be a physical Windows 11 machine and a separate ESXi host called ESXi052.
In Part 7 we reveal that this was deliberately misleading. Both the Windows 11 system and the ESXi host were in fact virtual machines.
The Secret: Everything Was A Virtual Machine
Part 7 opens by jumping back to those previous episodes and then revealing the twist:
The “physical” Windows 11 machine you saw on screen was actually a Windows 11 VM.
The ESXi host ESXi052 that we used for P2V work was also a VM.
The same VM was used in Part 6 when we installed and tested the NVMe drives.
In other words, the entire recent run of content has been driven by virtual machines on UnRAID.
The NVMe upgrades, the Windows 11 P2Vs, and the ESXi demonstrations were all happening inside VMs, not on bare metal.
Windows 11 With PCI Passthrough
One of the key enabling features in this setup is PCI passthrough on UnRAID.
By passing through hardware devices such as NVMe controllers or GPUs directly into a Windows 11 VM,
we can test and demonstrate “bare metal like” performance while still keeping everything virtual.
In the video we show Windows 11 running with PCI passthrough on UnRAID, giving the VM direct access to the hardware.
This is ideal for lab work, testing, and for scenarios where you want to push a homelab system without dedicating separate physical machines.
Nested ESXi 8.0 On UnRAID
The next part of the reveal is nested virtualization.
UnRAID is hosting a VMware vSphere Hypervisor ESXi 8.0 VM which in turn can run its own VMs.
This gives an incredibly flexible environment:
UnRAID manages the storage, cache, parity and core virtual machine scheduling.
ESXi runs nested on top for VMware specific testing and lab work.
Windows 11 runs as another VM on the same UnRAID host, with PCI passthrough as needed.
With this approach a single Intel NUC based NAS can simulate a much larger lab
while still being compact and power efficient.
By The Power Of UnRAID
To celebrate the reveal I created a fun meme inspired by the classic “By the power of Grayskull” scene.
In our version, “By the power of UnRAID” raises ESXi and Windows 11 high above the NUC,
showing that UnRAID is the platform empowering the whole setup.
Whether you are running nested ESXi, Windows 11 with PCI passthrough, or a mixture of containers and VMs,
UnRAID makes it straightforward to combine storage flexibility with powerful virtualization features.
The Power Of UnRAID In The Homelab
The big takeaway from Part 7 is simple:
A single UnRAID host can consolidate multiple roles: NAS, hypervisor, and workstation.
You can experiment with ESXi 8.0, Windows 11, and PCI passthrough without building a large rack of servers.
By keeping everything virtual you gain snapshots, flexibility, and the ability to rebuild or clone systems quickly.
For homelab enthusiasts, students, and anyone who wants to learn VMware or Windows 11 in depth,
this approach offers a lot of power in a very small footprint.
Watch The Episode
If you want to see the full walkthrough, including the moment the secret is revealed,
watch Part 7 of the DIY UNRAID NAS series on Hancock’s VMware Half Hour.
You will see exactly how the Windows 11 VM, the nested ESXi host, and UnRAID all fit together.
Conclusion
Part 7 closes the loop on a long running lab story.
What looked like separate physical systems were really virtual machines,
carefully layered on top of an UnRAID powered NAS.
By the power of UnRAID, we have been able to demonstrate NVMe upgrades, Windows 11 P2Vs, and ESXi 8.0 testing
all on a single compact platform.
If you are planning a new homelab or want to refresh an existing one,
consider what UnRAID plus nested ESXi and Windows 11 VMs could do for you.
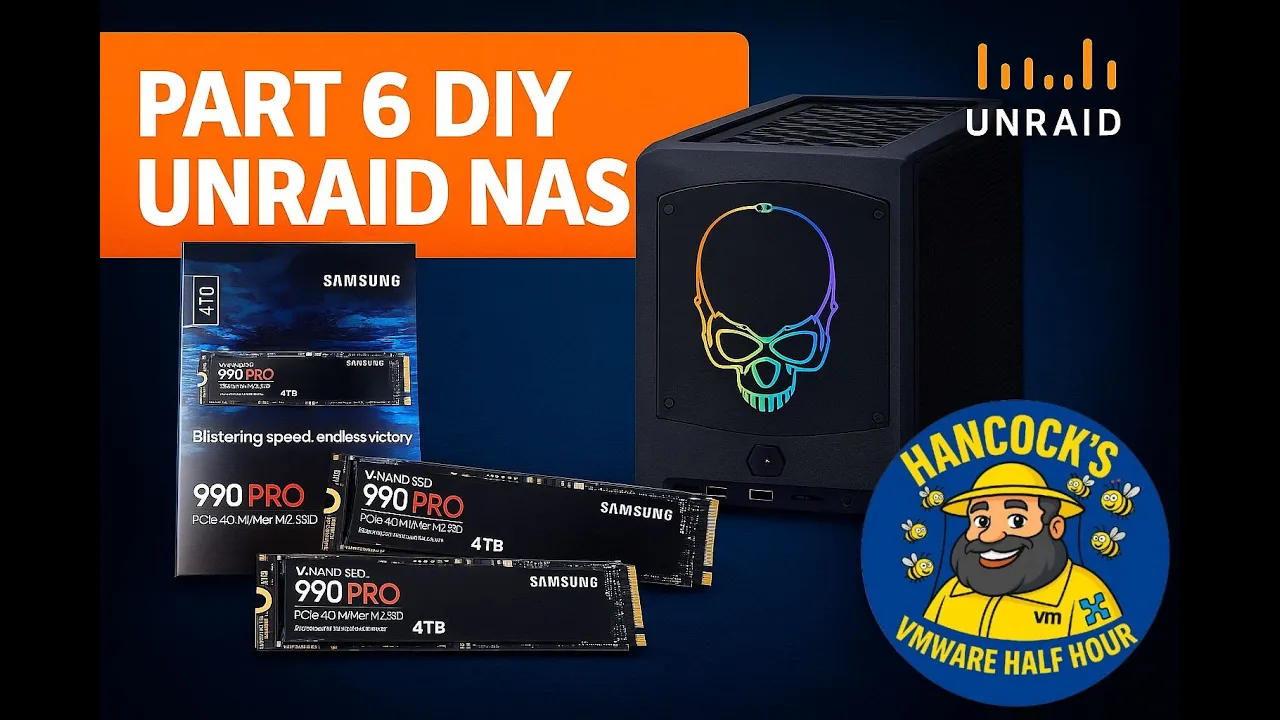
Welcome back to Hancock’s VMware Half Hour and to Part 6 of the DIY UNRAID NAS build series.
In this episode I install two Samsung 990 PRO Gen 4 NVMe M.2 SSDs into the Intel NUC 11 Extreme.
The NUC 11 Extreme has a surprisingly capable NVMe layout, providing:
2 × PCIe Gen 4 NVMe slots
2 × PCIe Gen 3 NVMe slots
The video walks through verifying the drives, opening the NUC, accessing both NVMe bays, and installing each SSD step-by-step, including the compute board NVMe slot that is a little more awkward to reach.
The episode finishes in Windows 11 where the drives are validated using Disk Manager and Samsung Magician to confirm that both NVMe SSDs are genuine.
What Is Covered in Part 6
Checking the authenticity of Samsung 990 PRO NVMe SSDs
Accessing both the bottom and compute-board NVMe slots in the Intel NUC 11 Extreme
Installing and securing each NVMe stick
Reassembling the NUC 11 Extreme, including panels, shrouds, NIC and PCIe bracket
Confirming both NVMe drives in Windows 11
Using Samsung Magician to verify that the drives are genuine
Preparing the NVMe storage for use in later parts of the UNRAID NAS series
Chapters
00:00 - Intro
00:07 - Welcome to Hancock's VMware Half Hour
00:29 - In Part 6 we are going to fit Samsung 990 PRO NVMe
01:24 - Intel NUC 11 Extreme has 2 x Gen3, 2 x Gen4 slots
01:45 - Check the NVMe are genuine
04:20 - Intel NUC 11 Extreme - open NVMe bottom panel
05:23 - Install first NVMe stick
06:33 - Remove NVMe screw
07:06 - Insert and secure NVMe stick
07:30 - Secure bottom NVMe panel cover
08:40 - Remove PCIe securing bracket
08:54 - Remove side panel
09:11 - Remove NIC
09:44 - Remove fan shroud
09:59 - Open compute board
12:23 - Installing the second NVMe stick
14:36 - Secure NVMe in slot
16:26 - Compute board secured
19:04 - Secure side panels
20:59 - Start Windows 11 and login
21:31 - Check in Disk Manager for NVMe devices
22:40 - This Windows 11 machine is the machine used in Part 100/101
22:44 - Start Disk Management to format the NVMe disks
23:43 - Start Samsung Magician to confirm genuine
25:25 - Both NVMe sticks are confirmed as genuine
25:54 - Thanks for watching
About This Build
This DIY NAS series focuses on turning the Intel NUC 11 Extreme into a compact but powerful UNRAID NAS with NVMe performance at its core.
The Samsung 990 PRO NVMe drives installed in this part will provide a significant uplift in storage performance and will feature heavily in later episodes when the NAS is tuned and benchmarked.
Support the Series
If you are enjoying the series so far, please consider supporting the channel and the content:
Like the video on YouTube
Subscribe to the channel so you do not miss future parts
Leave a comment or question with your own experiences or suggestions
Follow along for Parts 7, 8, 9 and beyond
Thank you for watching and for following the build.
Enjoy the build and stay tuned for upcoming parts where we continue configuring UNRAID and optimising the NAS.
Do not forget to like, comment and subscribe for more technical walkthroughs and builds.
DIY UnRAID NAS Build – Part 4: Installing a 10GBe Intel X710-DA NIC (Plus an Outtake!)
Welcome back to another instalment of my DIY UnRAID NAS Build series.
If you have been following along, you will know this project is built around an Intel NUC chassis that I have been carefully (and repeatedly!) taking apart to transform into a compact but powerful UnRAID server.
In Part 4, we move on to a major upgrade: installing a 10GBe Intel X710-DA network interface card. And yes, the eagle-eyed among you will notice something unusual at the beginning of the video, because this episode starts with a blooper. I left it in for your entertainment.
A Fun Outtake to Start With
Right from the intro, things get a little chaotic. There is also a mysterious soundtrack playing, and I still do not know where it came from.
If you can identify it, feel free to drop a comment on the video.
Tearing Down the Intel NUC Again
To install the X710-DA NIC, the NUC requires almost complete disassembly:
Remove the back plate
Remove the backplane retainer
Take off the side panels
Open the case
Remove the blanking plate
Prepare the internal slot area
This NUC has become surprisingly modular after taking it apart so many times, but it still puts up a fight occasionally.
Installing the Intel X710-DA 10GBe NIC
Once the case is stripped down, the NIC finally slides into place. It is a tight fit, but the X710-DA is a superb card for a NAS build:
Dual SFP+ ports
Excellent driver support
Great performance in VMware, Linux, and Windows
Ideal for high-speed file transfers and VM workloads
If you are building a NAS that needs to move data quickly between systems, this NIC is a great option.
Reassembly
Next, everything goes back together:
Side panels reinstalled
Back plate fitted
Case secured
System ready for testing
You would think after doing this several times I would be quicker at it, but the NUC still has a few surprises waiting.
Booting into Windows 11 and Driver Issues
Once everything is reassembled, the NUC boots into Windows 11, and immediately there is a warning:
Intel X710-DA: Not Present
Device Manager confirms it. Windows detects that something is installed, but it does not know what it is.
Time to visit the Intel website, download the correct driver bundle, extract it, and install the drivers manually.
After a reboot, success. The NIC appears correctly and is fully functional.
Why 10GBe
For UnRAID, 10GBe significantly improves:
VM migrations
iSCSI and NFS performance
File transfers
Backup times
SMB throughput for Windows and macOS clients
It also future-proofs the NAS for any future network upgrades.
The Mystery Soundtrack
Towards the end of the video I ask again: what is the music playing in the background?
I genuinely have no idea, so if you recognise it, please leave a comment on the video.
Watch the Episode
You can watch the full episode, including all teardown steps, NIC installation, Windows troubleshooting, and the blooper, here:
Thank You for Watching and Reading
Thank you for following along with this NAS build.
Part 5 will continue the series, so stay tuned.
If you have built your own UnRAID NAS or have a favourite NIC for homelab projects, feel free to comment and share your experience.
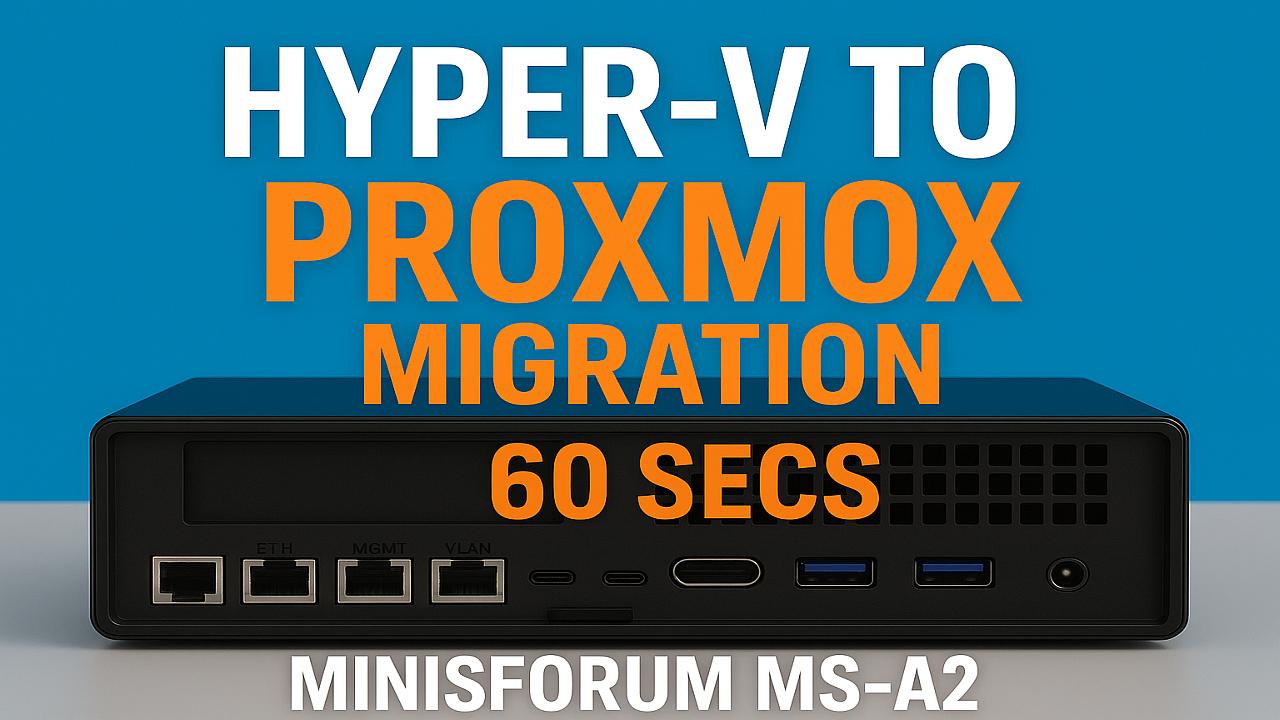
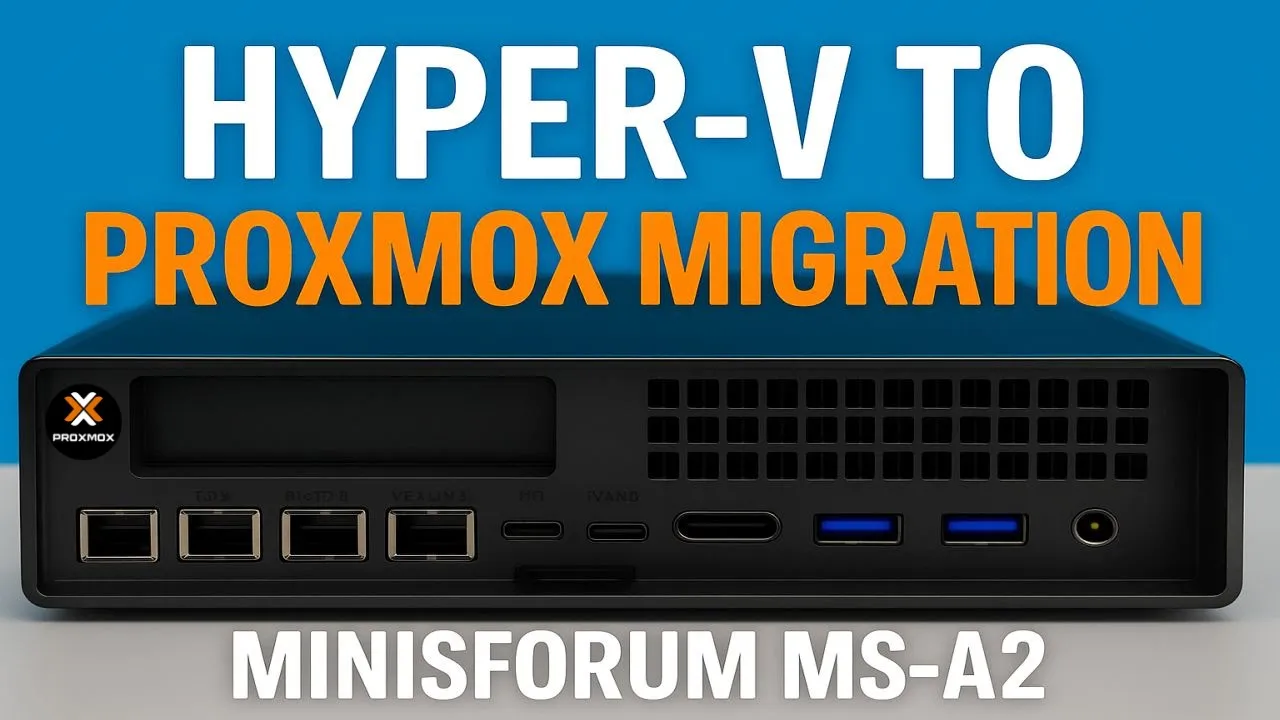
Minisforum MS-A2 Hyper-V to Proxmox 9.0 Migration Minisforum MS-A2 Series Part 15 Ultimate #homelab
In this episode of Hancock’s VMware Half Hour, I walk you through migrating Hyper-V virtual machines to Proxmox 9.0 on the Minisforum MS-A2.
We’ll cover connecting to the Proxmox server via SSH, exploring datastores, working with VHDX files, and running migration demos—including moving a full VM in under 60 seconds! This step-by-step guide shows how easy it is to transition workloads from Hyper-V into Proxmox for your #homelab or production environment.
Whether you’re testing, learning, or planning a migration, this video gives you the tools and knowledge to make it happen smoothly.
Scripts are here on GitHub – https://github.com/einsteinagogo/Hyper-VtoProxmoxMigration.git
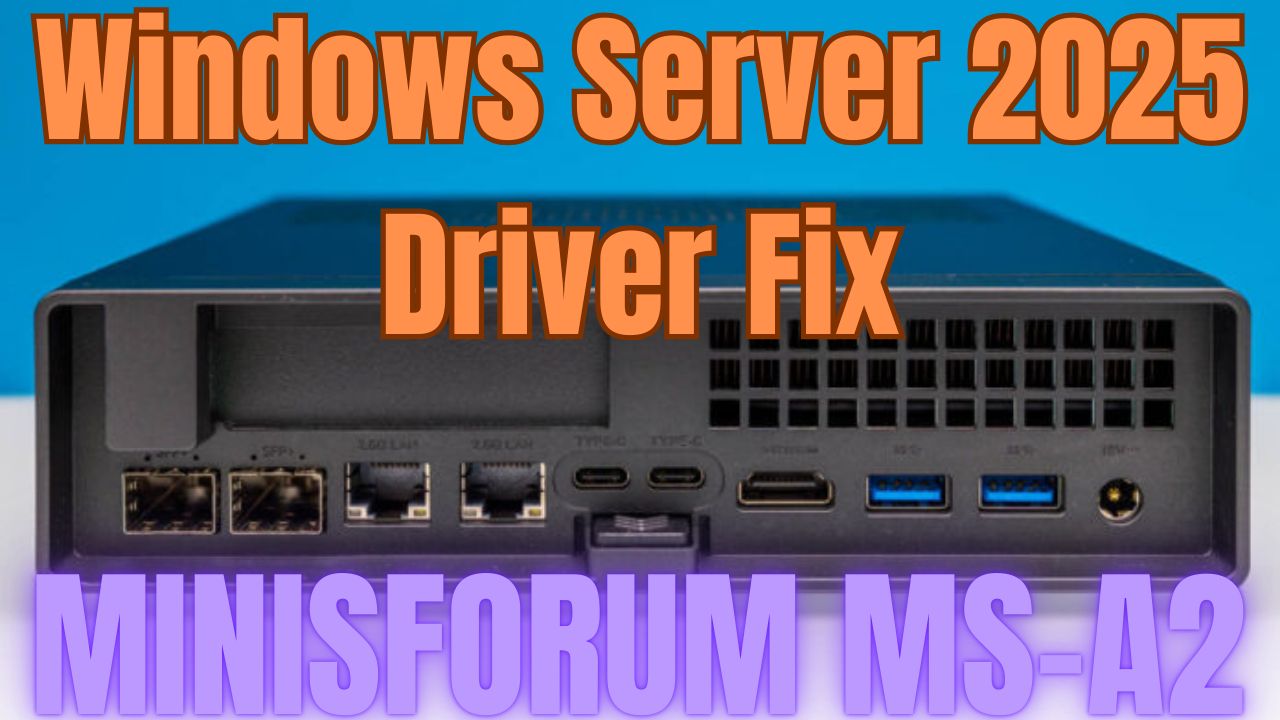
Minisforum MS-A2 Windows Server 2025 Driver Fix Minisforum MS-A2 Series Part 13 Ultimate #homelab
In this episode of the Minisforum MS-A2 Ultimate #homelab series, I walk you through fixing missing drivers in Windows Server 2025 on the MINISFORUM MS-A2. From troubleshooting Device Manager issues to installing the AMD chipset drivers, PSP device, SMBus controller, GPU drivers, and Microsoft Pluton driver, this video will help you get your MS-A2 running smoothly on Server 2025.
Along the way, I also highlight some community contributions, share key tips like disabling power saving mode, and test the latest AMD Software: PRO Edition 25.Q2 for GPU support.
What you’ll learn in this video:
How to fix missing drivers in Windows Server 2025 on the Minisforum MS-A2
Which drivers are required: AMD PSP, SMBus, GPU, Microsoft Pluton
Why you must disable power saving mode for stability
How to install AMD Software: PRO Edition 25.Q2 for GPU support
Special thanks to the community:
LoCo (Scott Fell) for the T-shirt
Jason Macialek
Mark Howell
Perfect for homelab enthusiasts, VMware users, and anyone testing Windows Server 2025 on Minisforum MS-A2.
Don’t forget to like, comment, and subscribe for more VMware + homelab content from Hancock’s VMware Half Hour!
Barebone Minisforum MS-A2 https://amzn.to/3GEoiOA
Crucial DDR5 RAM 96GB Kit (2x48GB) 5600MHz SODIMM https://amzn.to/3Uatfl4
Crucial DDR5 RAM 128GB Kit (2x64GB) 5600MHz SODIMM,https://amzn.to/3Uhef4U
Samsung 990 PRO with Heatsink https://amzn.to/4ePjYsr
Crucial P310 NVMe 1TB 2230 M.2 SSD https://amzn.to/44x055Y
NFHK M.2(A+E Key) 2230MM to NVME M-Key Extension Card Adapter for Motherboard NVME SSD Hard Drive Port Extension 2230/2242/2260/2280MM https://amzn.to/3Ix7rxz
MINISFORUM DEG1 Docking Station, PCIe x16 (PCIe4.0x4), Force Power On, ATX/SFX Power https://amzn.to/41pIYAQ
Purchases made through some store links may provide some compensation to Hancock’s VMware Half Hour
Enjoying the content? Support me with an espresso coffee! Buy Me an Espresso Coffee! – https://buymeacoffee.com/einsteinagogo
Donate – https://www.paypal.com/paypalme/AndrewHancock
Want to support British beekeeping? Get RAW PURE honey here! https://meltonbyhoney.com/ Sorry UK only, unless demand increases to international destinations!
Minisforum MS-A2 Can it Play Doom The Dark Ages Minisforum MS-A2 Series Part 8 Ultimate #homelab
DOOM: The Dark Ages Demo on a Minisforum MS-A2 + RTX 3090 eGPU!? ?
You read that right — I’ve upgraded the tiny Minisforum MS-A2 with a serious punch: an OcuLink-connected eGPU dock and a NVIDIA RTX 3090. Now the question is… can it finally handle DOOM: The Dark Ages?
In this video, I run the DOOM: The Dark Ages demo on this mini PC beast-hybrid and test just how much performance you can squeeze out of a small form-factor PC when paired with high-end external graphics.
?? System Setup:
Minisforum MS-A2 (Ryzen AI Mini PC)
Minisforum eGPU Dock with OcuLink
NVIDIA RTX 3090 GPU
128GB RAM, NVMe SSD
Windows 11
? What You’ll See:
Full DOOM: The Dark Ages demo gameplay
Performance stats, FPS, temps
Commentary on eGPU setup, compatibility, and bottlenecks
Was it worth upgrading the MS-A2 with an RTX 3090?
? Have questions about the eGPU dock, OcuLink, or the MS-A2? Drop them in the comments!
? Like, Subscribe, and turn on notifications if you love seeing small PCs pushed to the limit.
Purchase a #homelab here
Barebone Minisforum MS-A2 https://amzn.to/3GEoiOA
Crucial DDR5 RAM 96GB Kit (2x48GB) 5600MHz SODIMM https://amzn.to/3Uatfl4
Crucial DDR5 RAM 128GB Kit (2x64GB) 5600MHz SODIMM,https://amzn.to/3Uhef4U
Samsung 990 PRO with Heatsink https://amzn.to/4ePjYsr
Crucial P310 NVMe 1TB 2230 M.2 SSD https://amzn.to/44x055Y
NFHK M.2(A+E Key) 2230MM to NVME M-Key Extension Card Adapter for Motherboard NVME SSD Hard Drive Port Extension 2230/2242/2260/2280MM https://amzn.to/3Ix7rxz
MINISFORUM DEG1 Docking Station, PCIe x16 (PCIe4.0x4), Force Power On, ATX/SFX Power https://amzn.to/41pIYAQ
Purchases made through some store links may provide some compensation to Hancock’s VMware Half Hour
? Enjoying the content? Support me with an espresso coffee! ? Buy Me an Espresso Coffee! – https://buymeacoffee.com/einsteinagogo
Donate – https://www.paypal.com/paypalme/Andre…
? Want to support British beekeeping? Get RAW PURE honey here! ?https://meltonbyhoney.com/ Sorry UK only, unless demand increases to international destinations!
In today’s video, I ask the age-old question: Can it run DOOM?
Spoiler: Classic DOOM (1993)? Oh yeah — it runs great. Smooth, fast, and just as demon-slaying as ever.
DOOM: The Dark Ages though? ? …Well, that’s a different story.
I test out the Minisforum MS-A2, a compact mini PC powered by AMD’s latest tech, to see how it handles both the original retro shooter and the upcoming next-gen entry in the DOOM franchise. From pixelated corridors to modern hellscapes, how far can this tiny system go?
Specs Overview:
CPU: AMD Ryzen™ 9 9955HX
GPU: AMD 610 Radeon Graphics 2GB
RAM/Storage: 128GB RAM/Samsung 990 PRO 1TB NVMe M.2 SSD
What You’ll See:
Running Classic DOOM
Attempting to tackle DOOM: The Dark Ages
Honest performance impressions
A few laughs along the way
Purchase a #homelab here
Barebone Minisforum MS-A2 https://amzn.to/3GEoiOA
Crucial DDR5 RAM 96GB Kit (2x48GB) 5600MHz SODIMM https://amzn.to/3Uatfl4
Crucial DDR5 RAM 128GB Kit (2x64GB) 5600MHz SODIMM,https://amzn.to/3Uhef4U
Samsung 990 PRO with Heatsink https://amzn.to/4ePjYsr
Crucial P310 NVMe 1TB 2230 M.2 SSD https://amzn.to/44x055Y
NFHK M.2(A+E Key) 2230MM to NVME M-Key Extension Card Adapter for Motherboard NVME SSD Hard Drive Port Extension 2230/2242/2260/2280MM https://amzn.to/3Ix7rxz
Purchases made through some store links may provide some compensation to Hancock’s VMware Half Hour
Enjoying the content? Support me with an espresso coffee! ? Buy Me an Espresso Coffee! – https://buymeacoffee.com/einsteinagogo
Donate – https://www.paypal.com/paypalme/AndrewHancock
Want to support British beekeeping? Get RAW PURE honey here! ?https://meltonbyhoney.com/ Sorry UK only, unless demand increases to international destinations!
In Part 6 of the Minisforum MS-A2 Series, we show you how to migrate VMware ESXi Virtual Machines (VMs) to Microsoft Hyper-V on Windows Server 2025 — using the powerful and compact Minisforum MS-A2 as the ultimate homelab platform.
This video features Veeam Backup & Replication v12.3 to safely back up your ESXi VMs and restore them directly to Hyper-V. It’s a clean and efficient migration method for anyone exploring life after VMware.
Whether you’re planning a full platform switch or testing a hybrid setup, you’ll find practical, step-by-step guidance from backup to restore — with key gotchas and tips throughout.
In this episode, you’ll learn:
Preparing VMware ESXi VMs for migration
Creating backups using Veeam v12.3
Restoring backups to Microsoft Hyper-V
Configuring networking, storage, and integration services
Post-migration testing and optimization
Real-world advice for homelabbers and IT professionals
Perfect for #homelab enthusiasts, sysadmins, and IT pros evaluating alternatives to VMware.
Got questions or want to share your experience? Drop a comment below!
Like this video if it helped you
Subscribe and hit the bell to follow the full MS-A2 homelab journey
Hey everyone — welcome back to Andysworld!, where there’s always something bubbling in the pot (usually tech-flavoured, sometimes coffee, sometimes bees).
500 Hacks a Day — Mission Accomplished!
After a consistent streak of daily pwnage, I’ve finally hit 500 hacks a day on TryHackMe! It’s been an epic ride, sharpening my skills and staying sharp in the ever-evolving world of cybersecurity. But… that’s it for now. As much as I’ve loved the challenge, life’s too hectic to keep up the daily grind — and honestly, it’s time to re-balance.
If you’ve not tuned into Hancock’s VMware Half Hour yet, what are you doing? ? The YouTube channel is keeping me plenty busy — but it’s worth every minute. From real-world scenarios to community spotlights and the latest from the VMwareverse, it’s been great to share stories, learn, and laugh with fellow techies around the world.
Catch the next episode if you haven’t already — things are just heating up.
vExpert PRO – 5 Years Strong!
Big news landed this month — I’m proud (and humbled) to announce that I’ve been recognised as a VMware vExpert PRO for the fifth year running. Not only that, but I’ve also picked up the vExpert VCF badge, too!
This recognition means a lot — it’s not just about titles; it’s about community, contribution, and passion. The vExpert family has been a huge part of my journey, and it’s an honour to continue helping others grow and succeed in the ecosystem.
and that’s not forget the Bees !
Beekeeping at Meltonby Honey
Bees are a mixed bag this is to say, some are doing really well, and some are not doing so well, so this month of June, in the June Gap – need to start sorting out and selecting hives to work this Summer, and dare I say it starting Winter preparations, and a week today attend a Bee Health Day, sponsored by DEFRA !
That’s it for now — life’s buzzing, tech is flying, and the blog never sleeps (even if I do). Thanks to everyone who’s been along for the ride so far.
Until next time — stay curious, stay hacking, and don’t forget to say “What’s Occurin’?” ?
If you’ve been following me for a while — either here on Andysworld! or on social — you’ll probably have noticed I’ve got a bit of a thing for TryHackMe. That’s right: the gamified, hands-on cybersecurity platform that lets you “learn hacking the fun way.”
While I’ve worn many hats over the years — from building corporate desktops in the 90s to deploying Thin Clients, backing VMware before it was cool, and even keeping bees in my spare time — I’ve always had a quiet curiosity for cybersecurity.
But in recent years, that curiosity has turned into something more structured. I’ve been diving head-first into daily challenges, CTFs, and red team/blue team rooms on TryHackMe. Every day I log in and test my “hacking” and “penetration” skills. (Legally, of course. Let’s not get too excited.)
Why TryHackMe?
Simple: it’s accessible, addictive, and just plain fun. The platform breaks down complicated security concepts into digestible learning paths and real-world scenarios. Whether you’re into Linux fundamentals, web app hacking, or breaking into Windows environments, there’s something for everyone — and something new to learn every day.
I started with a few easy rooms — some were fun, some had me questioning my life choices — but before long I found myself chasing streaks, solving buffer overflows, exploiting SQL injections, and pivoting through internal networks like it was second nature. It’s part puzzle, part education, and part thrill.
That Daily Streak… and the Climb
I’ll admit it: I got hooked on the daily streak. There’s something about seeing that little flame icon next to your
name that sparks a sense of achievement. Each day I carve out time to complete at least one room, even if it’s a short task or a simple walkthrough. And in doing so, I’ve kept my streak alive and sharpened my skills without ever feeling like it’s a chore.
And here’s the kicker — recently, after being ranked #1,060 out of over 3 million TryHackMe users, I finally cracked the four-digit barrier and rose to #998! Top 1,000 in the world. Not bad for a “beekeeper with a hacking habit,” eh?
Oh — and right now, I’m sitting on a 461-day hacking streak. That’s right. 461 consecutive days of training, solving, cracking, and learning. I’m not far off the 500-day HackStreak badge, and believe me — I will get there. It’s part stubbornness, part obsession, but mostly just a whole lot of fun.
What’s Next?
Honestly, I’d love to get into some deeper reverse engineering, exploit development, and maybe even take on some of the harder red team labs. And who knows — maybe I’ll finally take a proper cert (OffSec, I’m looking at you) just to prove to myself I can.
TryHackMe has rekindled my passion for hands-on learning, just like Experts Exchange did in the early days. It’s reminded me that whether you’re troubleshooting snapshots, spinning up ESXi hosts, or brute-forcing a login page, there’s always more to learn.
Whether you’re an old-school sysadmin like me, a student just starting out, or someone who’s just curious about hacking without getting arrested — I highly recommend giving TryHackMe a spin.
And if you’re already in the game — drop me a message. I’ll see you on the leaderboard ?
Want me to whip up a graphic showing your current rank and streak progress? I can give it that polished blog badge feel.


![[Valid RSS]](http://andysworld.org.uk/images/valid-rss.png "Validate my RSS feed")