Minisforum MS-A2 HOW TO: Fix the Failed to Update CPU#0 Microcode PSOD with ESXi 8.0.3i ESXi 8.0u3i
HOW TO: Fix “Failed to update CPU#0 microcode” PSOD on ESXi 8.0.3i (Minisforum MS-A2)
In this guide from Hancock’s VMware Half Hour, I demonstrate how to fix the Purple Screen of Death (PSOD) error:
“Failed to update CPU#0 microcode”
This issue occurs when installing or booting VMware ESXi 8.0 Update 3i (ESXi 8.0.3i)
on the Minisforum MS-A2 mini workstation.
ESXi 8.0.3i, released on 2 March 2026, includes security fixes for CVE-2025-15467, an OpenSSL vulnerability. If you are running ESXi and have not
patched yet, you should update as soon as possible.
However, this update also includes new AMD CPU microcode updates, which currently
appear to trigger a PSOD during boot on the Minisforum MS-A2 platform.
The Problem
When booting the ESXi 8.0.3i installer (for example from Ventoy) on the
Minisforum MS-A2, the system may fail during boot with the following PSOD message:
The system has found a problem on your machine and cannot continue.

Failed to update CPU#0 microcode
This prevents ESXi from completing the boot process or installer launch.
Why This Happens
The ESXi 8.0.3i update includes newer AMD microcode updates intended to improve
security and stability. Unfortunately, these updates currently appear to be incompatible with the MS-A2 platform, which results in the microcode update failing
during boot.
When the microcode update fails, ESXi halts the boot process and displays the PSOD.
The Workaround
Until VMware releases a permanent fix, the issue can be worked around by using a kernel boot option during ESXi startup.
Steps to Fix
Boot the ESXi 8.0.3i installer.
When the ESXi boot screen appears, press Shift + O.
This opens the ESXi boot options.
Add the required kernel option shown in the video.
Press Enter to continue booting.
With the boot option applied, ESXi should boot successfully on the Minisforum MS-A2.
Video Walkthrough
Watch the full walkthrough below where I demonstrate the issue and apply the workaround.
What You Will Learn
What changed in ESXi 8.0.3i
Why AMD microcode updates trigger a PSOD
How to reproduce the issue during boot
The Shift + O ESXi boot workaround
How to confirm the fix works successfully
Credits
Huge thanks to members of the VMware community who investigated and documented this issue:
Stephen Wagner
Patrick Kernstock
vAndu
Martin Gustafsson
Their research and testing helped identify the workaround shown in this video.
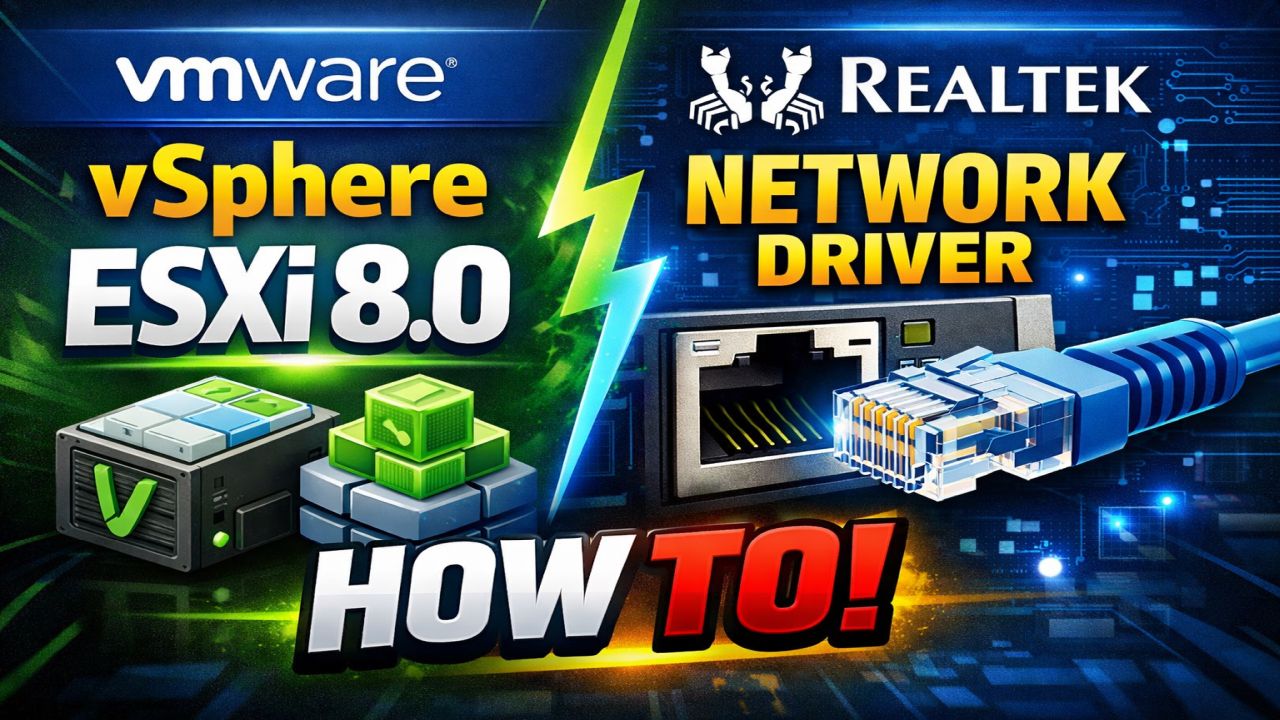
Minisforum MS-A2: How to Install the New Realtek Driver on VMware ESXi 9.0
Running VMware ESXi 9.0 on the Minisforum MS-A2 is a fantastic option for homelabs and edge deployments, but out of the box you may notice that not all Realtek network interfaces are detected.
In this guide, based on my latest episode of Hancock’s VMware Half Hour, I walk through installing the new Broadcom-compiled Realtek driver (available as an official Broadcom Fling) to unlock additional NIC support.
What This Guide Covers
Why Realtek NICs are limited by default on ESXi 9.0
Where to download the official Broadcom Fling driver
Installing the driver using esxcli
Rebooting safely and verifying NIC availability
Supported Realtek Network Adapters
The driver demonstrated in this guide supports the following Realtek PCIe devices:
RTL8111 – 1GbE
RTL8125 – 2.5GbE
RTL8126 – 5GbE
RTL8127 – 10GbE
Driver Installation Command
Once the driver ZIP has been copied to your ESXi datastore and the host is in maintenance mode, install it using:
After installation, a reboot is required for the new network interfaces to become available.
Video Chapters
00:00 - Start
00:03 - Welcome to Hancock's VMware Half Hour
00:37 - Todays video - HOW TO Install Realtek driver on ESXi 9.0
00:55 - Broadcom Released the Realtek Driver fling in November 2025
01:55 - Minisforum MS-A2 - VCF 9.0 Homelab of the Year 2025 !
02:26 - Available as a Broadcom Fling - Tech Preview - not for production
02:55 - I'm not a fan of Realtek let it be known!
03:11 - Go to Broadcom Fling Portal site to download - https://support.broadcom.com/group/ecx/productdownloads?subfamily=Flings&freeDownloads=true
03:22 - Download the driver don't forget to Accept the Agreement!
03:51 - Enable SSH on Host, and use WinSCP to copy to local datastore
04:31 - Whoops Zoom is broke again!
05:07 - Connect to host using SSH
05:22 - Use lspci to show PCI devices in the host
06:05 - Use grep - lspci | grep Realtek
07:01 - Install the driver using esxcli software component apply -d /VMware-Re-Driver_1.101.00-5vmw.800.1.0.20613240.zip
07:59 - A reboot is required, reboot the server
08:36 - Reboot server
09:20 - The reason for the 10th Outake !
10:01 - Login to ESXi 9.0 using HTML Client
10:51 - Realtek driver is installed and network interfaces are available for use
11:07 - HenryChan1973 this video is for you!
12:23 - Thanks for Watching
Final Thoughts
This Broadcom Fling makes ESXi 8.0 far more usable on modern mini PCs like the Minisforum MS-A2, especially for homelabbers who rely on multi-gig Realtek networking.
Huge thanks to Henrychan1973 for their contribution and support.
If this guide helped you, consider subscribing on YouTube and checking out more VMware content on the blog.
Minisforum MS-A2: How to Install the New Realtek Driver on VMware ESXi 8.0
Running VMware ESXi 8.0 on the Minisforum MS-A2 is a fantastic option for homelabs and edge deployments, but out of the box you may notice that not all Realtek network interfaces are detected.
In this guide, based on my latest episode of Hancock’s VMware Half Hour, I walk through installing the new Broadcom-compiled Realtek driver (available as an official Broadcom Fling) to unlock additional NIC support.
What This Guide Covers
Why Realtek NICs are limited by default on ESXi 8.0
Where to download the official Broadcom Fling driver
Installing the driver using esxcli
Rebooting safely and verifying NIC availability
Supported Realtek Network Adapters
The driver demonstrated in this guide supports the following Realtek PCIe devices:
RTL8111 – 1GbE
RTL8125 – 2.5GbE
RTL8126 – 5GbE
RTL8127 – 10GbE
Driver Installation Command
Once the driver ZIP has been copied to your ESXi datastore and the host is in maintenance mode, install it using:
After installation, a reboot is required for the new network interfaces to become available.
Video Chapters
00:00 - Intro
00:06 - Welcome to Hancock's VMware Half Hour
00:31 - Today’s Video – Minisforum MS-A2
01:01 - Installing the ESXi Realtek Driver for ESXi 8.0
01:16 - Shoutout to member Henrychan1973!
02:03 - HTML Client view of network interfaces
03:00 - Broadcom engineering compiled a driver for ESXi 8.0
04:00 - Driver is available as a Broadcom Fling
05:00 - Download the driver from Broadcom Fling portal
05:44 - WinSCP – Copy driver ZIP to ESXi datastore
06:14 - Put host into maintenance mode
07:11 - Only three interfaces supported out of the box on MS-A2
07:16 - Start an SSH session using PuTTY
07:34 - Using lspci | grep Realtek
08:22 - Supported Realtek PCIe devices
08:35 - Installing the driver using esxcli
09:59 - Whoops! Typo!
10:37 - Can you spot it?
11:08 - Driver installed – reboot required
11:27 - Nano KVM issue accepting root password?
11:41 - Reboot via the GUI
12:30 - MS-A2 restarting
13:42 - Driver installed and Realtek interfaces available
14:54 - Thanks to Henrychan1973!
15:15 - Thanks for watching
Final Thoughts
This Broadcom Fling makes ESXi 8.0 far more usable on modern mini PCs like the Minisforum MS-A2, especially for homelabbers who rely on multi-gig Realtek networking.
Huge thanks to Henrychan1973 !!!
If this guide helped you, consider subscribing on YouTube and checking out more VMware content on the blog.
By The Power Of UnRAID – The Secret Reveal Of ESXi And Windows 11 VMs
For the last few episodes of Hancock’s VMware Half Hour, we have been quietly building something a little different.
On the surface it looked like a simple DIY UNRAID NAS project and a couple of Windows 11 P2V demonstrations.
In reality, everything was running inside virtual machines on an UnRAID host.
In Part 7 of the DIY UNRAID NAS series, we finally pull back the curtain and reveal what has really been powering the lab:
UnRAID running nested ESXi and Windows 11 VMs, complete with PCI passthrough.
This post walks through the idea behind the episode, how it ties back to earlier parts, and why I keep saying,
“By the power of UnRAID.”
Recap: Parts 6, 100 and 101
If you have been following along you will have seen:
Part 6 – Installing and testing Samsung 990 PRO NVMe drives in the Intel NUC based NAS.
Part 100 – Performing P2V migrations of Windows 11 systems.
Part 101 – Continuing the Windows 11 P2V work and refining the process.
In those episodes the star of the show appeared to be a physical Windows 11 machine and a separate ESXi host called ESXi052.
In Part 7 we reveal that this was deliberately misleading. Both the Windows 11 system and the ESXi host were in fact virtual machines.
The Secret: Everything Was A Virtual Machine
Part 7 opens by jumping back to those previous episodes and then revealing the twist:
The “physical” Windows 11 machine you saw on screen was actually a Windows 11 VM.
The ESXi host ESXi052 that we used for P2V work was also a VM.
The same VM was used in Part 6 when we installed and tested the NVMe drives.
In other words, the entire recent run of content has been driven by virtual machines on UnRAID.
The NVMe upgrades, the Windows 11 P2Vs, and the ESXi demonstrations were all happening inside VMs, not on bare metal.
Windows 11 With PCI Passthrough
One of the key enabling features in this setup is PCI passthrough on UnRAID.
By passing through hardware devices such as NVMe controllers or GPUs directly into a Windows 11 VM,
we can test and demonstrate “bare metal like” performance while still keeping everything virtual.
In the video we show Windows 11 running with PCI passthrough on UnRAID, giving the VM direct access to the hardware.
This is ideal for lab work, testing, and for scenarios where you want to push a homelab system without dedicating separate physical machines.
Nested ESXi 8.0 On UnRAID
The next part of the reveal is nested virtualization.
UnRAID is hosting a VMware vSphere Hypervisor ESXi 8.0 VM which in turn can run its own VMs.
This gives an incredibly flexible environment:
UnRAID manages the storage, cache, parity and core virtual machine scheduling.
ESXi runs nested on top for VMware specific testing and lab work.
Windows 11 runs as another VM on the same UnRAID host, with PCI passthrough as needed.
With this approach a single Intel NUC based NAS can simulate a much larger lab
while still being compact and power efficient.
By The Power Of UnRAID
To celebrate the reveal I created a fun meme inspired by the classic “By the power of Grayskull” scene.
In our version, “By the power of UnRAID” raises ESXi and Windows 11 high above the NUC,
showing that UnRAID is the platform empowering the whole setup.
Whether you are running nested ESXi, Windows 11 with PCI passthrough, or a mixture of containers and VMs,
UnRAID makes it straightforward to combine storage flexibility with powerful virtualization features.
The Power Of UnRAID In The Homelab
The big takeaway from Part 7 is simple:
A single UnRAID host can consolidate multiple roles: NAS, hypervisor, and workstation.
You can experiment with ESXi 8.0, Windows 11, and PCI passthrough without building a large rack of servers.
By keeping everything virtual you gain snapshots, flexibility, and the ability to rebuild or clone systems quickly.
For homelab enthusiasts, students, and anyone who wants to learn VMware or Windows 11 in depth,
this approach offers a lot of power in a very small footprint.
Watch The Episode
If you want to see the full walkthrough, including the moment the secret is revealed,
watch Part 7 of the DIY UNRAID NAS series on Hancock’s VMware Half Hour.
You will see exactly how the Windows 11 VM, the nested ESXi host, and UnRAID all fit together.
Conclusion
Part 7 closes the loop on a long running lab story.
What looked like separate physical systems were really virtual machines,
carefully layered on top of an UnRAID powered NAS.
By the power of UnRAID, we have been able to demonstrate NVMe upgrades, Windows 11 P2Vs, and ESXi 8.0 testing
all on a single compact platform.
If you are planning a new homelab or want to refresh an existing one,
consider what UnRAID plus nested ESXi and Windows 11 VMs could do for you.
As an avid enthusiast of VMware’s innovations, I’m diving headfirst into the ESXi ARM Fling v2.0, which is built on the robust VMware vSphere Hypervisor ESXi 8.0.3b codebase. The ARM architecture has always intrigued me, and with this latest version, VMware has pushed the boundaries of what’s possible with ESXi on ARM devices. It’s a playground full of potential for anyone experimenting with lightweight, power-efficient infrastructures.
The Turing Pi Journey
After much anticipation, my Turing Pi Mini ITX boards have arrived! These boards are compatible with the Raspberry Pi Compute Module 4, offering a modular, scalable setup perfect for ARM experimentation. With a few Compute Module 4s ready to go, I’m eager to bring this setup to life. However, finding a suitable case for the Turing Pi board has proven to be a bit of a challenge.
Case Conundrum
While Turing Pi has announced an official ITX case for their boards, it’s currently on preorder and comes with a hefty price tag. For now, I’ve decided to go with a practical and versatile option: the Streamcom Mini ITX OpenBench case. Its open-frame design is functional, and it’ll keep the board accessible during testing and configuration.
I’m also considering crafting my own custom case. Using laser-cut wood or acrylic is an appealing option, offering the opportunity to create something unique and tailored to my specific requirements. But for now, the OpenBench case will do nicely as I explore the ESXi ARM Fling.
Why ESXi ARM Fling v2.0?
The ESXi ARM Fling project is an exciting venture for anyone who loves to experiment with virtualization. Running ESXi on ARM hardware offers several advantages:
Energy efficiency: ARM boards consume far less power compared to traditional x86 systems.
Cost-effectiveness: Affordable hardware like the Raspberry Pi Compute Module 4 makes it accessible to a wider audience.
Flexibility: The compact form factor of ARM devices is ideal for edge computing, IoT, or even small-scale home labs.
The v2.0 update introduces enhanced support, better performance, and bug fixes, making it an excellent choice for exploring the ARM ecosystem.
What’s Next?
With the hardware in hand and the ESXi ARM Fling v2.0 ready to install, I’m planning to dive into:
Setting up and configuring the Turing Pi board with ESXi.
Testing the system’s stability, performance, and scalability using multiple Raspberry Pi Compute Modules.
Exploring practical use cases, such as lightweight Kubernetes clusters or edge computing applications.
I’ll share updates on the build process, challenges, and performance insights in future posts. For now, I’m excited to get started and see what this setup can achieve.
Stay tuned for more! If you’ve experimented with the ESXi ARM Fling or have tips for working with the Turing Pi board, I’d love to hear from you.


![[Valid RSS]](http://andysworld.org.uk/images/valid-rss.png "Validate my RSS feed")