Posts Tagged ‘boot’

Minisforum MS-A2 HOW TO: Fix the Failed to Update CPU#0 Microcode PSOD with ESXi 8.0.3i ESXi 8.0u3i

Wednesday, March 11th, 2026

Minisforum MS-A2 HOW TO: Fix the Failed to Update CPU#0 Microcode PSOD with ESXi 8.0.3i ESXi 8.0u3i


HOW TO: Fix “Failed to update CPU#0 microcode” PSOD on ESXi 8.0.3i (Minisforum MS-A2)

In this guide from Hancock’s VMware Half Hour, I demonstrate how to fix the
Purple Screen of Death (PSOD) error:

“Failed to update CPU#0 microcode”

This issue occurs when installing or booting VMware ESXi 8.0 Update 3i (ESXi 8.0.3i)
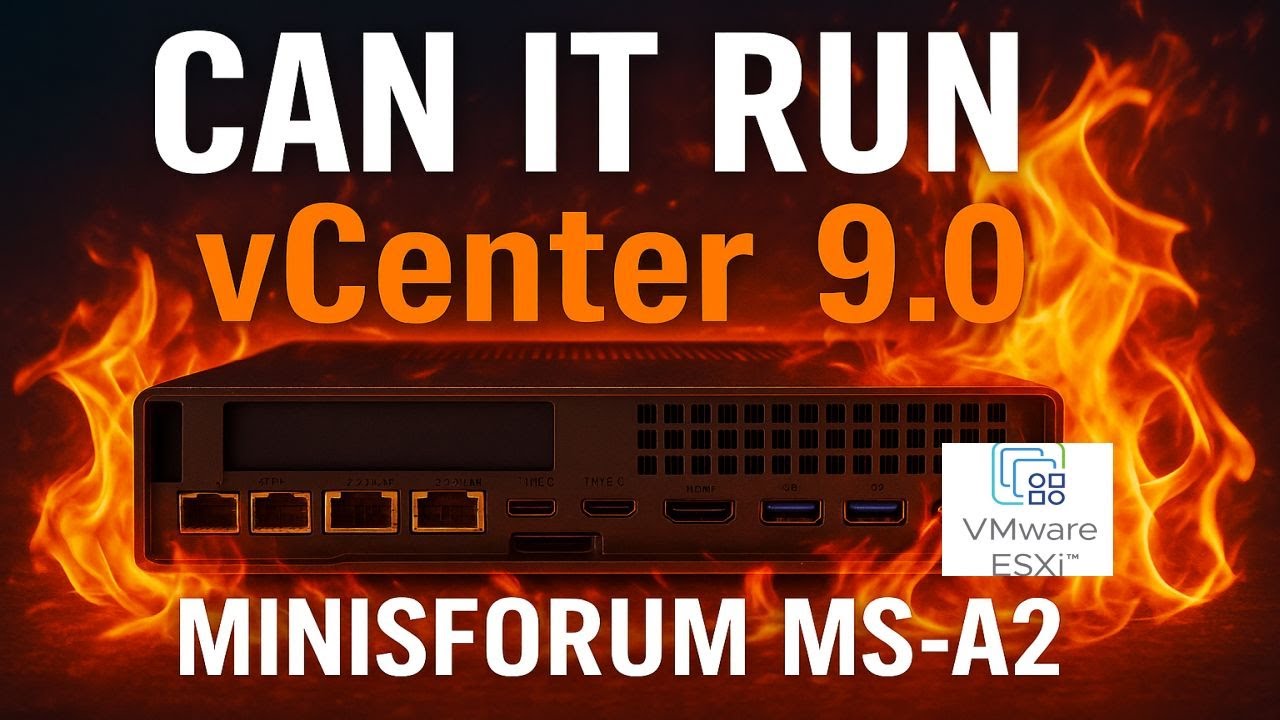
on the Minisforum MS-A2 mini workstation.

ESXi 8.0.3i, released on 2 March 2026, includes security fixes for
CVE-2025-15467, an OpenSSL vulnerability. If you are running ESXi and have not
patched yet, you should update as soon as possible.

However, this update also includes new AMD CPU microcode updates, which currently
appear to trigger a PSOD during boot on the Minisforum MS-A2 platform.


The Problem

When booting the ESXi 8.0.3i installer (for example from Ventoy) on the
Minisforum MS-A2, the system may fail during boot with the following PSOD message:

The system has found a problem on your machine and cannot continue.

Failed to update CPU#0 microcode

This prevents ESXi from completing the boot process or installer launch.


Why This Happens

The ESXi 8.0.3i update includes newer AMD microcode updates intended to improve
security and stability. Unfortunately, these updates currently appear to be
incompatible with the MS-A2 platform, which results in the microcode update failing
during boot.

When the microcode update fails, ESXi halts the boot process and displays the PSOD.


The Workaround

Until VMware releases a permanent fix, the issue can be worked around by using a
kernel boot option during ESXi startup.

Steps to Fix

  1. Boot the ESXi 8.0.3i installer.
  2. When the ESXi boot screen appears, press Shift + O.
  3. This opens the ESXi boot options.
  4. Add the required kernel option shown in the video.
  5. Press Enter to continue booting.

With the boot option applied, ESXi should boot successfully on the Minisforum MS-A2.


Video Walkthrough

Watch the full walkthrough below where I demonstrate the issue and apply the workaround.


What You Will Learn

  • What changed in ESXi 8.0.3i
  • Why AMD microcode updates trigger a PSOD
  • How to reproduce the issue during boot
  • The Shift + O ESXi boot workaround
  • How to confirm the fix works successfully

Credits

Huge thanks to members of the VMware community who investigated and documented this issue:

  • Stephen Wagner
  • Patrick Kernstock
  • vAndu
  • Martin Gustafsson

Their research and testing helped identify the workaround shown in this video.

Resources:


Support My Work

? Enjoying the content? Support the channel with an espresso!

Buy Me an Espresso Coffee

Donate via PayPal


Follow Hancock’s VMware Half Hour


Support British Beekeeping ?

If you’d like to support British beekeeping, you can purchase
raw pure honey from my apiaries.

Meltonby Honey – Raw Pure Honey

UK shipping currently only.

Part 5: DIY UNRAID NAS: Making Use of the Free Internal USB Headers

Sunday, November 30th, 2025


Welcome back to Andysworld!*™ and to Part 5 of my DIY UNRAID NAS series.

In this instalment, I explore a small but very useful upgrade: using the free internal USB headers inside the Intel NUC Extreme 11th Gen to hide the UnRAID boot USB neatly inside the chassis. This keeps the build clean, reduces the risk of accidental removal, and makes the system feel much more like a dedicated appliance.


Why Move the UnRAID USB Inside the NUC?

UNRAID must boot from a USB flash drive. Most people leave it plugged into an external port on the back of the system, but the NUC Extreme includes internal USB 2.0 header pins.

By using those internal headers, we can:

  • Keep the USB drive inside the case
  • Free up an external USB port
  • Reduce the chance of accidental removal or damage
  • Improve the overall look and tidiness of the build
  • Make the system feel more like a self-contained NAS appliance

Credit and Hardware Used

This idea came from a very useful Reddit thread:

Reddit source: https://tinyurl.com/yd95mu37
Credit: Thanks to “JoshTheMoss” for highlighting the approach and the required cable.

Adapter Cable

The adapter used in this build was purchased from DeLock:

Adapter product page: https://www.delock.com/produkt/84834/merkmale.html

This adapter converts the internal USB header on the motherboard to a standard USB-A female connector, which is ideal for plugging in the UnRAID boot drive.


What Happens in Part 5

In this episode I:

  • Open up the Intel NUC Extreme 11th Gen chassis
  • Locate the unused internal USB header on the motherboard
  • Prepare the UnRAID USB stick, wrapping it in Kapton tape for additional insulation and protection
  • Install the DeLock internal USB adapter
  • Route and position the cable neatly inside the chassis
  • Connect the USB stick to the internal adapter (with the usual struggle of fitting fingers into a very small case)
  • Confirm that the system still boots correctly from the now-internal USB device
  • Give a short preview of what is coming next in Part 6

Video Chapters

00:00 – Intro
00:07 – Welcome to Hancock's VMware Half Hour
00:47 – Using the free internal USB headers
01:05 – Reddit Source – https://tinyurl.com/yd95mu37
01:17 – Kudos to "JoshTheMoss"
02:32 – The Reddit Post
02:44 – Purchased from – https://www.delock.com/produkt/84834/merkmale.html
02:59 – Intel NUC Extreme 11th Gen close-up
03:58 – Internal USB header left disconnected
04:36 – USB flash drive is used for UnRAID
04:49 – Wrapped USB flash drive in Kapton Tape
05:31 – Fit the cable with fat fingers
07:09 – Part 6 – NVMe Time
07:51 – 4 × 4 TB Samsung 990 PRO NVMe Gen 4
08:25 – Thanks for watching

Watch the Episode

Embedded video:


Follow the DIY UNRAID NAS Series on Andysworld!*™

This project is progressing nicely, and each part builds on the last. In Part 6, I move on to storage performance and install 4 × 4 TB Samsung 990 PRO Gen 4 NVMe SSDs for serious throughput.

If you are interested in homelab builds, UNRAID, VMware, or just general tinkering, keep an eye on the rest of the series here on Andysworld!*™.

Thanks for reading and for supporting the site.