Posts Tagged ‘Samsung’

Part 7: DIY UNRAID NAS “BY THE POWER OF UNRAID” THE SCRET REVEALED

Saturday, December 6th, 2025

By The Power Of UnRAID – The Secret Reveal Of ESXi And Windows 11 VMs

For the last few episodes of Hancock’s VMware Half Hour, we have been quietly building something a little different.
On the surface it looked like a simple DIY UNRAID NAS project and a couple of Windows 11 P2V demonstrations.
In reality, everything was running inside virtual machines on an UnRAID host.

In Part 7 of the DIY UNRAID NAS series, we finally pull back the curtain and reveal what has really been powering the lab:
UnRAID running nested ESXi and Windows 11 VMs, complete with PCI passthrough.
This post walks through the idea behind the episode, how it ties back to earlier parts, and why I keep saying,
“By the power of UnRAID.”

Recap: Parts 6, 100 and 101

If you have been following along you will have seen:

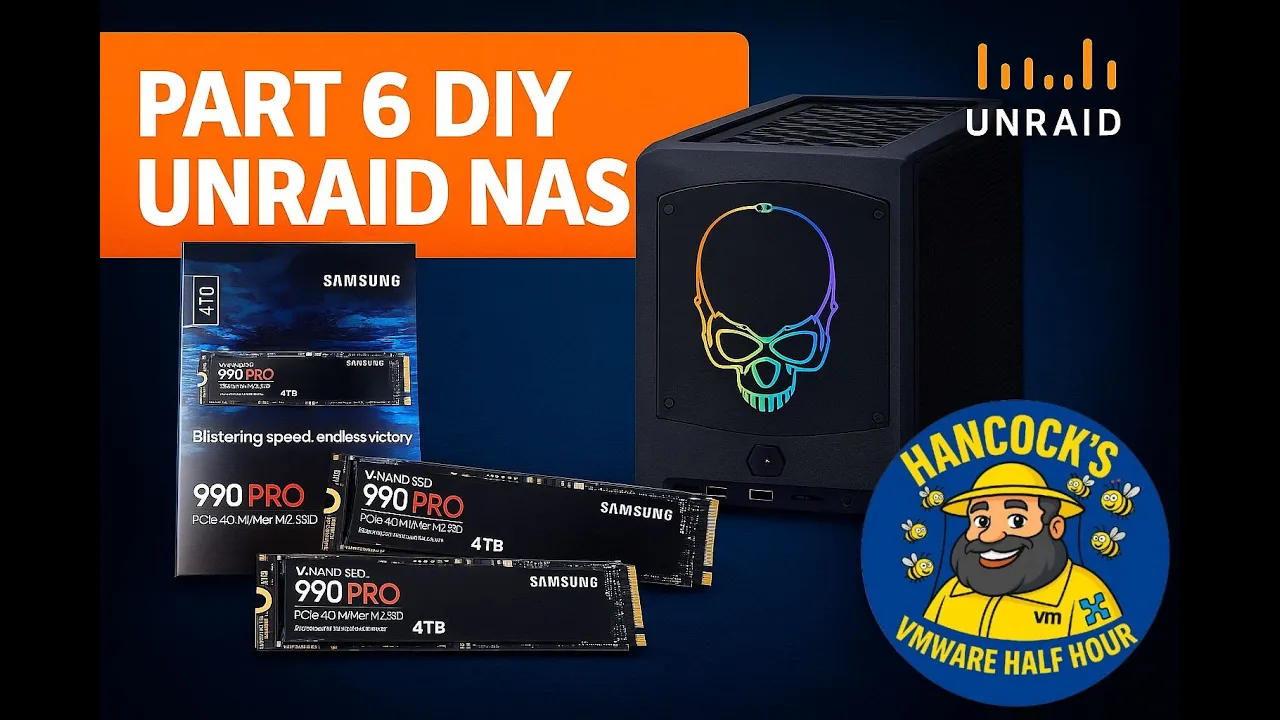
  • Part 6 – Installing and testing Samsung 990 PRO NVMe drives in the Intel NUC based NAS.
  • Part 100 – Performing P2V migrations of Windows 11 systems.
  • Part 101 – Continuing the Windows 11 P2V work and refining the process.

In those episodes the star of the show appeared to be a physical Windows 11 machine and a separate ESXi host called ESXi052.
In Part 7 we reveal that this was deliberately misleading. Both the Windows 11 system and the ESXi host were in fact virtual machines.

The Secret: Everything Was A Virtual Machine

Part 7 opens by jumping back to those previous episodes and then revealing the twist:

  • The “physical” Windows 11 machine you saw on screen was actually a Windows 11 VM.
  • The ESXi host ESXi052 that we used for P2V work was also a VM.
  • The same VM was used in Part 6 when we installed and tested the NVMe drives.

In other words, the entire recent run of content has been driven by virtual machines on UnRAID.
The NVMe upgrades, the Windows 11 P2Vs, and the ESXi demonstrations were all happening inside VMs, not on bare metal.

Windows 11 With PCI Passthrough

One of the key enabling features in this setup is PCI passthrough on UnRAID.
By passing through hardware devices such as NVMe controllers or GPUs directly into a Windows 11 VM,
we can test and demonstrate “bare metal like” performance while still keeping everything virtual.

In the video we show Windows 11 running with PCI passthrough on UnRAID, giving the VM direct access to the hardware.
This is ideal for lab work, testing, and for scenarios where you want to push a homelab system without dedicating separate physical machines.

Nested ESXi 8.0 On UnRAID

The next part of the reveal is nested virtualization.
UnRAID is hosting a VMware vSphere Hypervisor ESXi 8.0 VM which in turn can run its own VMs.
This gives an incredibly flexible environment:

  • UnRAID manages the storage, cache, parity and core virtual machine scheduling.
  • ESXi runs nested on top for VMware specific testing and lab work.
  • Windows 11 runs as another VM on the same UnRAID host, with PCI passthrough as needed.

With this approach a single Intel NUC based NAS can simulate a much larger lab
while still being compact and power efficient.

By The Power Of UnRAID

To celebrate the reveal I created a fun meme inspired by the classic “By the power of Grayskull” scene.
In our version, “By the power of UnRAID” raises ESXi and Windows 11 high above the NUC,
showing that UnRAID is the platform empowering the whole setup.

Whether you are running nested ESXi, Windows 11 with PCI passthrough, or a mixture of containers and VMs,
UnRAID makes it straightforward to combine storage flexibility with powerful virtualization features.

The Power Of UnRAID In The Homelab

The big takeaway from Part 7 is simple:

  • A single UnRAID host can consolidate multiple roles: NAS, hypervisor, and workstation.
  • You can experiment with ESXi 8.0, Windows 11, and PCI passthrough without building a large rack of servers.
  • By keeping everything virtual you gain snapshots, flexibility, and the ability to rebuild or clone systems quickly.

For homelab enthusiasts, students, and anyone who wants to learn VMware or Windows 11 in depth,
this approach offers a lot of power in a very small footprint.

Watch The Episode

If you want to see the full walkthrough, including the moment the secret is revealed,
watch Part 7 of the DIY UNRAID NAS series on Hancock’s VMware Half Hour.
You will see exactly how the Windows 11 VM, the nested ESXi host, and UnRAID all fit together.

Conclusion

Part 7 closes the loop on a long running lab story.
What looked like separate physical systems were really virtual machines,
carefully layered on top of an UnRAID powered NAS.
By the power of UnRAID, we have been able to demonstrate NVMe upgrades, Windows 11 P2Vs, and ESXi 8.0 testing
all on a single compact platform.

If you are planning a new homelab or want to refresh an existing one,
consider what UnRAID plus nested ESXi and Windows 11 VMs could do for you.

Part 6: DIY NAS – Installing Two Samsung 990 Pro Gen 4 NVMe M.2 SSD in an Intel NUC 11 Extreme

Monday, December 1st, 2025


Welcome back to Hancock’s VMware Half Hour and to Part 6 of the DIY UNRAID NAS build series.

In this episode I install two Samsung 990 PRO Gen 4 NVMe M.2 SSDs into the Intel NUC 11 Extreme.
The NUC 11 Extreme has a surprisingly capable NVMe layout, providing:

  • 2 × PCIe Gen 4 NVMe slots
  • 2 × PCIe Gen 3 NVMe slots

The video walks through verifying the drives, opening the NUC, accessing both NVMe bays, and installing each SSD step-by-step, including the compute board NVMe slot that is a little more awkward to reach.
The episode finishes in Windows 11 where the drives are validated using Disk Manager and Samsung Magician to confirm that both NVMe SSDs are genuine.


What Is Covered in Part 6

  • Checking the authenticity of Samsung 990 PRO NVMe SSDs
  • Accessing both the bottom and compute-board NVMe slots in the Intel NUC 11 Extreme
  • Installing and securing each NVMe stick
  • Reassembling the NUC 11 Extreme, including panels, shrouds, NIC and PCIe bracket
  • Confirming both NVMe drives in Windows 11
  • Using Samsung Magician to verify that the drives are genuine
  • Preparing the NVMe storage for use in later parts of the UNRAID NAS series

Chapters

00:00 - Intro
00:07 - Welcome to Hancock's VMware Half Hour
00:29 - In Part 6 we are going to fit Samsung 990 PRO NVMe
01:24 - Intel NUC 11 Extreme has 2 x Gen3, 2 x Gen4 slots
01:45 - Check the NVMe are genuine
04:20 - Intel NUC 11 Extreme - open NVMe bottom panel
05:23 - Install first NVMe stick
06:33 - Remove NVMe screw
07:06 - Insert and secure NVMe stick
07:30 - Secure bottom NVMe panel cover
08:40 - Remove PCIe securing bracket
08:54 - Remove side panel
09:11 - Remove NIC
09:44 - Remove fan shroud
09:59 - Open compute board
12:23 - Installing the second NVMe stick
14:36 - Secure NVMe in slot
16:26 - Compute board secured
19:04 - Secure side panels
20:59 - Start Windows 11 and login
21:31 - Check in Disk Manager for NVMe devices
22:40 - This Windows 11 machine is the machine used in Part 100/101
22:44 - Start Disk Management to format the NVMe disks
23:43 - Start Samsung Magician to confirm genuine
25:25 - Both NVMe sticks are confirmed as genuine
25:54 - Thanks for watching

About This Build

This DIY NAS series focuses on turning the Intel NUC 11 Extreme into a compact but powerful UNRAID NAS with NVMe performance at its core.
The Samsung 990 PRO NVMe drives installed in this part will provide a significant uplift in storage performance and will feature heavily in later episodes when the NAS is tuned and benchmarked.


Support the Series

If you are enjoying the series so far, please consider supporting the channel and the content:

  • Like the video on YouTube
  • Subscribe to the channel so you do not miss future parts
  • Leave a comment or question with your own experiences or suggestions
  • Follow along for Parts 7, 8, 9 and beyond

Thank you for watching and for following the build.


Gear Used


More From Hancock’s VMware Half Hour

Enjoy the build and stay tuned for upcoming parts where we continue configuring UNRAID and optimising the NAS.
Do not forget to like, comment and subscribe for more technical walkthroughs and builds.


Support and Honey


Watch More Playlists


Follow Hancock’s VMware Half Hour

Replacement Samsung CLP-620ND Printer

Tuesday, October 25th, 2011

I almost “bust a gut” today moving my printers from the office to the local recycling centre, because I’ve just purchase a new replacement Samsung colour laser, CLP-620ND Printer, that also does duplex printing for 95 GBP with the 100 GBP cashback!

The HP LaserJets 1100, 2100N and Lexmark Optra SC 1275 had all failed with terminal faults, it was cheaper to purchase a replacement than repair!

scrap printers at recycling centre

scrap printers at recycling centre

Samsung CLP-620ND

New Samsung CLP-620ND

Hard Disk Drives (HDD)

Wednesday, April 21st, 2010

Winchester Disk Drive, Hard disk drive, Hard disc drive, HDD or ‘that big box under the desk‘ (which is the answer I often get!) or I’ve got 500GB of memory or is that disk! I don’t know!

it’s what makes most computers go, most of the time, and if they go bad or stop working, so does your computer usually!

A number of years ago (7 years), I always used Western Digital hard disk drives (HDDs) but after a spate of failures with the new (at the time) WDC WD1200JB, the JB features a 7200 RPM spindle speed coupled with three 40 GB platters. The JB’s key feature, is its 8-meg buffer, four times that of competing drives at the time. An ATA-standard 3-year warranty backs the drive.

But after many of these failed, I decided to switch to Seagate Technology, backed by a 5 Year Warranty, and hard drive manufacturer I’d not used for many years.

The hard drive manufaturer market has certainly got smaller over the last 20 years, many names have disappeared, Connor, DEC, Fujitsu, IBM, Maxtor, Miniscribe and Quantum have disappeared. Quantum acquired DEC, Maxtor acquired Miniscribe and Quantum HDD, Seagate acquired Connor and Maxtor, Hitachi acquired IBM HDD, Toshiba acquired Fujitsu HDD, Western Digital acquired Tandon HDD.

So that leaves us with

  1. Hitachi Global Storage Technologies (1967)
  2. Seagate Technology (1979)
  3. Toshiba (1967)
  4. Western Digital (1988)
  5. Samsung (1999?)

So, we still have plenty of HDD manufaturers to choose from!

Seagate Barracuda 7200.11 500Gbytes ST3500320AS and Western Digital 1TB Caviar Black WD1001FALSq

Seagate Barracuda 7200.11 500Gbytes ST3500320AS and Western Digital 1TB Caviar Black WD1001FALS

But for me, I’ve decided to go back to purchasing Western Digital Black Drives for the moment, and spread the risk between Seagate for the NASes and Western Digital Black for the workstations!