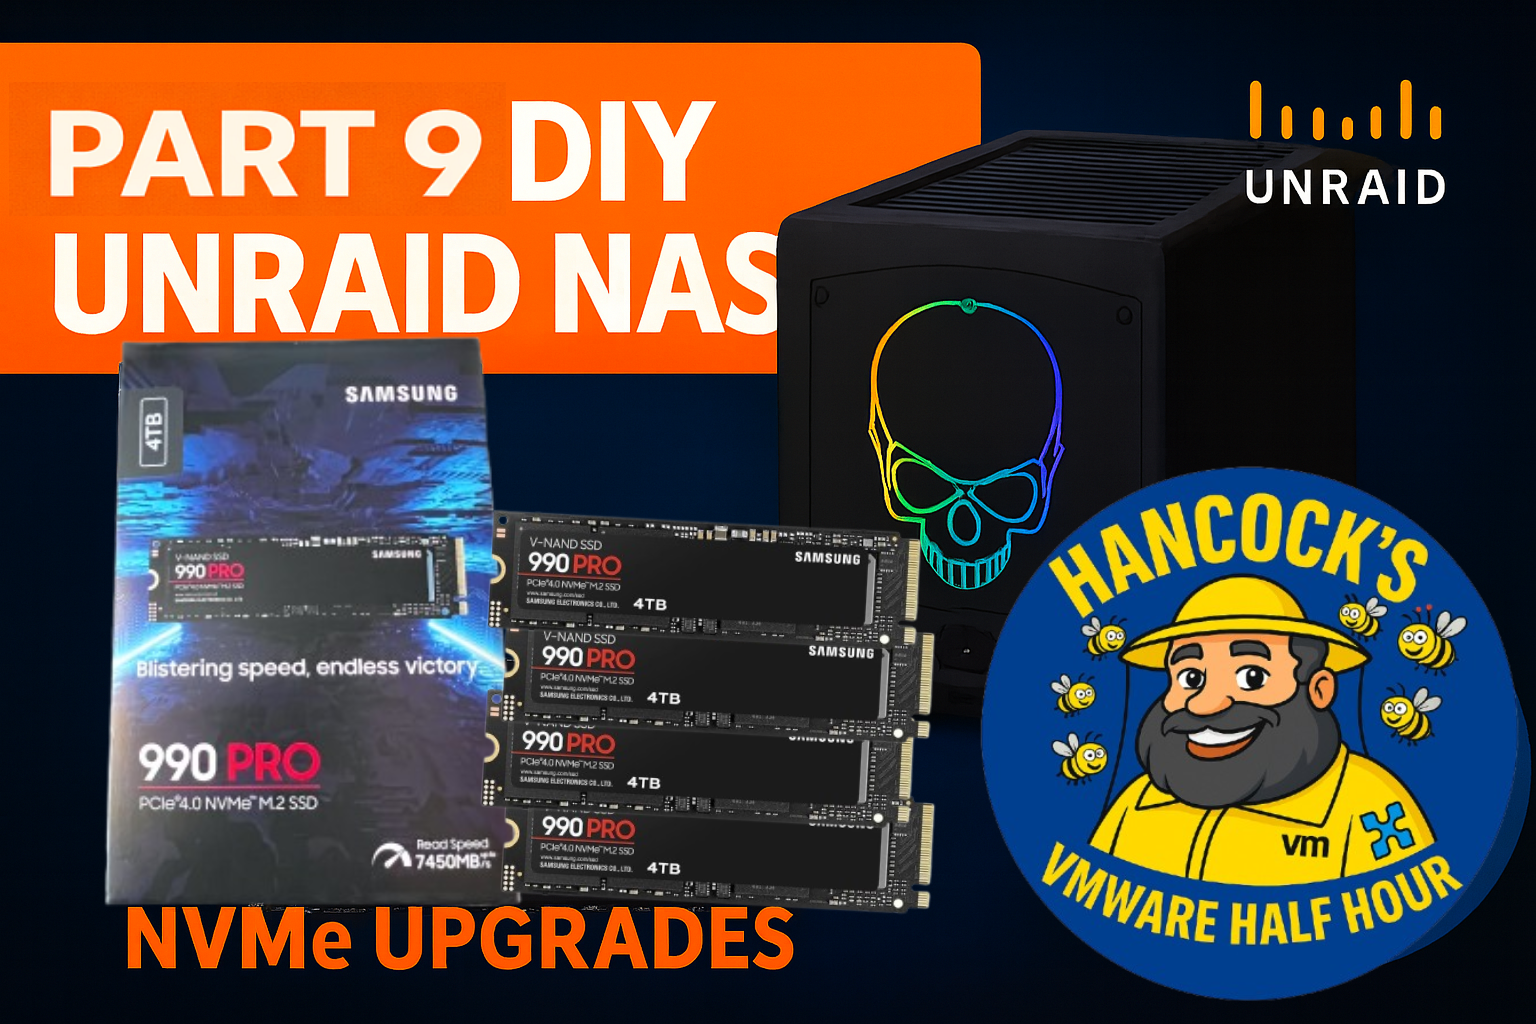
In Part 9 of the DIY UnRAID NAS series, we finally tackle one of the most requested upgrades — NVMe cache expansion.
This episode covers upgrading the UnRAID cache pool using Samsung 990 PRO 4TB NVMe SSDs,
walking through the hardware changes, UnRAID configuration, and the impact on performance.
What’s covered in Part 9
Removing NVMe devices from PCI passthrough
Rebooting and validating UnRAID hardware changes
Why UnRAID is used instead of vSAN in the homelab
Upgrading and rebalancing the NVMe cache pool
Btrfs RAID1 behaviour and live rebalance
Firmware considerations for Samsung 990 PRO NVMe drives
Why NVMe Matters in UnRAID
NVMe cache drives dramatically improve Docker, VM, and application performance in UnRAID.
With fast PCIe 4.0 NVMe devices, write amplification is reduced, cache flushes are faster,
and overall system responsiveness improves — especially under mixed workloads.
Unlike enterprise storage platforms, UnRAID allows flexible cache pool configurations,
making it ideal for homelab experimentation without vendor lock-in.
As always, thanks for watching, and if you’ve got questions about NVMe cache pools,
Btrfs behaviour, or UnRAID design decisions, drop them in the comments.
DIY UNRAID NAS Part 8: Preparing the Zero-Downtime NVMe Upgrade
Welcome back to Hancock’s VMware Half Hour and to Part 8 of the DIY UNRAID NAS build series.
In this episode, I walk through the planning and preparation for a zero-downtime NVMe cache
upgrade on my homelab UNRAID NAS, running on an Intel NUC 11 Extreme.
The goal of this two-part upgrade is to move from a single 512 GB XPG NVMe cache device
to a pair of Samsung 990 PRO 4 TB NVMe SSDs, ending up with a high capacity Btrfs RAID 1
cache pool for VMs, Docker, and PCIe passthrough workloads. Part 8 focuses on the design,
constraints, and first hardware changes. Part 9 completes the migration and final Btrfs rebalance.
Video: DIY UNRAID NAS Part 8
You can watch the full episode on YouTube here:
DIY UNRAID NAS – Part 8: Preparing the Zero-Downtime NVMe Upgrade
What This Episode Covers
Part 8 is all about understanding the current environment, identifying limitations in UNRAID,
and laying the groundwork for a non-destructive storage upgrade. In the video, I cover:
How my UNRAID array and cache devices are currently configured.
The future hardware specifications for the homelab UNRAID NAS.
Plans for using enterprise U.2 NVMe devices in future expansions.
Why we cannot simply create another cache pool in UNRAID to solve this.
A staged plan to replace the old 512 GB XPG NVMe with 4 TB Samsung 990 PRO drives.
How to safely stop Docker and virtual machines before making hardware changes.
Using PCIe passthrough (VMDirectPath I/O) to present NVMe devices directly to a Windows 11 VM.
Updating Samsung 990 PRO firmware from within the passthrough VM using Samsung Magician.
Confirming that all Samsung NVMe drives are genuine and authenticated.
Reviewing the NVMe slot layout in the Intel NUC 11 Extreme (2 x Gen 3 and 2 x Gen 4).
Chapter Breakdown
Here is the chapter list from the video for quick navigation:
00:00 – Intro
00:05 – Welcome to Hancock’s VMware Half Hour
00:47 – This is Part 8 DIY UNRAID NAS
01:21 – Explanation of UNRAID and how I have set up UNRAID
04:20 – Explanation of UNRAID array and cache devices
04:51 – Future specifications for homelab UNRAID NAS
05:54 – Future use of enterprise NVMe U.2 device
09:42 – I have a cunning plan says Andy
12:02 – We cannot create another cache pool
12:56 – Stop Docker and VMs
13:10 – Shutdown ESXi on UNRAID
13:28 – Shutdown Windows 11 on UNRAID
14:22 – New NVMe installed, old XPG removed
15:16 – PCIe passthrough demonstration configuration for UNRAID VMs
17:14 – Restart NAS
17:29 – NVMe devices are enabled for PCI passthrough
18:11 – VMware VM Direct I/O (PCI passthrough) explained
18:46 – Configure Windows 11 VM for PCI passthrough
20:00 – Samsung Magician advising firmware update available
20:48 – Update firmware of Samsung 990 PRO from Windows 11
23:14 – Confirmation that all Samsung NVMe are authenticated
26:22 – NVMe slots in Intel NUC 11 Extreme are 2 x Gen 3 and 2 x Gen 4
27:06 – Remove NVMe devices from Windows 11 VM
The Cunning Plan: A Staged, Non-Destructive NVMe Upgrade
The key challenge in this build is upgrading from a 512 GB NVMe cache to larger 4 TB devices
without wiping the array or losing data. Because UNRAID cannot create an additional cache pool
in this configuration, we need a staged process.
In Part 8, I outline and begin the following upgrade path:
Review the current UNRAID array and cache configuration.
Plan the future target: dual 4 TB NVMe Btrfs RAID 1 cache pool.
Shut down Docker and VM services cleanly.
Power down the NAS and remove the old XPG NVMe.
Install the first Samsung 990 PRO 4 TB NVMe drive.
Boot the system and confirm the new NVMe is detected.
Use PCIe passthrough to present the NVMe to a Windows 11 VM for firmware checks and updates.
Update NVMe firmware using Samsung Magician and validate that the drive is genuine.
The actual Btrfs pool expansion and final dual-drive RAID 1 configuration are completed
in Part 9, where the second 4 TB NVMe is installed and the cache pool is fully migrated.
PCIe Passthrough and Firmware Updates
A significant part of the episode is dedicated to demonstrating PCIe passthrough
(VMDirectPath I/O) from VMware ESXi into UNRAID and then into a Windows 11 virtual machine.
This allows the Samsung 990 PRO NVMe to be exposed directly to Windows for:
Running Samsung Magician.
Checking for and applying firmware updates.
Verifying drive health and authenticity.
This approach is particularly useful in homelab environments where the hardware is
permanently installed in a server chassis, but you still want to access vendor tools
without moving drives between physical machines.
Intel NUC 11 Extreme NVMe Layout
Towards the end of the video, I review the NVMe slot layout inside the Intel NUC 11 Extreme.
This platform provides:
2 x PCIe Gen 4 NVMe slots.
2 x PCIe Gen 3 NVMe slots.
Understanding which slots are Gen 3 and which are Gen 4 is critical when deciding where to place
high performance NVMe devices such as the Samsung 990 PRO, especially when planning for
future workloads and potential enterprise U.2 NVMe expansion.
What Comes Next in Part 9
Part 8 ends with the new 4 TB NVMe installed, firmware updated, and the environment ready
for the next stage. In Part 9, I complete the migration by:
Replacing the remaining 512 GB cache device with a second 4 TB Samsung 990 PRO.
Rebuilding the Btrfs cache pool as a dual-drive RAID 1 configuration.
Verifying capacity, redundancy, and performance.
If you are interested in UNRAID, NVMe-based cache pools, or nested VMware and PCIe
passthrough in a small form factor system like the Intel NUC 11 Extreme, this two-part
upgrade is a practical, real-world example of how to approach it safely.
Related Content
DIY UNRAID NAS build playlist on Hancock’s VMware Half Hour (YouTube).
Previous parts in the series covering hardware assembly, base UNRAID configuration, and initial NVMe installation.
Upcoming parts focusing on performance testing, further storage expansion, and homelab workloads.
HOWTO: P2V a Linux Ubuntu PC Using VMware vCenter Converter Standalone 9.0
Migrating physical machines into virtual environments continues to be a key task for many administrators, homelabbers, and anyone modernising older systems. With the release of VMware vCenter Converter Standalone 9.0, VMware has brought back a fully supported, modernised, and feature-rich toolset for performing P2V (Physical-to-Virtual) conversions.
In this post, I walk through how to P2V a powered-on Ubuntu 22.04 Linux PC, using Converter 9.0, as featured in my recent Hancock’s VMware Half Hour episode.
This guide covers each stage of the workflow, from configuring the source Linux machine to selecting the destination datastore and reviewing the final conversion job. Whether you’re prepping for a migration, building a new VM template, or preserving older hardware, this step-by-step breakdown will help you get the job done smoothly.
Video Tutorial
If you prefer to follow along with the full step-by-step: Embed your YouTube video here once uploaded.
What’s New in VMware vCenter Converter Standalone 9.0?
A refreshed and modern UI
Improved compatibility with modern Linux distributions
Updated helper VM for Linux conversions
Support for newer ESXi and vSphere versions
Better overall performance and reliability
Linux P2V via passwordless sudo-enabled accounts
This makes it far easier to bring physical Linux workloads into your virtual infrastructure.
Full Tutorial Breakdown (Step-by-Step)
Below is a summary of all the steps demonstrated in the video:
Step 1 — Open Converter & Select “Convert Machine”
Step 2 — Choose “Powered On”
Step 3 — Detect Source Machine
Step 4 — Select “Remote Linux Machine”
Step 5 — Enter FQDN of the Linux PC
Step 6 — Use a passwordless sudo-enabled user account
Step 7 — Enter the password
Step 8 — Proceed to the next stage
Step 9 — Enter ESXi or vCenter Server FQDN
Step 10 — Authenticate with username and password
Step 11 — Continue
Step 12 — Name your destination VM
Step 13 — Choose datastore & VM hardware version
Step 14 — Go to the next screen
Step 15 — TIP: Avoid making unnecessary changes!
Step 16 — Next
Step 17 — Review settings and click “Finish”
Step 18 — Monitor the conversion job
Step 19 — Review Helper VM deployment on ESXi
Step 20 — Cloning process begins
Step 21 — Converter best practices & tips
Step 22 — Conversion reaches 98%
Step 23 — Conversion reaches 100%
Step 24 — Disable network on the destination VM
Step 25 — Power on the VM
Step 26 — Teaser: Something special about Brother 52 (esxi052)!
Why Disable the Network Before First Boot?
Doing this avoids:
IP conflicts
Hostname duplication
Duplicate MAC address issues
Unwanted services broadcasting from the cloned system
After confirming the VM boots correctly, you can safely reconfigure networking inside the guest.
Final Thoughts
VMware vCenter Converter Standalone 9.0 brings P2V workflows back into the modern VMware ecosystem. With full Linux support—including Ubuntu 22.04—it’s easier than ever to migrate physical workloads into vSphere.
If you’re maintaining a homelab, doing DR planning, or preserving old systems, Converter remains one of the most valuable free tools VMware continues to offer.
Stay tuned — the next video showcases something special about Brother 52 (esxi052) that you won’t want to miss!
Don’t Forget!
Like the video
Subscribe to Hancock’s VMware Half Hour
Leave a comment — What P2V tutorial should I do next?
Can the powerful Minisforum MS-A2 run VMware vSphere 8.0?
In Part 10 of the Ultimate #homelab series, we put this compact beast to the test by installing VMware vSphere Hypervisor ESXi 8.0.3g and seeing how it performs. From BIOS setup to creating a demo virtual machine, this episode covers the full journey.
What’s Inside This Video:
Installing ESXi 8.0.3g on the Minisforum MS-A2
BIOS configuration & USB boot with Ventoy
Full ESXi setup walkthrough
Creating & running a test VM
Enabling NVMe Memory Tiering with NVMe namespaces
Checking performance and confirming a successful install
If you’ve been wondering whether the MS-A2 can handle serious VMware workloads in a home lab, this is the episode to watch!
Welcome back to another episode of Hancock’s VMware Half Hour! In this video, we take you step-by-step through updating the UEFI BIOS on the Minisforum MS-A2, upgrading from version 1.0.1 to 1.0.2 – all from a very hot #homelab (35°C!).
We walk through downloading the BIOS update, prepping the system (disabling Secure Boot), launching the UEFI shell, and flashing the firmware using EfiFlash.nsh. There’s even a little pop culture nod to Toto and The Wizard of Oz ??, plus a shout-out to VMware vExperts like Daniel Kreiger, William Lam, and Stephen Wagner!
Chapters Included:
Setting up the MS-A2 for flashing
Booting into the UEFI Shell
Running the flash process
Successfully installing BIOS 1.0.2
VMware vExpert tips and how to apply
Post-update validation
Whether you’re a fellow VMware homelabber or just updating your own MS-A2 device, this guide will walk you through it with humour, precision, and heat-induced delirium.
Don’t forget to Like, Subscribe and Share if this helped you out!
If you’ve followed Andysworld.org for any length of time, you’ll know I’m always on the lookout for compact, powerful systems that pack a serious punch — especially for virtualization, homelab testing, and edge computing. The Minisforum MS-A2 just landed on my desk, and I couldn’t wait to tear into it, max out the RAM, and see how this tiny monster performs.
Why the Minisforum MS-A2?
Minisforum has carved out a strong niche in the mini PC market, but the MS-A2 is something different. Designed around the AMD Ryzen 9 9955HX (a 16-core, 32-thread beast), this unit is built for power users: developers, sysadmins, content creators, and homelab enthusiasts like myself.
The MS-A2 offers:
AMD Ryzen 9 9955HX (Zen 4, 5nm, 16C/32T)
Up to 128GB DDR5 SODIMM RAM
Quadruple PCIe Gen4 NVMe M.2 slots
Dual 2.5G Ethernet, Dual 10G SFP+
USB 4.0 / HDMI 2.1 / USB-C
Compact footprint with surprisingly good thermals
With specs like that, it’s an ideal candidate for running Proxmox, VMware ESXi, KVM, or even just as a hyper-efficient workstation.
The Unboxing Experience
Right out of the box, the MS-A2 gives off a premium vibe. The packaging is minimalist but well thought out. Inside you’ll find:
The MS-A2 unit itself (dense, solid, well-built)
120W or 180W power adapter (depending on config)
Mounting hardware
User manual and warranty information
Ports are plentiful and logically laid out. It even includes USB 4.0 and dual LAN ports — a must for virtualized networking setups in a homelab.
Installing 128GB DDR5 RAM
This is where things get exciting.
The MS-A2 officially supports up to 128GB of DDR5 SODIMM RAM (2x 64GB modules). While 64GB used to be the ceiling for mini PCs, the MS-A2 pushes those boundaries.
Here’s how I installed the RAM:
Power Down and Open the Chassis: Remove the bottom screws (Torx) and gently lift the cover. The internals are neatly laid out.
Locate the SODIMM Slots: There are two DDR5 SODIMM slots accessible without needing to remove any other components.
Install 2x 64GB DDR5 4800MHz Modules: I used Kingston DDR5 SODIMMs — click, click, done.
Reassemble and Boot: Replace the cover, screw it down, plug it in, and power on.
Check BIOS/UEFI: The system immediately recognised the full 128GB RAM without issue.
Initial Impressions & Performance Potential
I haven’t fully benchmarked it yet, but early signs are strong. This thing is built for virtualization and power-intensive workflows. With 128GB RAM, you could comfortably run:
Nested vSphere or ESXi environments
A full Proxmox VE cluster in one box
Multiple Linux and Windows VMs for testing
Container platforms like Docker, Podman, or Kubernetes
The dual 2.5G NICs are ideal for setting up a virtualized network or using VLANs for isolated testing.
Thermals remained under control during initial tests, thanks to the robust cooling design. The unit is quieter than expected even under moderate load.
Who Is the MS-A2 For?
If you’re:
A homelab enthusiast looking to consolidate noisy, aging servers
A virtualization geek building a portable test lab
A developer or DevOps engineer running VMs or containers
Or just someone wanting a high-end mini PC that doesn’t take up half a desk…
…the MS-A2 is absolutely worth your consideration.
What’s Next?
In the next blog post, I’ll benchmark this machine with:
Proxmox VE running multiple VMs
VMware ESXi 8.0 (yes, it installs!)
Synthetic CPU, disk, and memory benchmarks
Power draw and thermal tests
And maybe even try some GPU passthrough.
Final Thoughts
The Minisforum MS-A2 is a seriously impressive piece of kit. It proves that small doesn’t have to mean slow or limited. With 128GB DDR5 RAM, Ryzen 9 power, and robust I/O, it’s more than capable of replacing a rackmount server for many use cases — and it’ll fit in your backpack.
Stay tuned for more testing, benchmarks, and homelab setup tips.


![[Valid RSS]](http://andysworld.org.uk/images/valid-rss.png "Validate my RSS feed")