In my previous
Virtualisation Articles, most have featured Basic and Intermediate VMware Topics. As a Virtualisation Consultant, we implement many different virtualisation solutions using VMware vSphere, Citrix XenServer and Microsoft Hyper-V, as per client requirements. Most fall into the VMware vSphere camp, but that does not prohibit us, from using equally good Corporate Enterprise Hypervisors from Microsoft or Citrix, as both are now “considered equal”.
In this article, we will show you HOW TO: Add a Dell EqualLogic PS Series Array (SAN) to System Center Virtual Machine Manager 2012 SP1 as a SMP Provider.
System Center Virtual Machine Manager (SCVMM) 2012 SP1 supports the same storage arrays that were supported in SCVMM 2012, plus the SMP provider. For more information see this SCVMM 2012 Storage and Load Balancer Provider Downloads
Why and What is a SMP Provider? (Andy’s Laymans Definition)
It provides the ability to integrate SCVMM and your storage array, e.g. the ability to create logical units (LUNs) from within SCVMM, traditionally you would login to your SAN, via command line or Dell PS Group Manager using a browser. Integrating into SCVMM, you can create and manage Pools and LUNs from within SCVMM.
- Compatible Dell EqualLogic PS Series Array (SAN) running 5.2.4 FW or higher
- Microsoft Windows Server 2012
- Microsoft System Center Virtual Machine Manager 2012 SP1 (SCVMM)
- Dell EqualLogic Host Integration Tools 4.5.0
- SCVMM 2012 SP1 Host with access to your iSCSI storage network or subnet
To obtain the Dell EqualLogic Host Integration Tools 4.5.0, requires registration of your Dell EqualLogic PS Series Array with the Dell EqualLogic website, and obtaining a username and password. Then you can proceed and download the required software.
It is beyond the scope of this document, to show how to install Microsoft System Center Virtual Machine Manager 2012 SP1 (SCVMM) on Microsoft Windows Server 2012, and connect to your Dell EqualLogic PS Array. It is assumed that you have already installed Microsoft System Center Virtual Machine Manager 2012 SP1 (SCVMM) on Microsoft Windows Server 2012, and connected to your Dell EqualLogic PS Series Array.
Dell Equallogic Support Web Site (requires login)
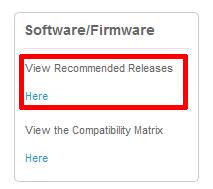
Click the Software/Firmware, View Recommended Releases Here link on the Support Homepage.
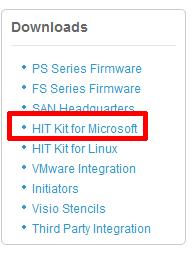
Click the HIT Kit for Microsoft link.
Click the links and download the following package
Host Integration Tools for Microsoft® v4.5 – 64-bit – EXE
- 2
-
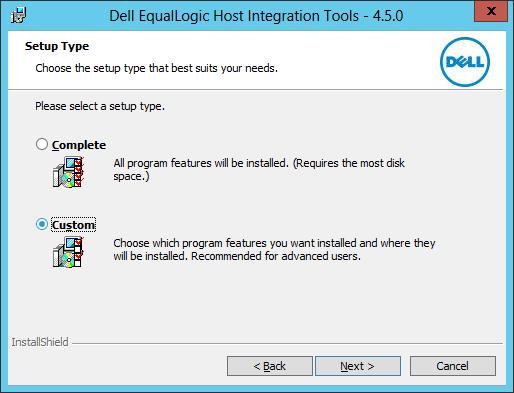
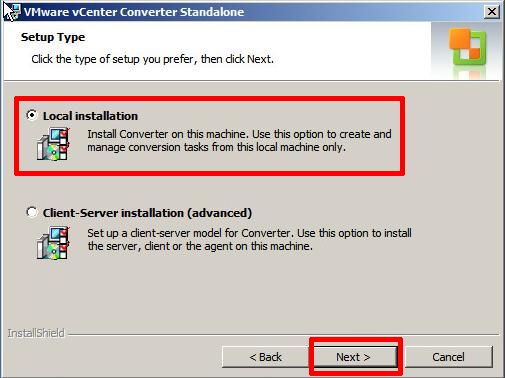
Installation of Host Integration Tools for Microsoft® v4.5 – 64-bit
In this tutorial we will complete a very quick and basic setup and by no means exhaustive. Refer to the Dell PS documentation that comes with the HIT KIT for all the available options.
Install Host Integration Tools (HIT) 4.5 on the Windows 2012 server that runs SCVMM 2012 SP1, The installation program will complete all the set up required.
If the server is not accessing the storage directly, DSM installation can be skipped. PowerShell and SMP are required, it can work without ASM but then all configuration must be done through Powershell. It’s probably unlikely that your SCVMM 2012 SP1 server needs to access any VM LUNs.
We have discovered recently that if configuration is performed through the Auto Snapshot Manager GUI there is an issue, with the group admin credentials being correctly parsed to the configuration, and therefore we would recommend ALL configuration to be performed via Windows Powershell
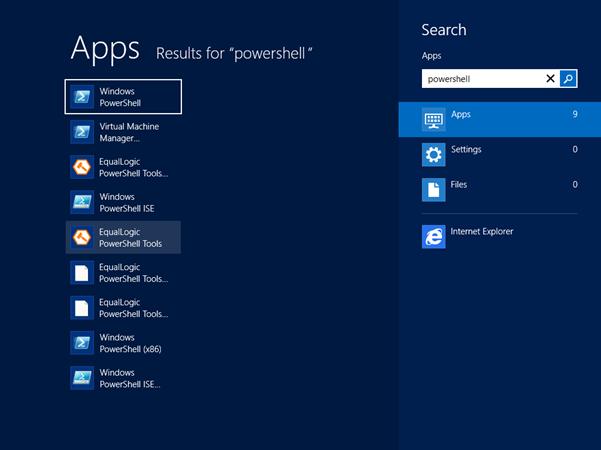
Start Windows PowerShell from the New Windows 2012 UI or start EqualLogic Powershell Tools, if you start the later you don’t have to import the EqualLogic PowerShell Snapin. (EqlPSTools.dll), and you can skip the step below.
Starting Windows Powershell
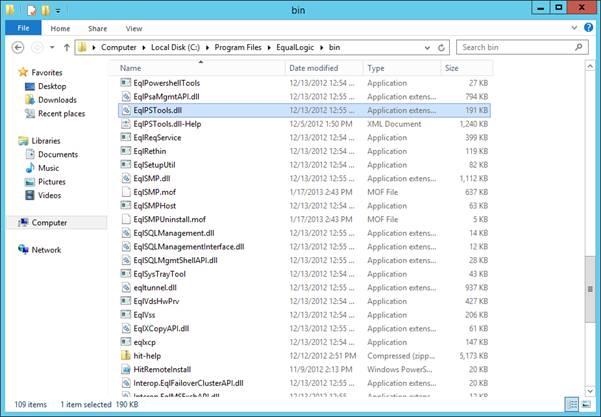
Find the path to EqlPSTools.dll, the default location for the powershell snapin is C:Program FilesEqualLogicbin.
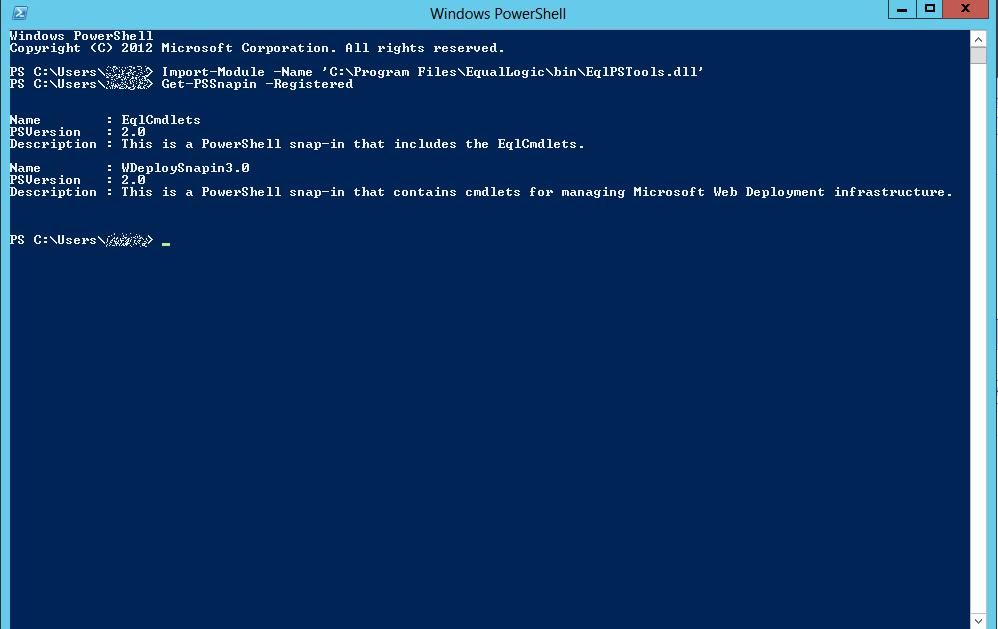
Type Import-Module -Name ‘C:Program FilesEqualLogicbinEqlPSTools.dll’ in the Powershell window.
You can check the EqualLogic PowerShell Snapin is registered by typing
Get-PSSnapin -Registered
Create a new group and assign access, using the PS Group Name, Group IP Address, Management IP Address and grpadmin credentials. The new group name is not to be confused with the group name, that’s already been created on the Array. This is a “label” for the powershell creation process, so its good idea to use the same group name, but the two are not connected in anyway.
The syntax and command to use is
New-EqlGroupAccess -groupname GROUPNAME -GroupWKAddress 10.10.1.1 -MgmtWKAddress aaa.bbb.89.176 -username grpadmin -Password password
It is recommended to have a Group IP Address, in the example above 10.10.1.1, and a Dedicated Management IP Address – aaa.bbb.89.176
Type the following in the Windows Powershell window.
New-EqlGroupAccess -GroupName Group -GroupWKAddress 10.10.1.1 -MgmtWKAddress aaa.bbb.89.176 -UserName grpadmin -Password grpadmin
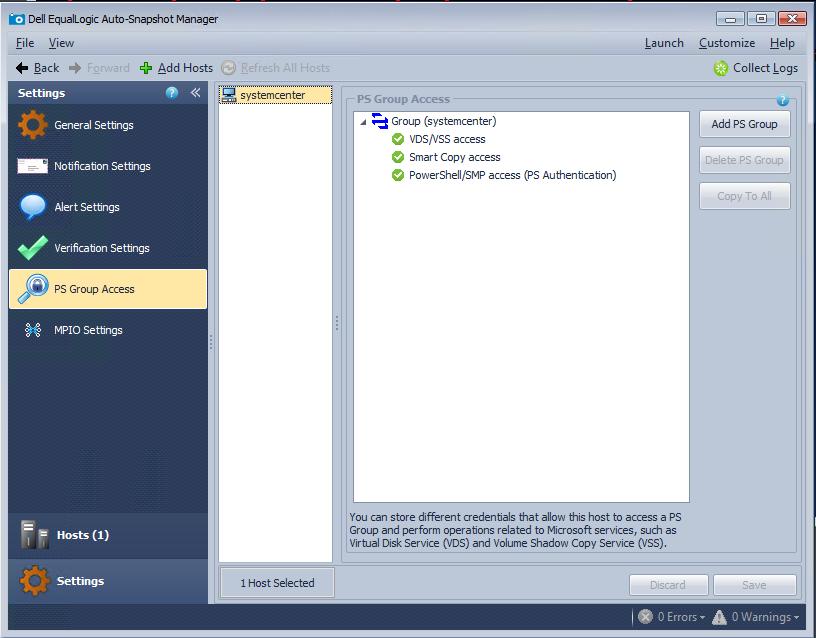
In Dell EqualLogic Auto Snapshot Manager, PS Group Access can be checked and modified if required. (please see note above about issues with the ASM GUI)
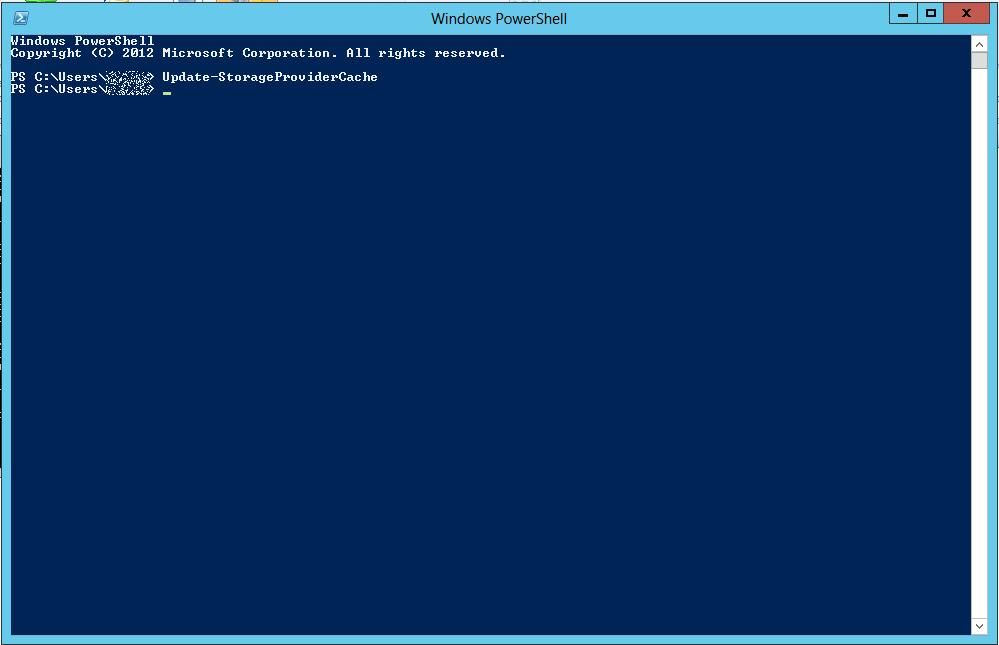
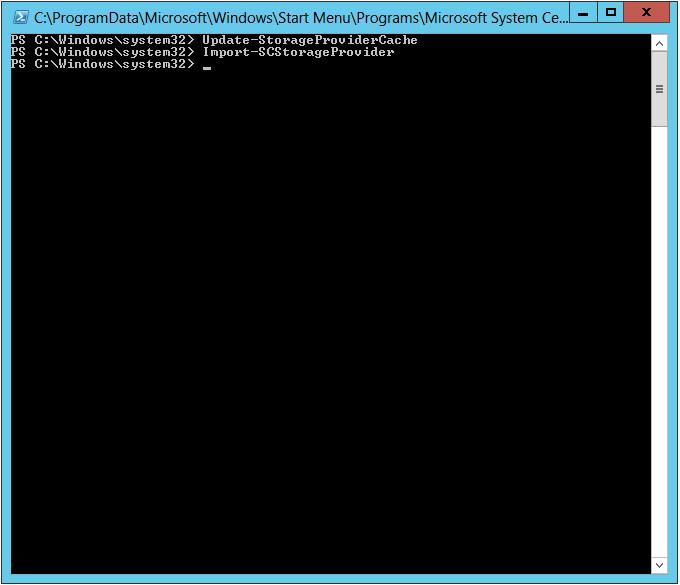
Restart the server running SCVMM 2012 SP1 or type the following cmdlet in the Windows Powershell window.
Update-StorageProviderCache
- 3
-
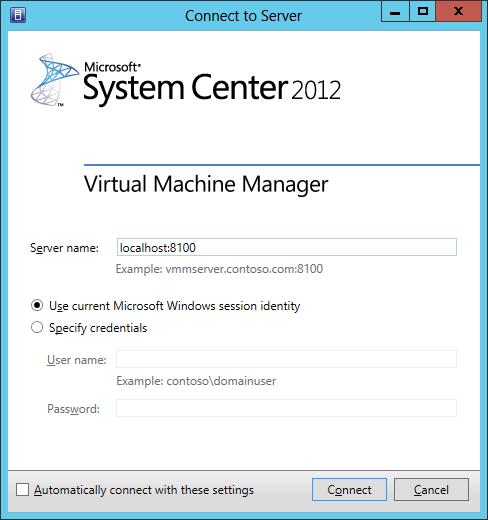
Start the SCVMM 2012 SP1 client and connect to the SCVMM 2012 SP1 server
Start the SCVMM 2012 SP1 client and connect to the SCVMM 2012 SP1 server
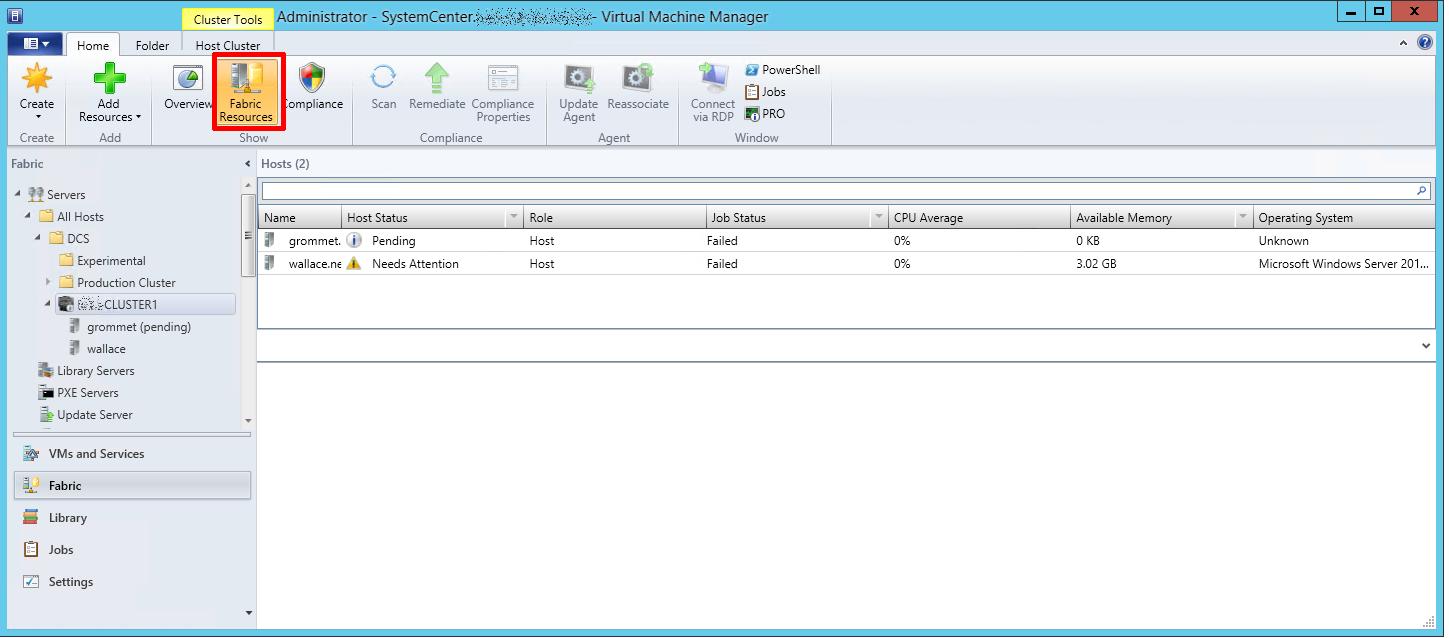
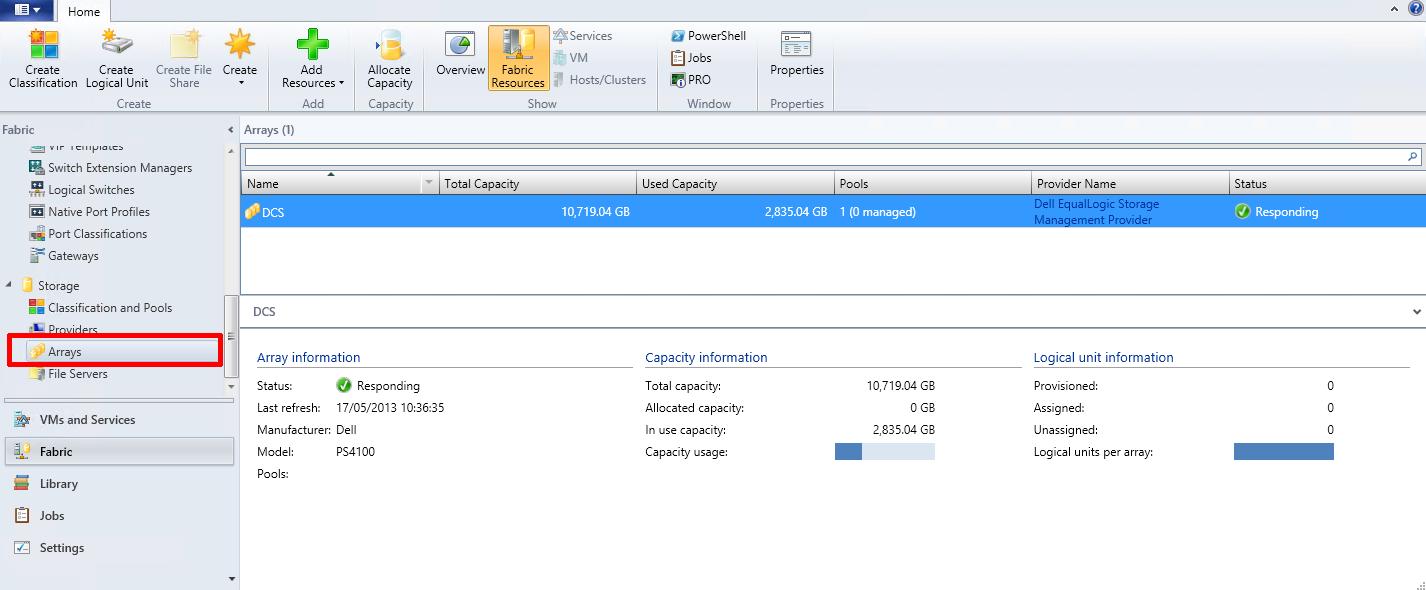
The first panel which is displayed is the VMM Home page, Click Fabric Resources
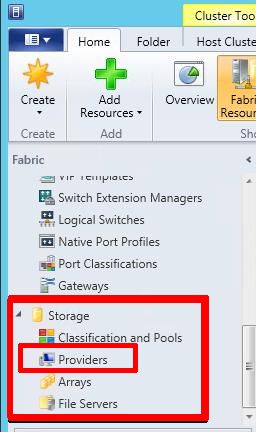
The Dell EqualLogic PS Array provider (SMP) will show up under Storage / Providers.
Before the provider will be available in SCVMM, another cmlet needs to be typed into the Windows Powershell window.
Type Import-SCStorageProvider in the Windows Powershell window. Depending upon the number of pools this could take quite a while to complete. Restart or refresh SCVMM 2012 SP1 client. This is how the SMP will look, status should be ‘Responding’.
If you click Arrays, you will see your PS Array Group, it should be Responding, and report Manufacturer and Model of Array, Total and Used Capacity.
Congratulations, you have successfully Added a Dell EqualLogic PS Series Array (SAN) to System Center Virtual Machine Manager 2012 SP1 as a SMP Provider.
In my next article in this series, we will show you how to assign VMM managed pools, and created logical units in the pools.
References
White paper on Windows Server 2012 Storage. Great resource to get more information on new features Storage Spaces, ReFS, SMB 3.0, CSV2, Hyper-V Storage. You can see where the SMP provider sits in the storage stack on page 39
Overview of SCVMM 2012 SP1
What’s new in SCVMM 2012 SP1
Virtual Machine Manager in depth
You can download evaluation System Center trial and Windows 2012 server VHD’s from here


![New-EqlGroupAccess -groupname [b]GROUPNAME[/b] -GroupWKAddress 10.10.1.1 -MgmtWKAddress aaa.bbb.89.176 -username grpadmin -Password password](http://filedb.experts-exchange.com/incoming/2013/05_w20/654963/New-EqlGroupAccess1.jpg)


 or White-browed Robin-Chat (Cossypha heuglini)")


![[Valid RSS]](http://andysworld.org.uk/images/valid-rss.png "Validate my RSS feed")