
Baxter Robot
The Baxter Robot was demonstrated in the Department of Computer Science this morning!
Baxter Robot
The Baxter Robot was demonstrated in the Department of Computer Science this morning!
Wuala by LaCie comes to end today (15th November 2015). You’ve maybe never heard of it, but it was one of the first pioneers of Secure Cloud Storage, that not only offered traditional Sync, similar to Dropbox, but Backup, Sync, Change Control, Version Control – with a Standalone Java Application, that operated across all platforms, to Browser Client, and support for all mobile devices. A brilliant cloud storage platform, which originally allowed you to trade up storage, by offering storage on your computers to share with the cloud, this was withdrawn, a few years after I started using it!

Wuala
I came across Wuala, when I purchase a USB flash drive from LaCie, in 2010, and I’ve been using it every day, with family and friends.
It had a simple interface, and I really enjoyed using it! and I’ve not found a replacement with similar functionality, and I’ve checkout out, Google Drive, Microsoft OneDrive, DropBox, Box and finally Tresorit

Wuala
I can only assume, that since Seagate purchased LaCie in 2012, it’s not in Seagate business model, to own and run a Secure Cloud Storage company, or Seagate/LaCie could not compete with the various Cloud Storage platforms available online today, and it was running at a loss!

A few have commented on twitter, what a fantastic handle, or why @einsteinagogo ?

so I’ll lift the lid on the secret…very few know the actual reference is to an eighties song (1981) by Landscape – “Einstein A Go Go” – “You Better Watch Out You Better Beware Albert said that E=mc2” – “Einstein A Go Go“! Landscape had hits with “Einstein A Go Go” and “Norman Bates” in the UK Pop Charts in the 80s.
I’ve always been a huge fan of Albert Einstein, and I thought @einstein (although my citizen band radio handle late 70s/early 80s) was to egocentric for twitter, although I do have a rather large head!
so @einsteinagogo it was, I think the first reference (einstein-a-go-go) of using it was on the VMware Community Forums in 2005!
Mike Laverick of VMware fame (from Nottingham, UK) spotted it quickly on the VMware Community Forums, and wrote “fan of Landscape” from an early posting in 2005.
Quotes by Albert Einstein
“If the bee disappeared off the surface of the globe, then man would have only four years of life left. No more bees, no more pollination, no more plants, no more animals, no more man.”
Two things are infinite: the universe and human stupidity; and I’m not sure about the universe.
If you can’t explain it simply, you don’t understand it well enough.
I know not with what weapons World War III will be fought, but World War IV will be fought with sticks and stones.
Life is like riding a bicycle. To keep your balance you must keep moving.
Look deep into nature, and then you will understand everything better.
It is the supreme art of the teacher to awaken joy in creative expression and knowledge.
Insanity: doing the same thing over and over again and expecting different results.
The difference between genius and stupidity is that genius has its limits.
Information is not knowledge.
Great spirits have always encountered violent opposition from mediocre minds.
So now you know!
Are you a fan of PAC-MAN, well let me introduce you to PAC-MAN Championship Editon DX+ by NAMCO BANDAI Games Inc.
Lets just say it’s PAC-MAN on acid and steroids….for 2015, it’s brilliant…
Pay what you want, and Support Charity, over at Humble Bundle, time is running out, you’ve only got 5 hours before the deal runs out….


A bit late to the party, played and tested many of the earlier Beta, Previews, and RTMs, but this is the first time, I’ve got to install the Enterprise version, yes virtually, because that’s all I do these days, Virtual, Cloud etc So here are some pretty pictures, and the first thing you’ll notice, is this is highly optimized, and uses much less resources on previous Microsoft OS, it’s actually quite nippy compared to other OS hogs, this test was conducted with a single vCPU and 2GB RAM – WOW, only 2GB of RAM, when most laptops, these days, have 8 and 16GB….


So, what does Andy, really think…… well personally I still like Windows 2000 Professional, Vista was okay, and this is the Desktop of Choice for my Office, but I resist to move to Windows 8, and I have Windows 7 on my Admin Workstations, Windows XP, 2000 on most of the laptops, Sony DUO has Windows 8.1…, and my gaming rig has Windows 8.1 Pro.
will I be upgrading, not at present…
I’ve been trying to get this blogged for a while, so here goes…
Here are the Cluster of 3D Printers – Ultimaker 2, now networked…, and they’ve been breeding…

Cluster of 3D Printers - Ultimaker 2
There was a Health and Safety issues, with the use of PLA (Polylactic acid), which is the filament we use in these printers, which I believe is derived from corn starch. The health and saftey issue, is possibly due to ultra fine particles in the air, and it suggests using 3D printers with PLA, be used in a room with high ventilation, so the printers were banned, from being used in individual offices, and all moved to a print room, with a high air change rate, e.g. extractor fan in the window, changing the air in the room.
So now the 3D Printers, we in another room, we needed to find a method to print remotely via the network, and also check the print job!
Enter OctoPrint, this is a networked web interface for a 3D Printer, print anything from anywhere, and also has the ability for us to view the print job in process via a webcam (all from a Raspberry Pi).

OctoPrint connected to Ultimaker 2, Priting a single Apidea Queen Excluder.

OctoPrint connected to Ultimaker 2, Priting Apidea 15 Queen Excluders

Photograph of the 15 Apidea Queen Excluders printing in progress

OctoPrint connected to Ultimaker 2, Priting a Number 3

OctoPrint connected to Ultimaker 2, Priting a Number 2
So this is how we now print, unattended with a 3D printer, we are now working on the robot, which needs to remove the printed object, and walks down to my office to deliver it!
For being awarded Top Contributor 2014 at Experts Exchange, my prize, not only the usual T-shirts, and trophies, but also an all expensive paid trip to VMworld Europe 2015!
So it’s not all about T-Shirts!

This is the email from Melanie Spatola, Community Manager at Experts Exchange.

There’s an article here written by Brian Clausen, CEO, Experts Exchange – How to Get the Most Career Value From Social Networking, and here The Benefit of a Global, Online Peer Network, which are interesting reading!
So in 2015, I’ve been Awarded
VMware vExpert 2015 (again, fifth year this year, 2011-2015)
![]()
Experts Exchange Top Contribution Award 2014 (this is a new award, but it’s like a supercharged Expert of the Year 2014, or MEGA Expert of the Year 2014, so again four years in a row, 2014-2011)
Microsoft IT Pro New Year’s Honours List 2015
Now you are all probably thinking, oh no not more T-Shirts, my prize and award for being the Top Contributor 2014 at Experts Exchange, is an all expensive paid, sponsored trip to VMworld Europe 2015 in Barcelona.

In my previous Experts Exchange Articles, most have featured Basic and Intermediate VMware and Virtualisation Topics.
If you would like to read my Basic VMware articles, they are listed at the end of this article for your convenience.
This article will show you HOW TO: Deploy and Install the VMWARE vCenter Server Appliance 6.0, also known as the vCenter Linux Appliance, or VCSA 6.0.
You cannot trial the VMWARE vCenter Server Appliance 6.0, you must have a license for VMware vSphere vCenter Server 6.0 to download the appliance from VMware. Previous versions of the VMWARE vCenter Server Appliance were supplied as a ready made OVF for download, this procedure has now changed in version 6.0, and a ISO (DVD image) now has to be downloaded.
Download the VMware-VCSA-all-x.y.z-abcdefg.iso (DVD image) from VMware. The filename used in this tutorial is called VMware-VCSA-all-6.0.0-2175370.iso, the build number and filename are likely to change when generally available.
Burn or Mount the VMware-VCSA-all-6.0.0-2175370.iso (DVD image) on your Administration workstation.
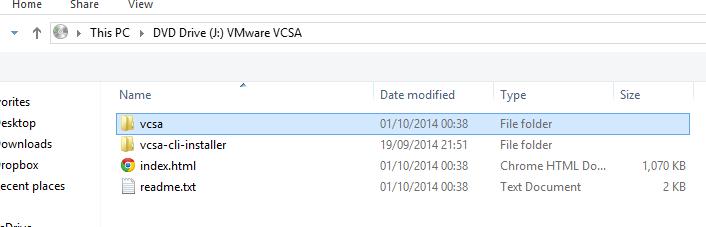
In the VCSA folder on the DVD, install the VMware-ClientIntegrationPlugin-6.0.0.exe before you begin. (You will need to close your browser).
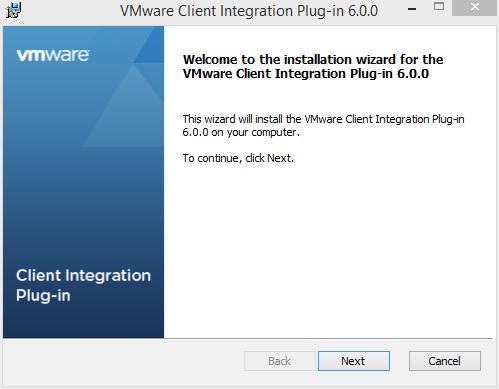
Double click the VMware-ClientIntegrationPlugin-6.0.0.exe application.
 Click Next to start the installation.
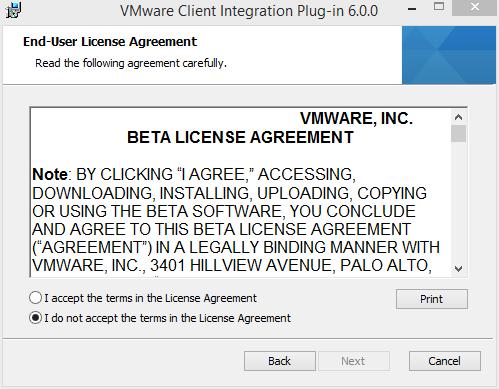
 Accept the End User License Agreement, and Click Next to continue.
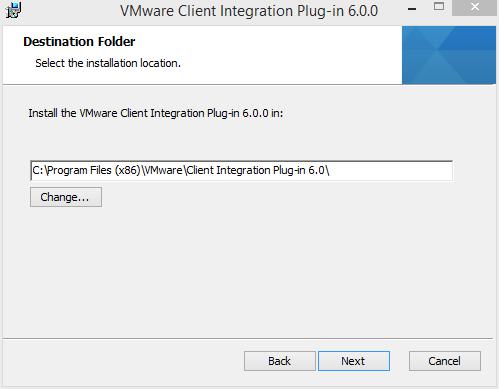
 You can change the program location if required, click Next to continue.
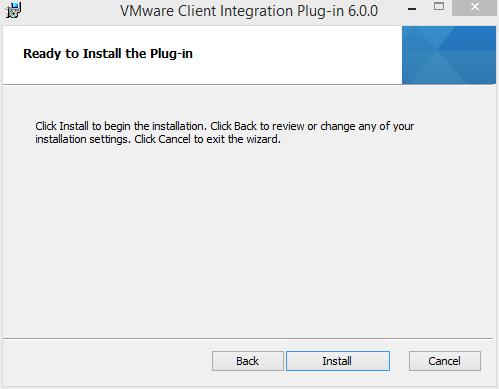
 Click Install to start the installation
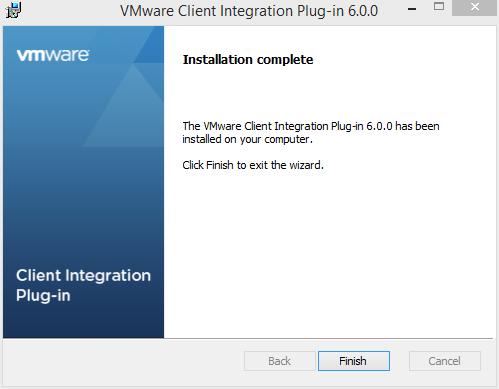
Click Finish to complete the installation.
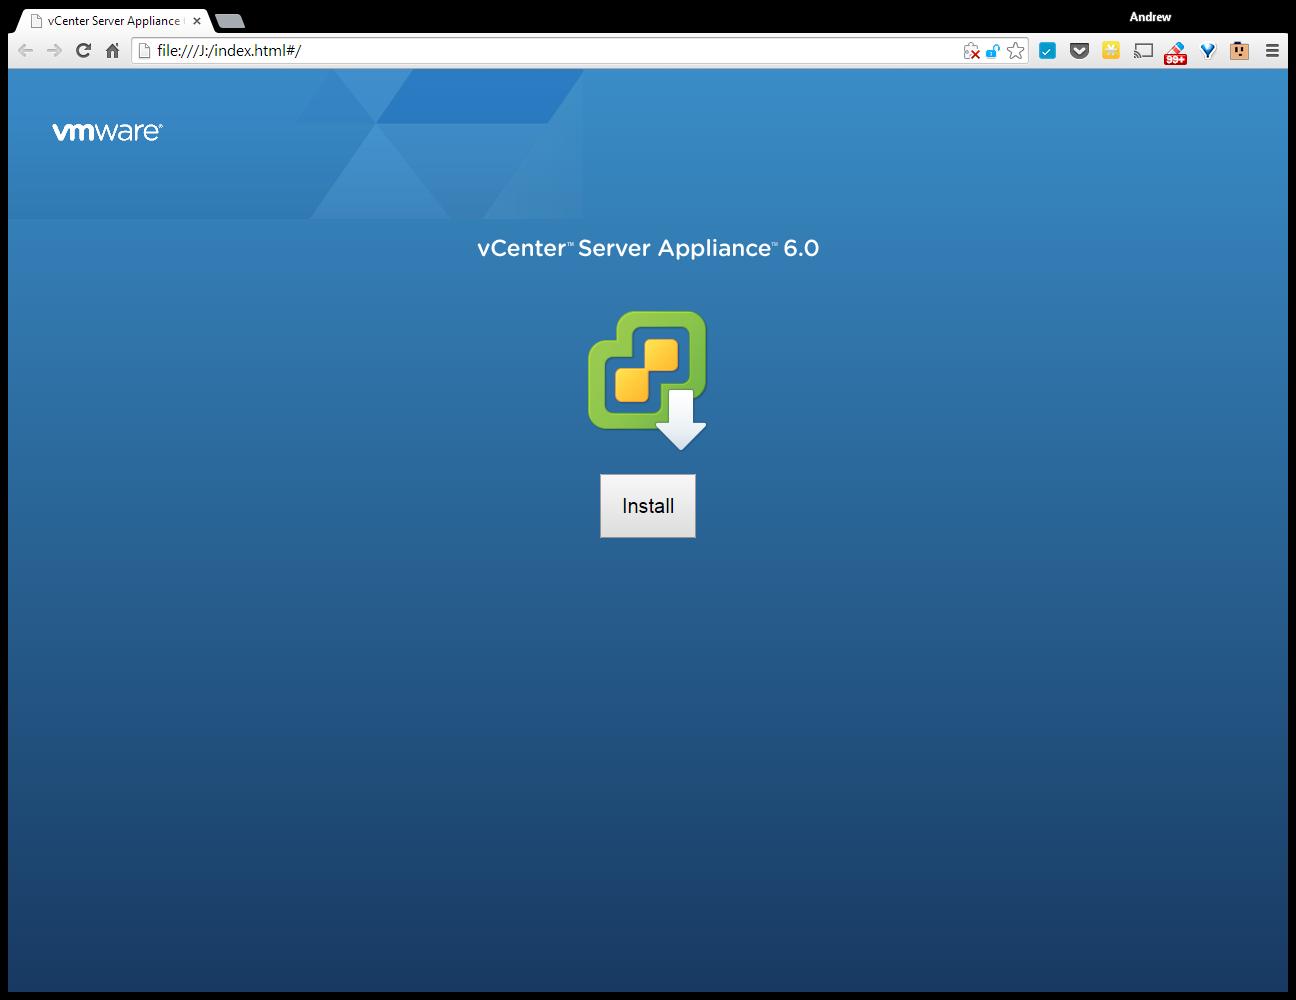
Double Click the index.html file in the root of the DVD.
 Ensure pop up blockers to no block the Client Integration Plugin.
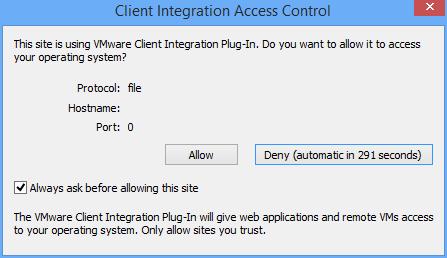
 Select Allow, so the VMware Client Integration Plug-In can access the operating system.
 Select and Click Install
Accept the End User License Agreement, and Click Next to continue.
Enter the FQDN or IP Address of an VMware vSphere ESXi Host Server.
Click OK, if a certificate warning is displayed. (this is likely if your certificate does not match your FQDN).
Enter the name for the VMWARE vCenter Server Appliance 6.0 or accept the defaults. Enter and remember the password for the appliance.
Select and use an Embedded Platform Services Controller. Click Next to continue.
Setup and Configure Single-Sign-On. (Remember the password!). Enter a password, for Single Sign-On, Domain Name, and Site Name, I would recommend, using vsphere.local for the domain name, and remembering the password! Click Next to continue.
Select the appliance size.
In this tutorial, we are going to deploy a tiny appliance, but make sure you have 2 vCPU and 8GB of memory in the ESXi host server.
Select a datastore to install the appliance, and select Next to continue.
It will check the datastore for storage space
Select and use an Embedded vPostgres database
Enter network settings for the appliance, we have specified a static IP Address, and a FQDN of vcsa6.cyrus-consultants.co.uk. We also selected an external NTP server for time synchronisation, and enabled SSH.
Review the settings, and click Finish to start the installation and deployment of VMWARE vCenter Server Appliance 6.0.
The appliance is deployed
Packages are deployed
the appliance is configured
Starting Services
Installation Completed. Click the link provided to connect to vCenter Server Appliance via your browser.
Enter your Administrator@vsphere.local username and password.
 You are connected to vCenter Server
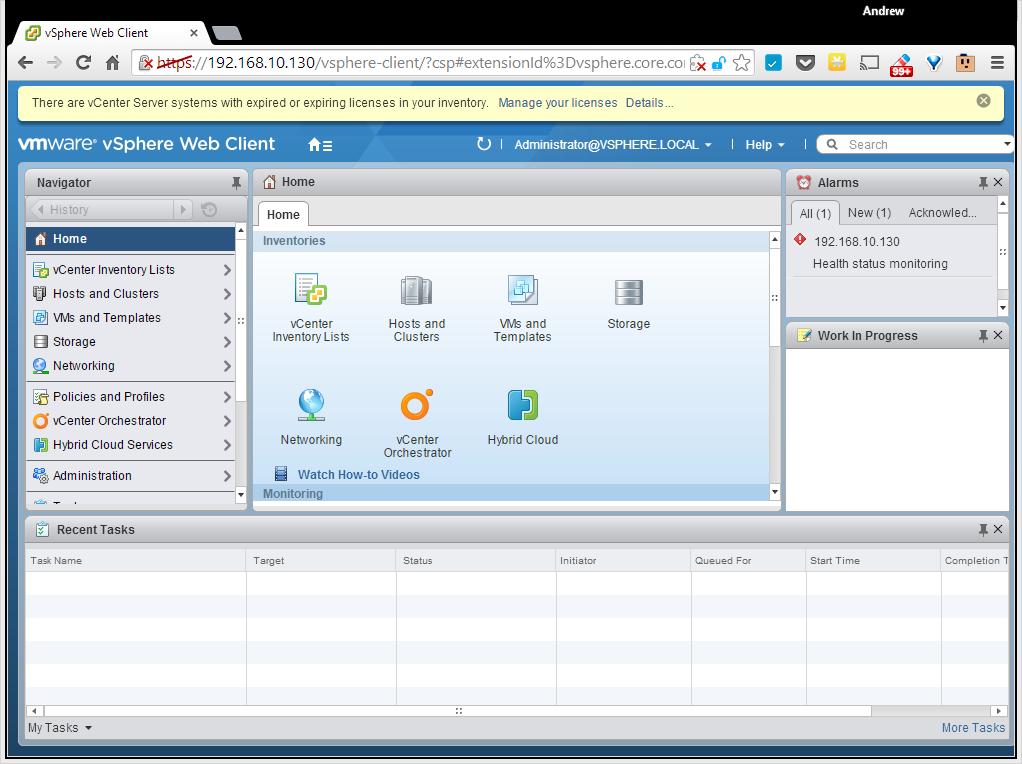 Congratulations you have successfully deployed and installed the VMWARE vCenter Server Appliance 6.0.
Basic VMware Articles Series:
During this series of articles VMware released VMware vSphere 5.5 and VMware vSphere Hypervisor ESXi 5.5. These articles are also applicable to VMware vSphere Hypervisor ESXi 5.0 and 5.5. For consistency, I have used VMware vSphere Hypervisor ESXi 5.1 throughout this series.
In my previous Experts Exchange Articles, most have featured Basic and Intermediate VMware and Virtualisation Topics.
If you would like to read my Basic VMware articles, they are listed at the end of this article for your convenience.
This article will show you how to install and configure the VMware vSphere Hypervisor 6.0 on a computer.VMware vSphere Hypervisor 6.0 is also known as ESXi 6.0.
The FREE version of ESXi 6.0 is limited to 32GB per server.
A full list of the ESXi 6.0 Hardware Requirements can be found in the VMware ESXi 6.0 Install Guide.
Check the VMware Hardware Compatability Lists (HCL), to discover if your computer is certified for use with ESXi 6.0.
If your computer is not listed on the VMware HCL, it may still be possible to install and run VMware ESXi 6.0 on your laptop, desktop, or server. The HCL exists because the server vendor and VMware have certified and tested ESXi 6.0 will function correctly, on the servers listed on the HCL.
Open the following link in your web browser https://my.vmware.com/web/vmware/evalcenter?p=free-esxi5&lp=default
Click the License and Download Tab
 Click Create an Account, to Create an Account and Login to the VMware Download Center. VMware will email you an Activation link which needs to be opened to create the account.
The following page will be displayed when you have successfully logged into the VMware Download Center.
 Pay special attention to the FREE License information which is displayed, and record this License Number, this will be required in a later article.
Click the download link for VMware ESXi 6.0 (CD ISO) Installable to download the software required to install ESXi 6.0 and also download the VMware vSphere Client 6.0. The VMware vSphere Client 6.0 software is the client software that allows us to connect and manage the ESXi 6.0 server, this will be required in a later article.
Either use the Download Manager or Manually Download button (which uses your web browser). The CD ISO is only 301MB so should not take too long to download. We have a very slow internet connection, at approx 350 kB/sec, and it takes us approximately 10 minutes to download.
Once the downloads have been completed using your favourite MD5 and SHA1 checksum utility, confirm the downloads have been downloaded correctly, using the published MD5 and SHA1 checksums from the VMware website. We use the MD5 & SHA-1 Checksum Utiliy 1.1 from http://raylin.wordpress.com/downloads/md5-sha-1-checksum-utility/.
Many VMware vSphere Hypervisor 6.0 installations fail due to corrupt downloads.


Write (Burn) the VMware-VMvisor-Installer-6.0.0-2159203.x86_64.iso downloaded in Step 1, to a blank CDROM, using your favourite CD writing software. We use ISO Recorder (http://alexfeinman.com/isorecorder.htm). If you are using remote server utilities, e.g. HP iLo or Dell iDRAC,. you can attach the virtual CDROM drive in the server to the VMware-VMvisor-Installer-6.0.0-2159203.x86_64.iso ISO, so there is no requirement to write a CDROM.
This is a step which is often missed, ensure the BIOS BOOT order is set to BOOT from the CDROM Device or ATAPI device in the server, otherwise the computer will not BOOT from the CDROM.
Power on the Computer, the computer will BOOT from the CDROM, and the following BOOT screen will be displayed
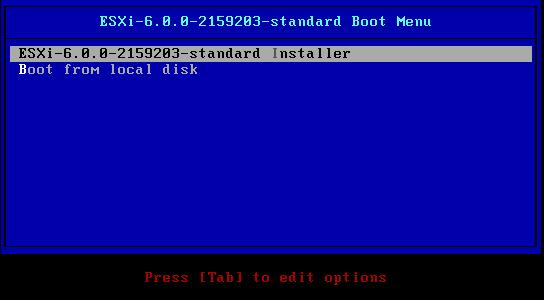 The default option is to BOOT ESXi-6.0.0-2159203-standard Installer after 10 seconds, hit any key will pause the BOOT process.
 At the Welcome to the VMware ESXi 6.0.0 Installation screen Hit Enter to Continue the installation.
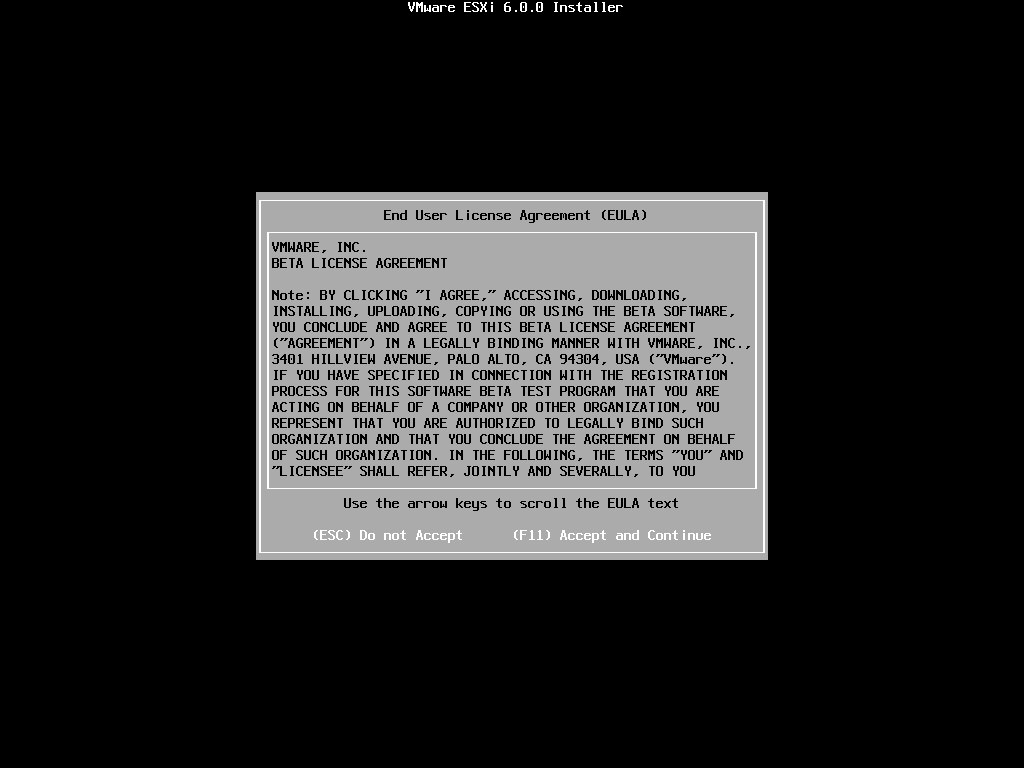
Press F11 (Function Key 11) to Accept the VMware End User License Agreement (EULA)
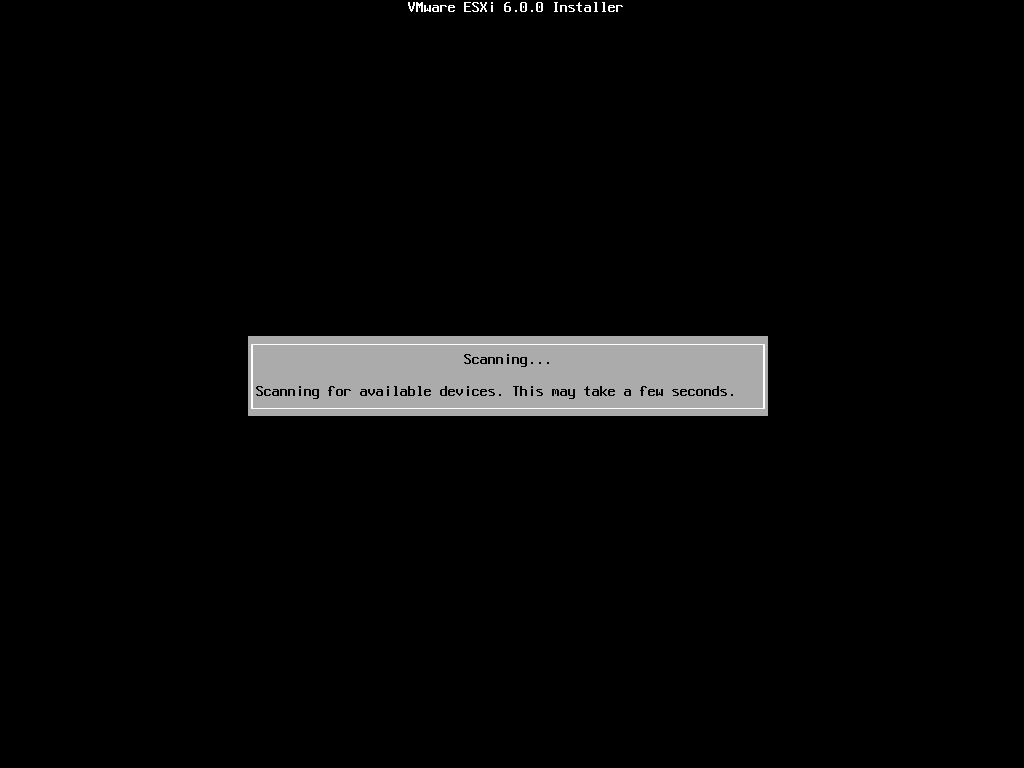
 The ESXi installer will scan the computer storage controller for available devices to install ESXi.
 ESXi can be installed on a USB flash drive, SD card attached to the computer, local SATA, local RAID Array, or Fibre Channel or iSCSI LUN. All these are supported options. As the footprint for ESXi is very small only 1GB is required for the ESXi OS installation.
We have written an EE Article here on How to Backup an ESXi installation on an USB Flash Drive or SD card, for security or redundancy. After you have completed the ESXi 5.1 installation, shutdown the server, remove the USB flash drive or SD card, and duplicate it using our EE Article.
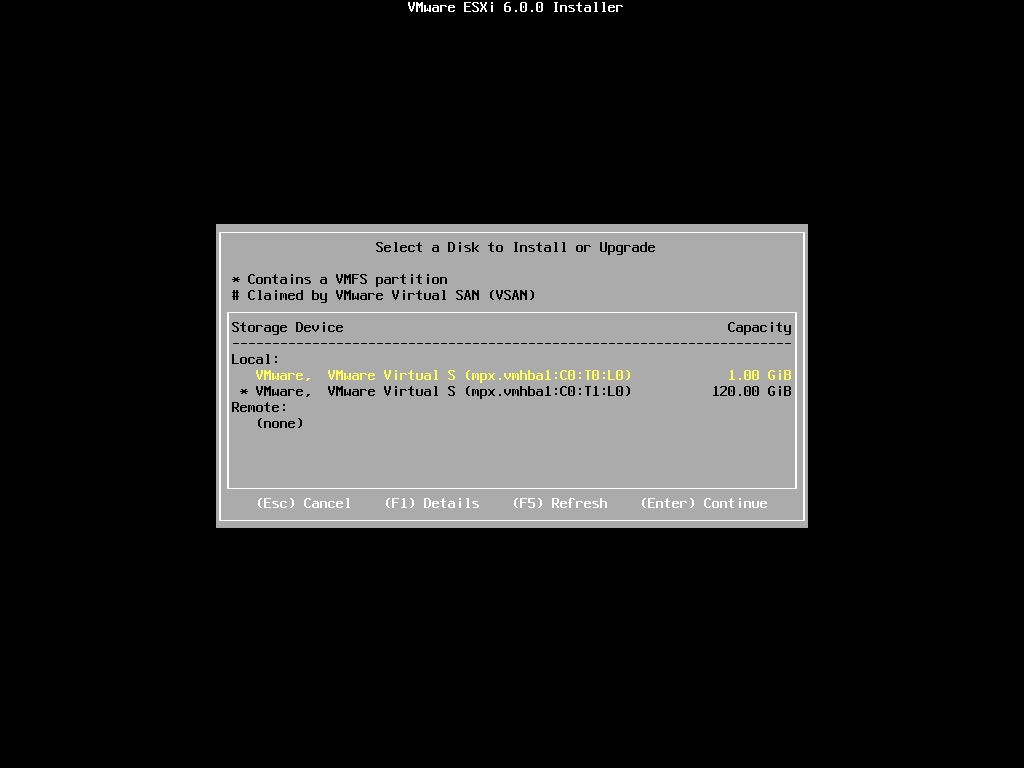
When prompted select a disk to install ESXi on, in the following example, we have two disks connected to this computer, a single 1GB disk, and a 120GB disk. We are going to use the small disk for the OS. (this simulates the USB flash drive!). The larger 120GB disk will be used later for the storage of virtual machines.
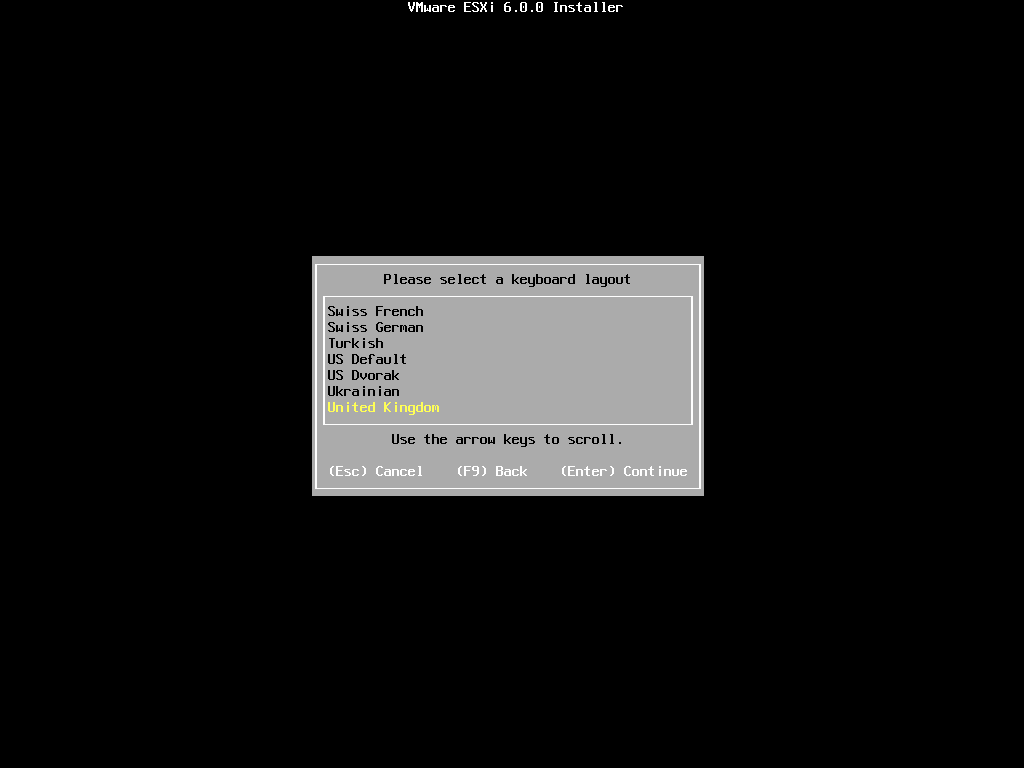
 When prompted, select the keyboard layout and hit Enter to continue. The default keyboard layout is US Default.
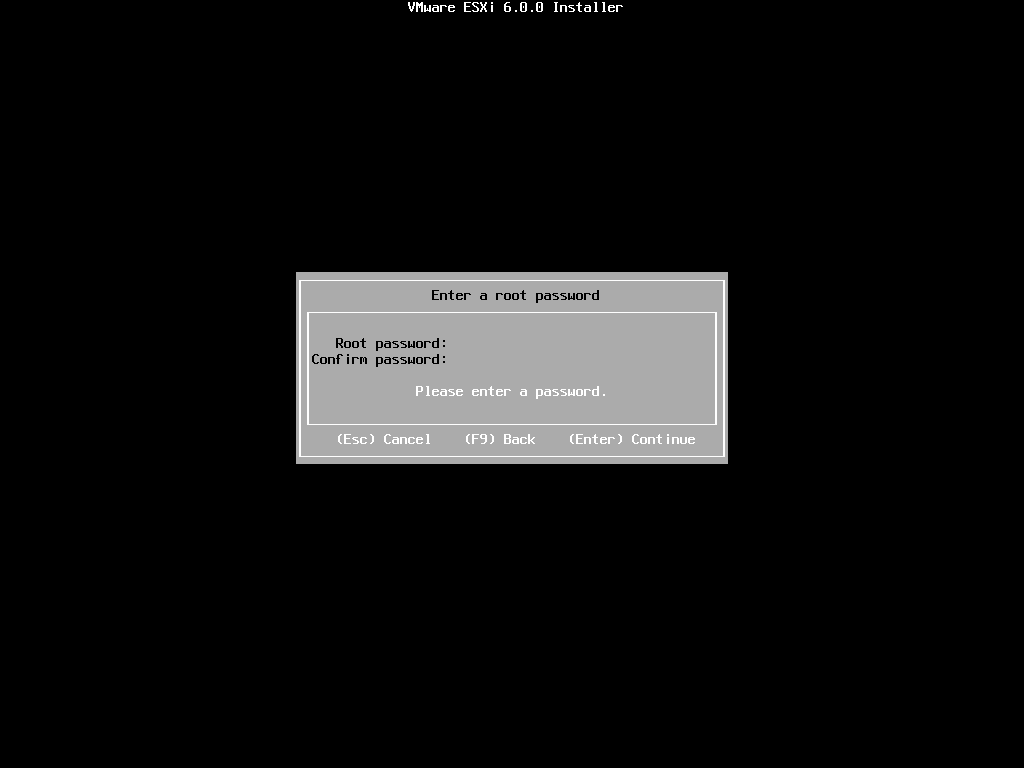
When prompted enter a root password, confirm the password and hit Enter to continue
 The following will be displayed
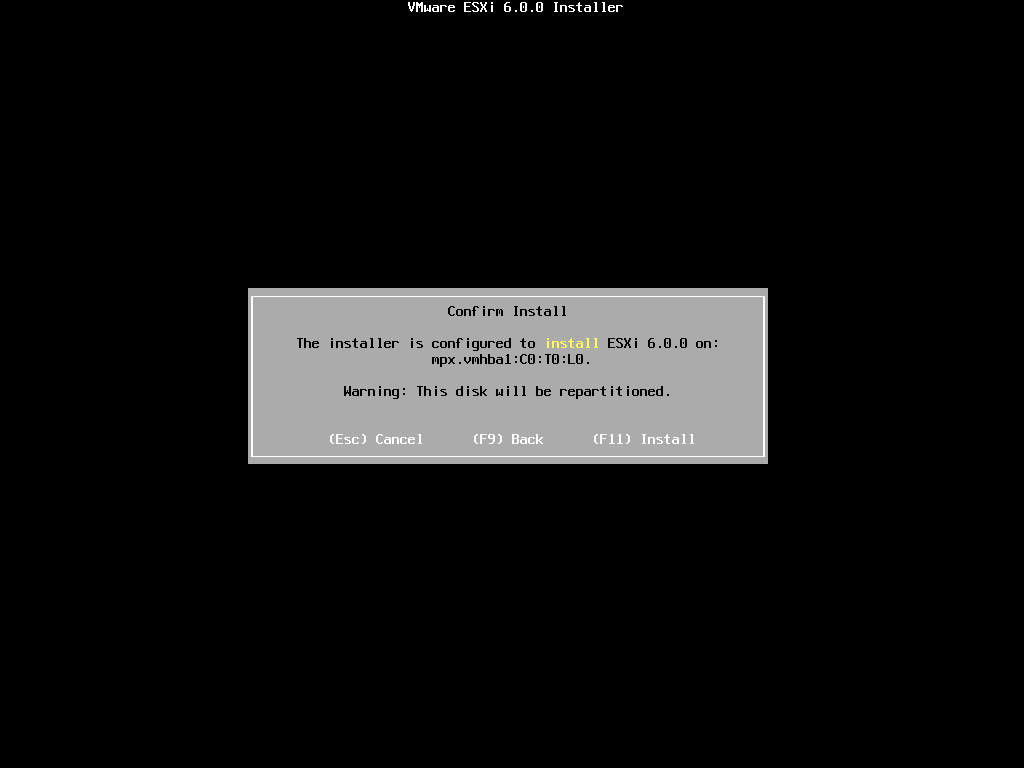
 When prompted Confirm the Installation on the selected disk and press F11 (Install)
– Function Key 11
All data will be erase, as the disk will be repartitioned.
 The Progress Bar will confirm installation progress.
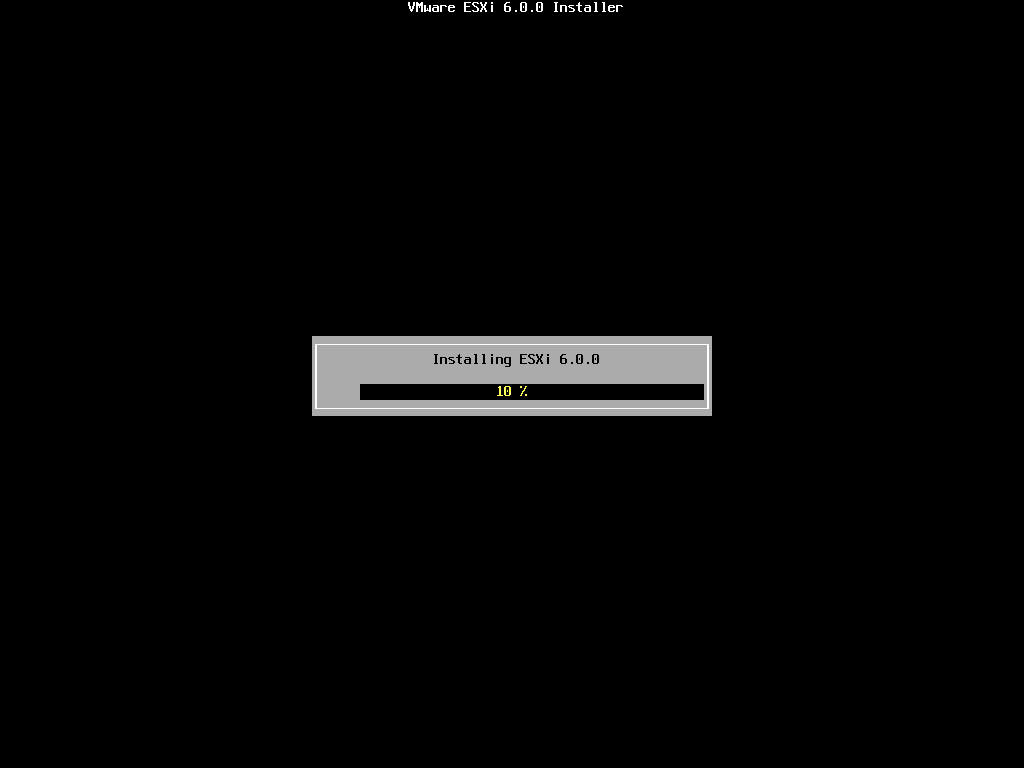


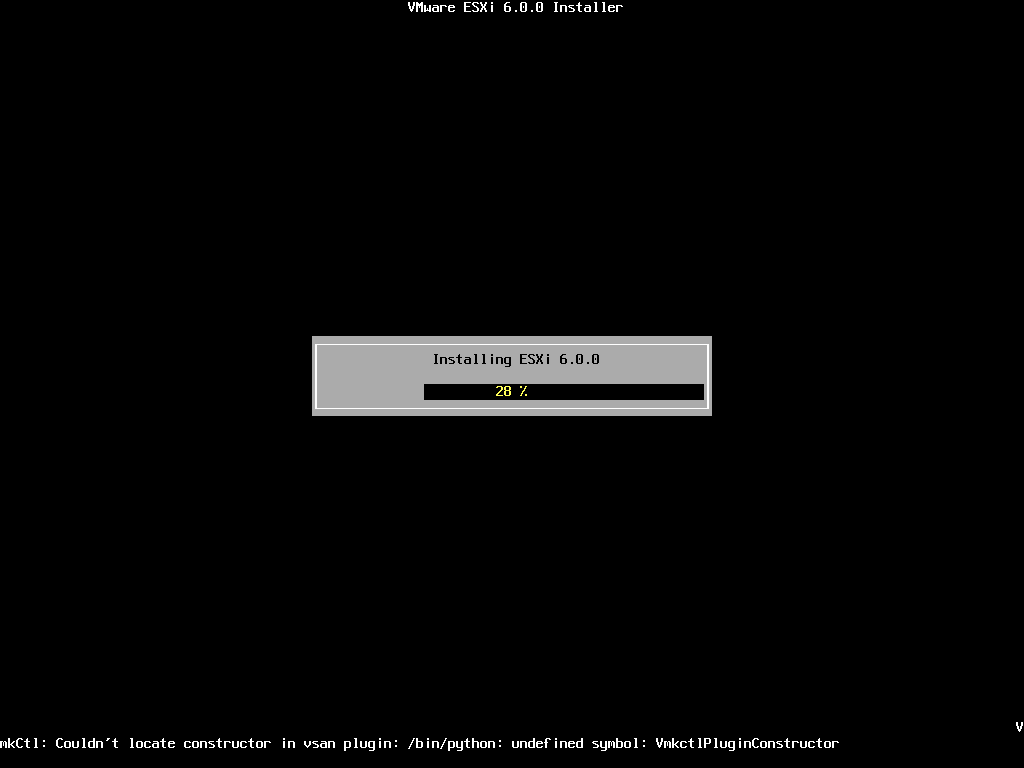

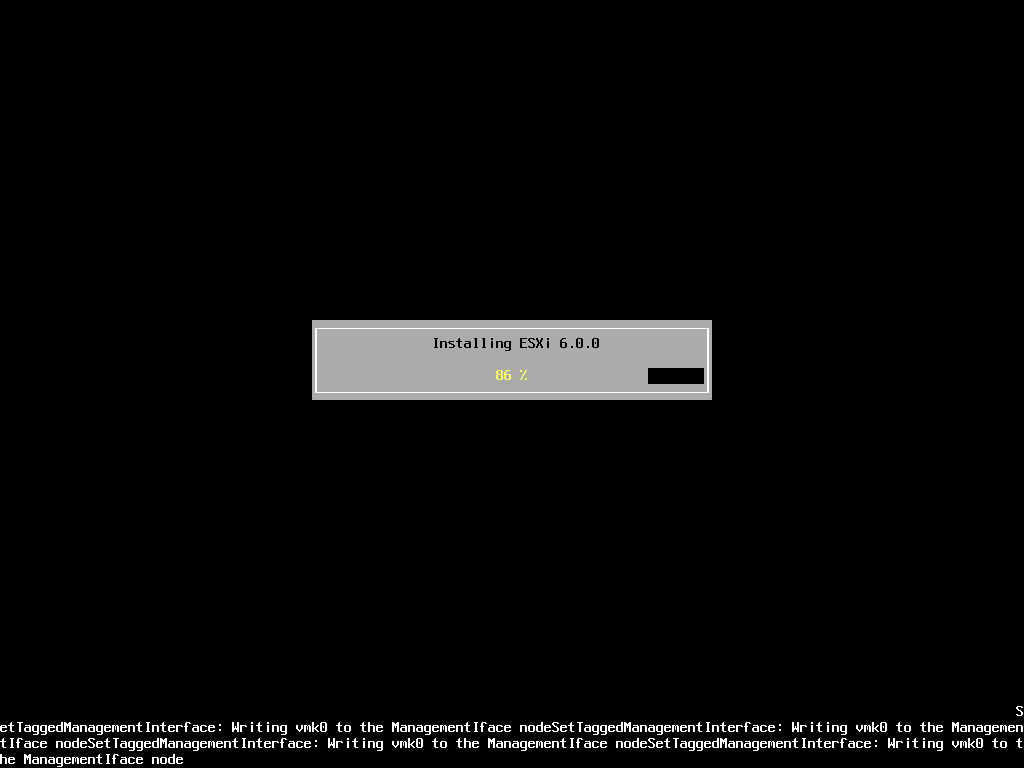
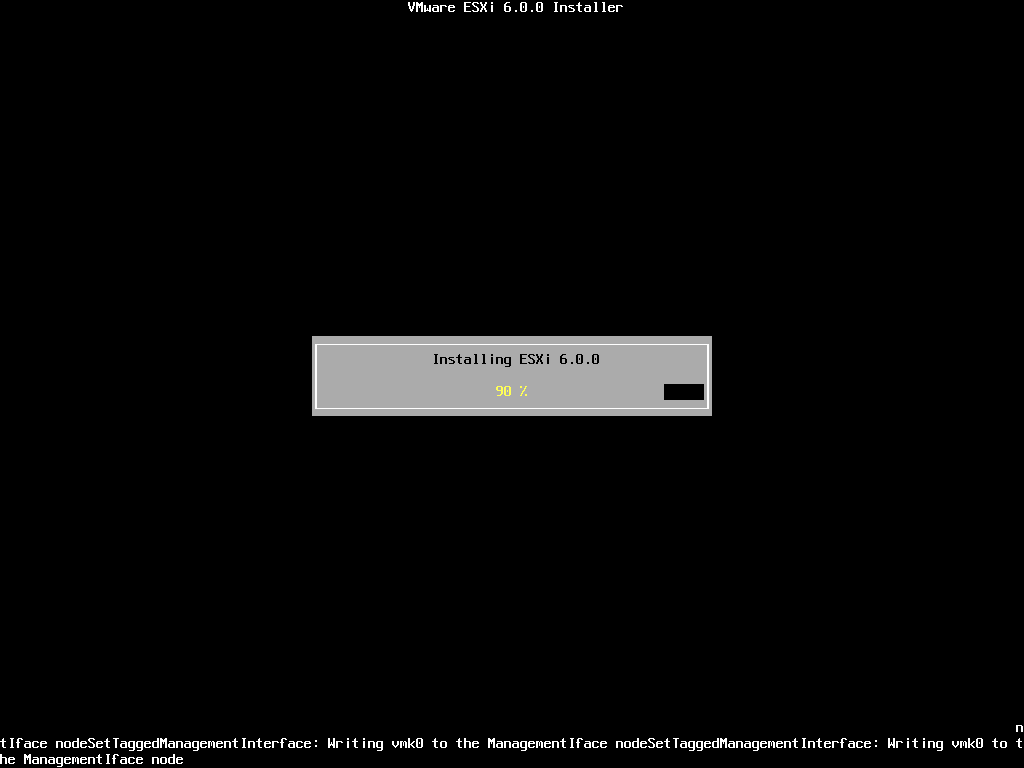 The installation only takes approximately 5-10 minutes, depending upon speed of storage. When the installation has completed the following screen will be displayed.
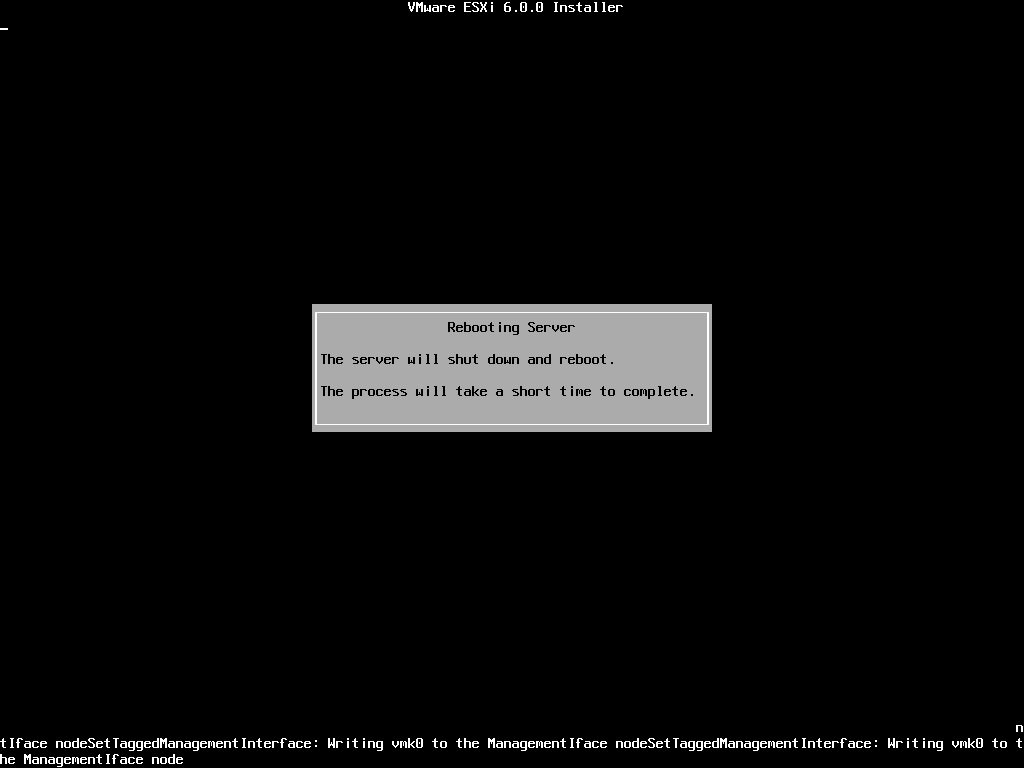
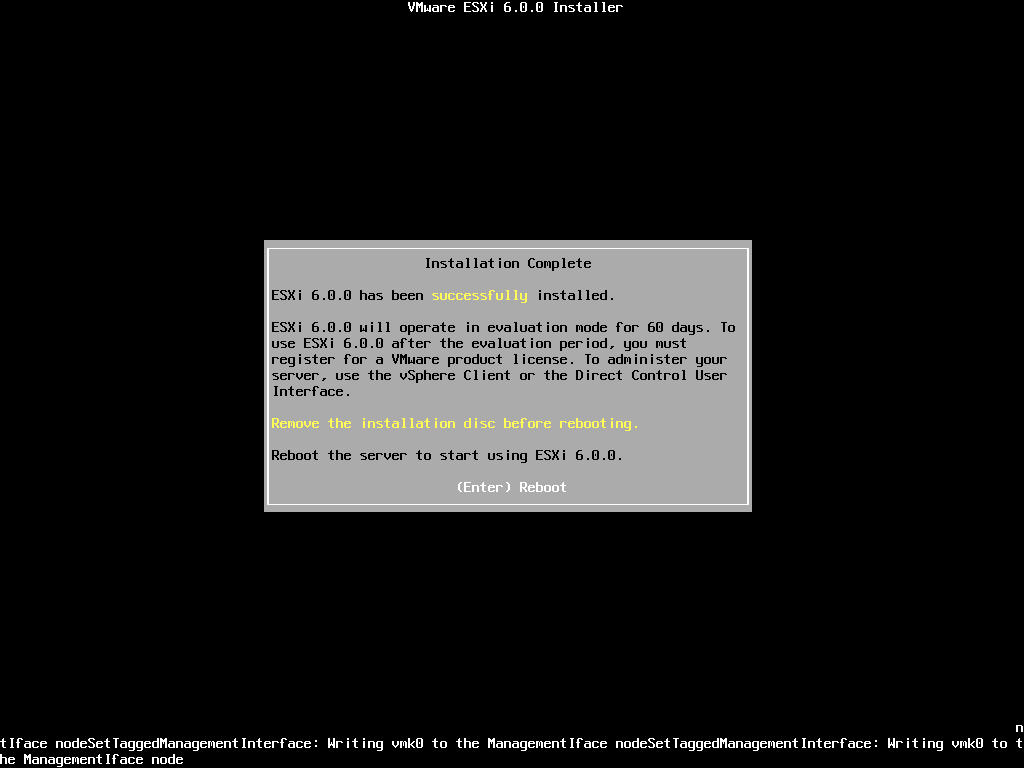 Remove the CDROM installation disk before rebooting. Hit Enter to Reboot. After hitting Enter the follow screen will be displayed and the computer will reboot.
 ESXi 6.0 will operate in evaluation mode for 60 days. This is the same mode as a FULLY LICENSED ESXi 6.0 server. If you wish to evaluate all the bells and whistles that ESXi 6.0 has to offer, do not register your FREE license. for 60 days, this will allow you to evaluate ESXi 6.0 server fully. On day 59/60, Apply your FREE license to continue using the product, or you will not be able to power on any virtual machines.
The following screen is displayed when VMware ESXi 6.0 first boots
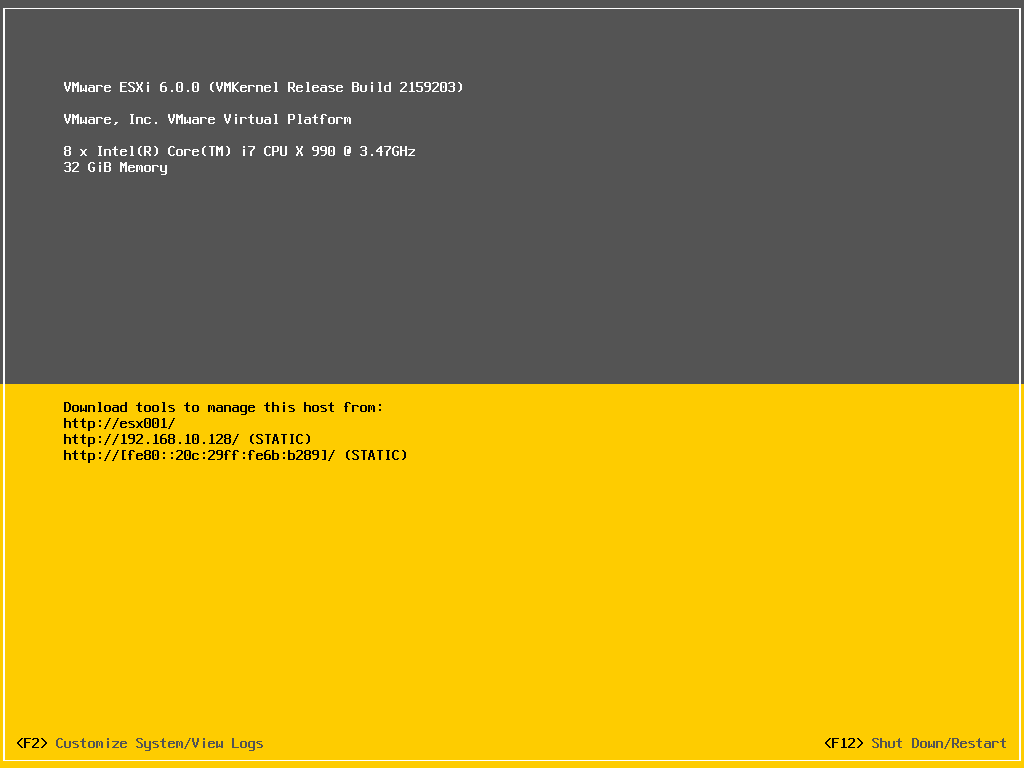
The server is fully booted when it displays the following screen
 The default server configuration is to use DHCP, if you do not have a DHCP server issuing IP Addresses on your network you will need to assign an IP Address. We recommend you use a static IP Address for your ESXi Host Server.
Press F2 to Customize System, you will be prompted to enter the root username and password.
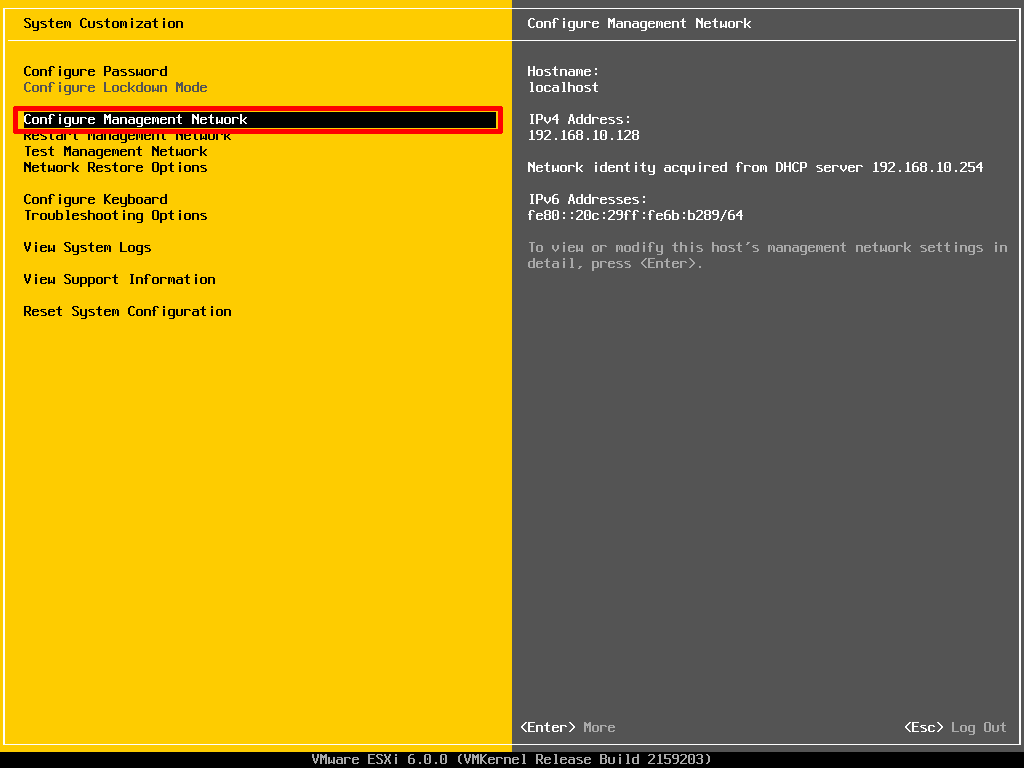 Select Configure Management Network to change Network Parameters.
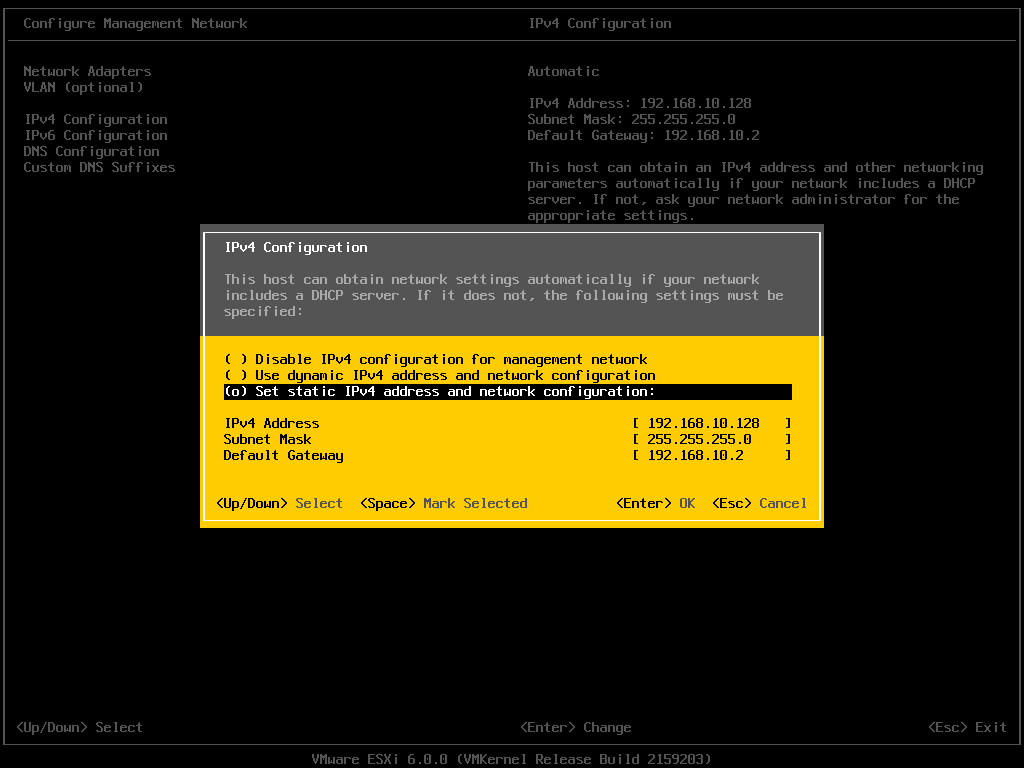
Select IPv4 Configuration
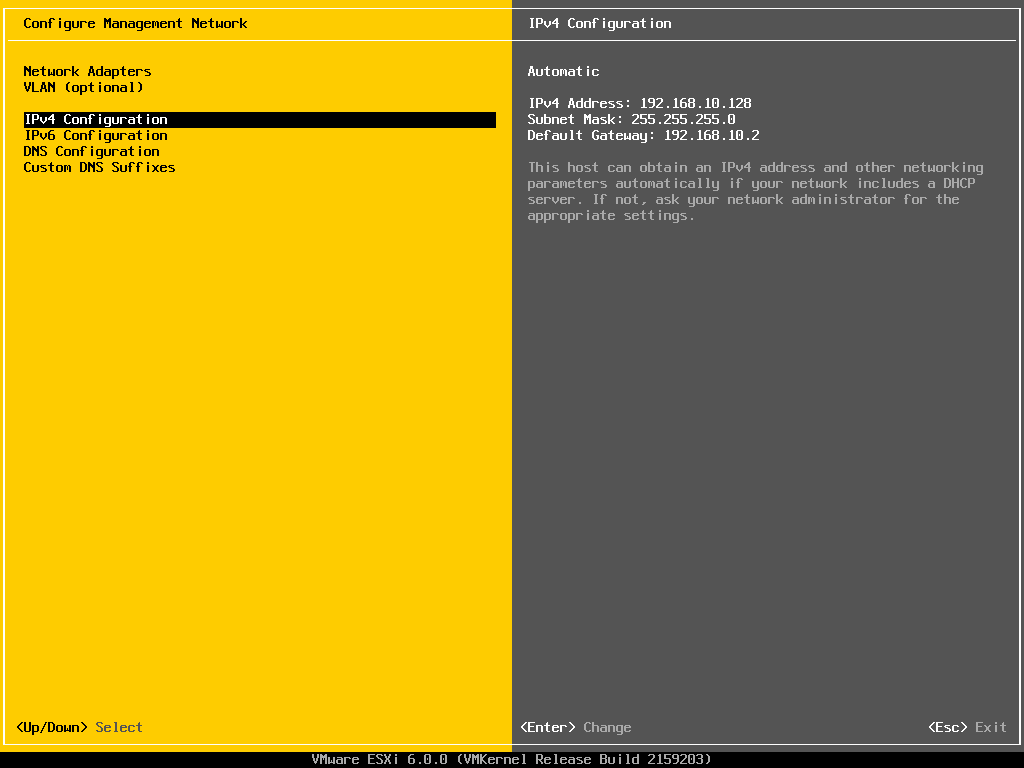 Set the Static IPv4 address and network configuration, Subnet Mask and Default Gateway, it’s important to set the correct Default Gateway, as this will be used later. Hit Enter to confirm and save the configuration.
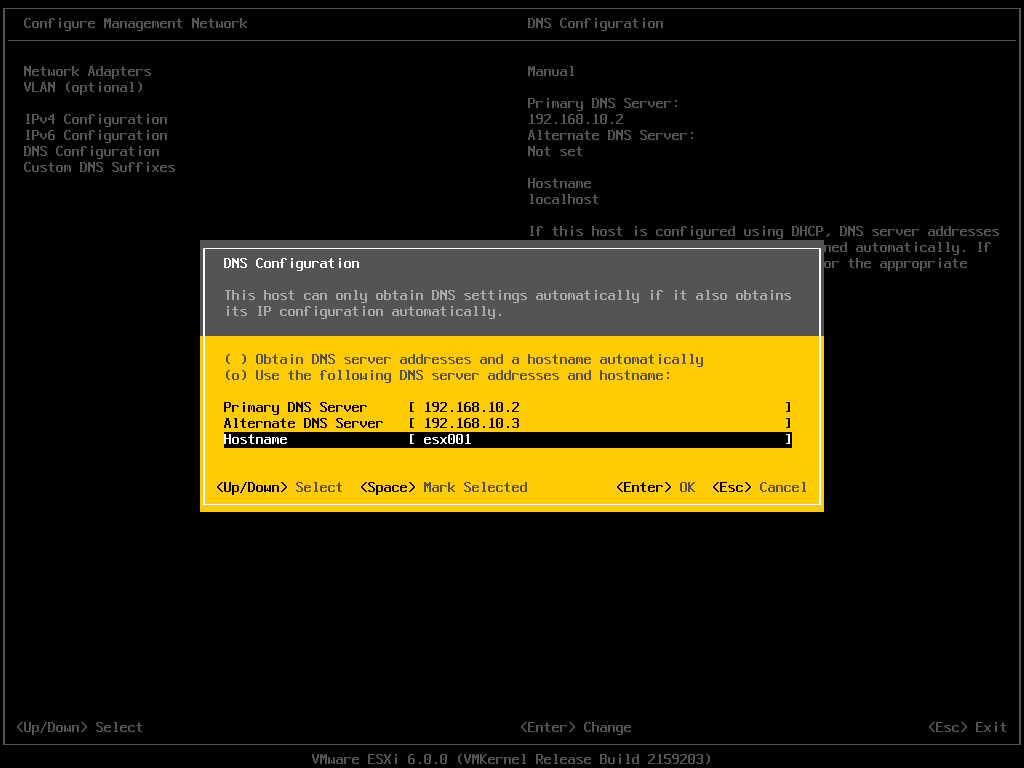
 Select DNS Configuration, enter the correct DNS information for your network, and enter a hostname for your server. Hit Enter to save the configuration.
 Select Custom DNS Suffixes
Enter your DNS suffix (the domain name for your network). Make sure you have created a DNS A Record in your DNS, so that this server can be resolved correctly through forward and reverse lookups.
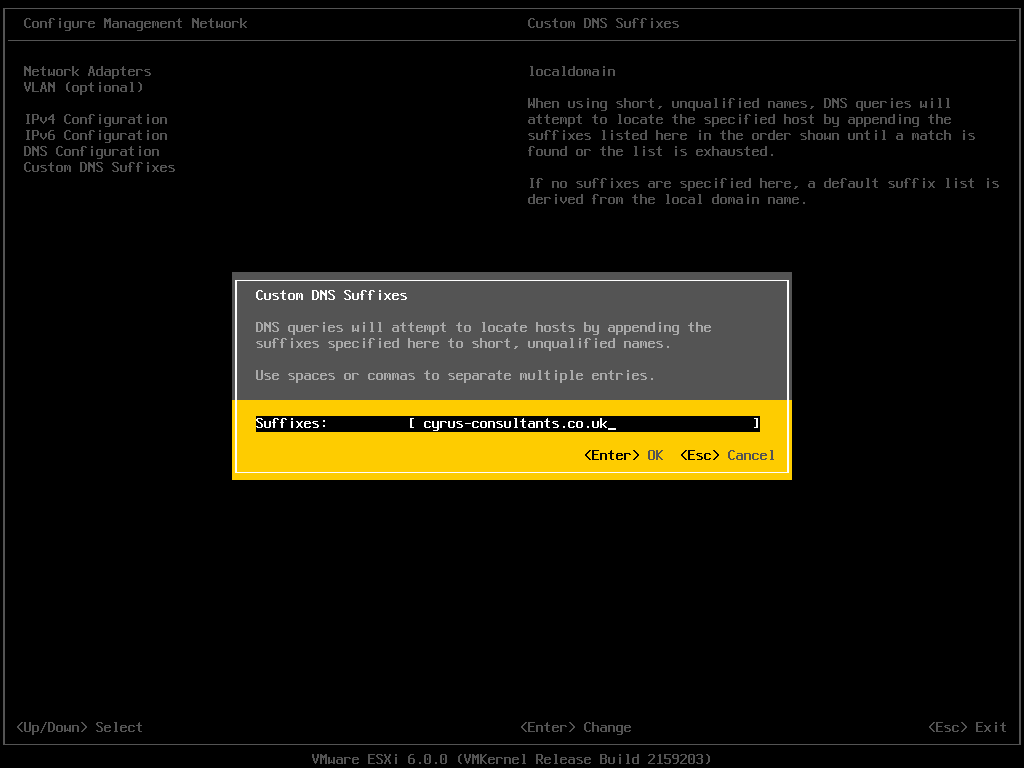 Hit Enter to save your configuration.
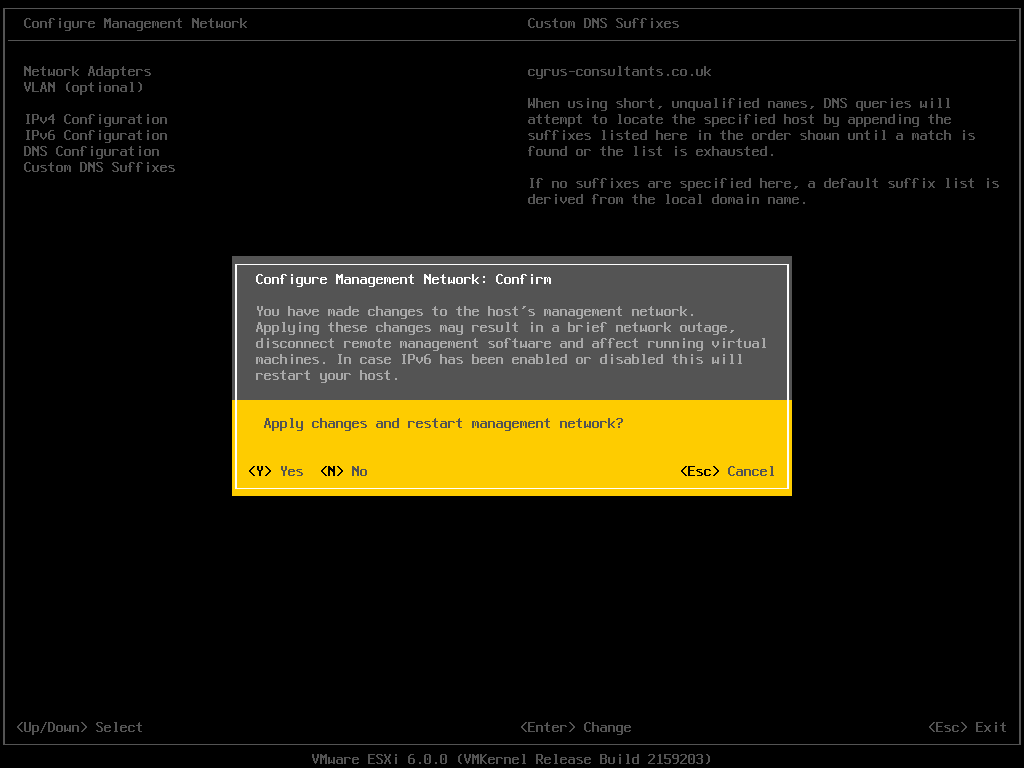
Press Escape, the following screen will appear, select Y(es) to apply changes.
 Press Escape to Logout and return to the console screen.
You will notice on the console screen, the server now has a hostname configured, and correct static IP Address.
Congratulations you have successfully installed and configured VMware vSphere Hypervisor 6.0.
In the next article in the series, we will connect and continue to configure the VMware vSphere Hypervisor 6.0.
Basic VMware Articles Series:
During this series of articles VMware released VMware vSphere 5.5 and VMware vSphere Hypervisor ESXi 5.5. These articles are also applicable to VMware vSphere Hypervisor ESXi 5.0 and 5.5. For consistency, I have used VMware vSphere Hypervisor ESXi 5.1 throughout this series.


![[Valid RSS]](http://andysworld.org.uk/images/valid-rss.png "Validate my RSS feed")
