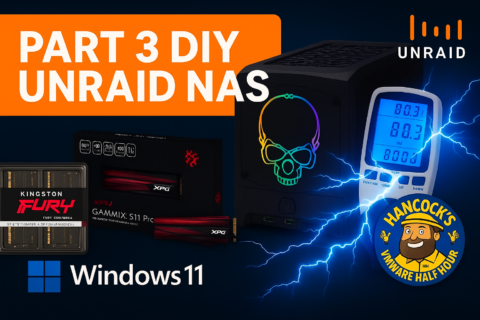
PART 3 – DIY Unraid NAS: Power Testing & Stability Checking with OCCT
Welcome back to Part 3 of the DIY Unraid NAS series!
In Part 1, we unboxed and assembled the hardware.
In Part 2, we ran a quick Windows 11 installation test (and of course, everything that could go wrong… went Pete Tong).
Now that the system boots and behaves under a “normal” workload, it’s time to get serious. Before committing this Intel NUC–powered machine to Unraid full-time, we need to ensure it’s electrically stable, thermally stable, and capable of running 24/7 without surprises.
This stage is all about power draw, thermals, and stress testing using OCCT — a powerful tool for validating hardware stability.
Why Power & Stability Testing Is Essential for a NAS
A NAS must be:
- Reliable
- Predictable
- Stable under load
- Able to handle long uptimes
- Capable of sustained read/write operations
- Tolerant of temperature variation
Unlike a desktop, a NAS doesn’t get breaks. It runs constantly, serving files, running Docker containers, hosting VMs, and performing parity checks. Any weakness now — PSU spikes, hot VRMs, faulty RAM — will eventually show up as file corruption or unexpected reboots.
That’s why stress testing at this stage is non-negotiable.
Using OCCT for a Full-System Torture Test
OCCT is typically used by overclockers, but it’s perfect for checking new NAS hardware.
It includes tests for:
1. CPU Stability
Pushes the CPU to 100% sustained load.
Checks:
- Thermal throttling
- Cooling capacity
- Voltage stability
- Clock behaviour under load
A NAS must not throttle or overheat under parity checks or rebuilds.
2. Memory Integrity Test
RAM is the most overlooked component in DIY NAS builds.
Errors = silent data corruption.
OCCT’s memory test:
- Fills RAM with patterns
- Reads, writes, and verifies
- Detects bit-flip issues
- Ensures stability under pressure
Memory integrity is vital for Unraid, especially with Docker and VMs.
3. Power Supply Stress Test
OCCT is one of the few tools capable of stressing:
- CPU
- GPU (if present)
- Memory
- All power rails
simultaneously.
This simulates worst-case load and reveals:
- Weak PSUs
- Voltage drops
- Instability
- Flaky power bricks
- VRM overheating
Not what you want in a NAS.
4. Thermal Behaviour Monitoring
OCCT provides excellent graphs showing:
- Heat buildup
- Fan curve response
- Temperature equilibrium
- VRM load
- Stability over time
This shows whether the NUC case and cooling can handle long running services.
Test Results: Can the Intel NUC Handle It?
After running OCCT, the system performed exceptionally well.
CPU
- No throttling
- Temperatures within acceptable limits
- Clock speeds held steady
RAM
- Passed memory integrity tests
- No bit errors
- Stable under extended load
Power Delivery
- No shutdowns or brown-outs
- The power brick handled peaks
- VRMs stayed within thermal limits
Thermals
- Fans behaved predictably
- Temperature plateau was stable
- No unsafe spikes
In other words:
This machine is ready to become an Unraid NAS.
Why Validate Hardware Before Installing Unraid?
Because fixing hardware problems AFTER configuring:
- Shares
- Parity
- Docker containers
- VMs
- Backups
- User data
…is painful.
Hardware validation now ensures:
- No silent RAM corruption
- No thermal issues
- No unexpected shutdowns
- No nasty surprises during parity builds
- The system is reliable for 24/7 operation
This step protects your data, your time, and your sanity.
What’s Coming in Part 4
With the hardware:
- Burned in
- Power-tested
- Thermally stable
- Verified by OCCT
We move to the exciting part:
Actually installing Unraid!
In Part 4, we will:
- Prepare the Unraid USB boot device
- Configure BIOS for NAS use
- Boot Unraid for the first time
- Create the array
- Assign drives
- Add parity
- Begin configuring shares and services
We’re finally at the point where the NAS becomes… a NAS!
Stay tuned — the best parts are still ahead.


![Validate my RSS feed [Valid RSS]](http://andysworld.org.uk/images/valid-rss.png)