The original payload size or maximum transmission unit (MTU) of an ethernet frame is 1500 bytes. A jumbo frame has an ethernet frame size of 9000 bytes or over. Common Jumbo Frame sizes are 9000, 9216 bytes (example – HP switches).
Enabling Jumbo Frames may help reduce storage latency and increase storage throughput when used in conjunction with iSCSI or NFS storage network protocols with a VMware vSphere Hypervisor (ESXi 5.0) host server and a storage area network (SAN) or network attached storage (NAS) device.
Before enabling Jumbo Frames on an ESXi 5.0 server, check
(i) ensure the servers network interface card can support jumbo frames. Check with server or network manufacturer.
(ii) network switches support the use of jumbo frames, and enable jumbo frames on the network switches. Not all switches support the use of jumbo frames.
(iii) the SAN or NAS supports jumbo frames, and is enabled accordingly to manufacturers instructions.
The end to end network topology must support jumbo frames, otherwise ethernet frame packets will become fragmented, and performance will be degraded.
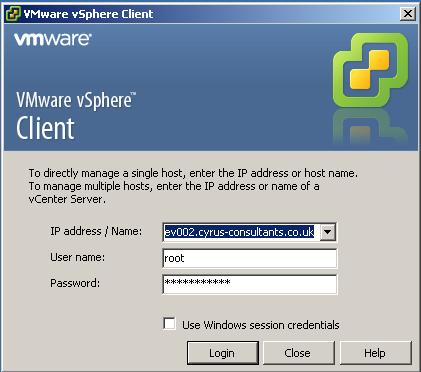
Connect to the VMware vSphere Hypervisor (ESXi 5.0) Server
Using the VMware vSphere Client, Login and Connect to the ESXi 5.0 server, using IP address or hostname of the ESXi 5.0 server, using root username and password credentials. If you have a VMware vSphere vCenter server, you could also specify IP address or hostname of the vCenter server.
- 2
-
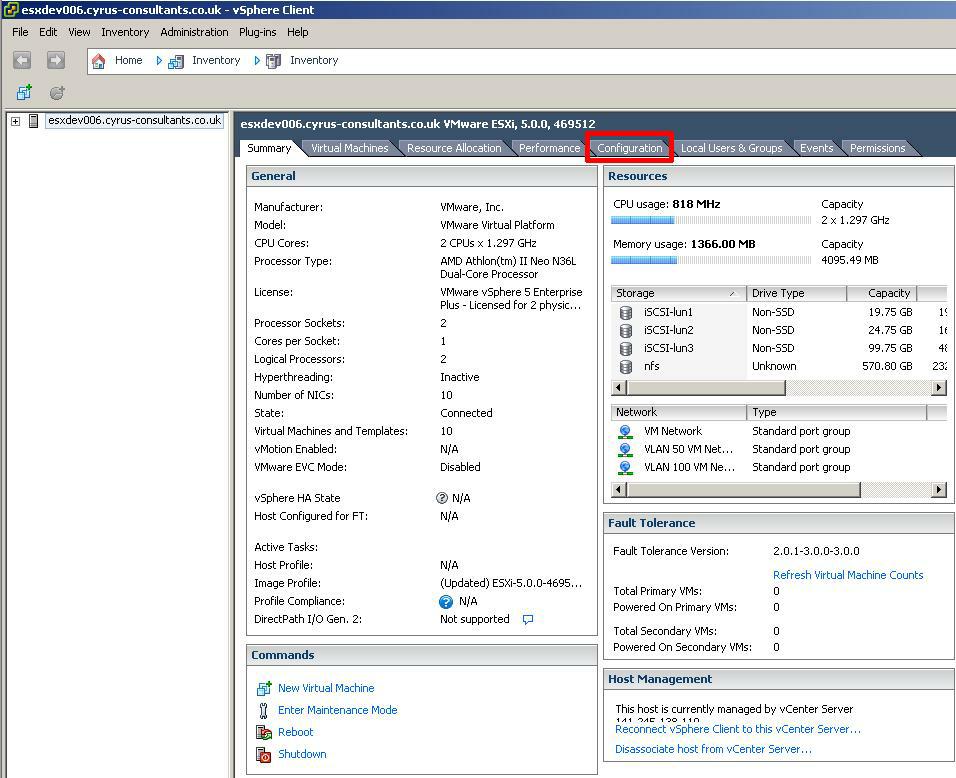
Select the Configuration Tab
Once you are logged into and connected to the host ESXi 5.0 server, Select the Configuration Tab.
- 3
-
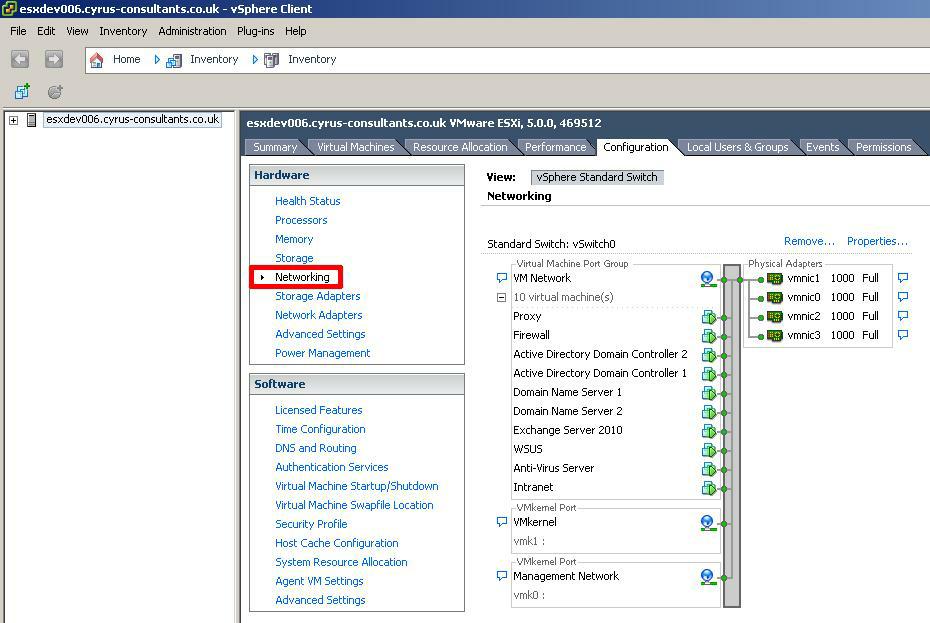
Select the Networking option
Click the Networking option to display the network vSwitches.
- 4
-
Select the Properties of the vSwitch you wish to enable jumbo frames

you can check the existing frame or MTU size of the vSwitch. In this example vSwitch0 is selected.
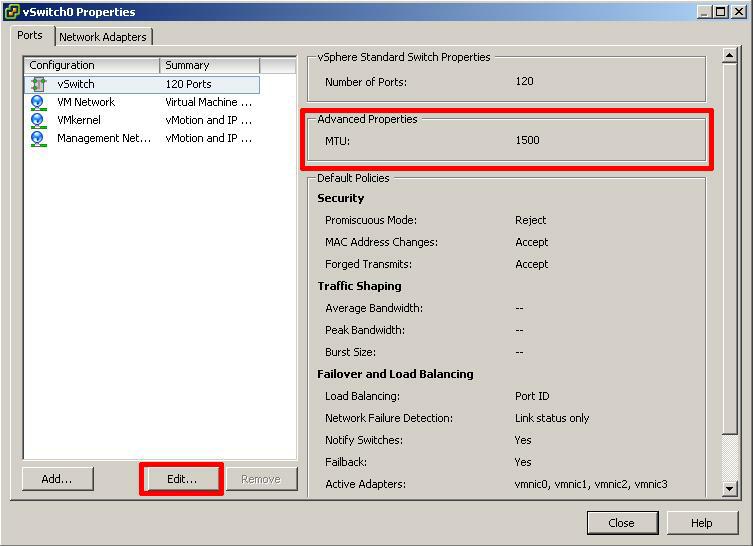
Click Edit
- 5
-
Change MTU value of the selected vSwitch
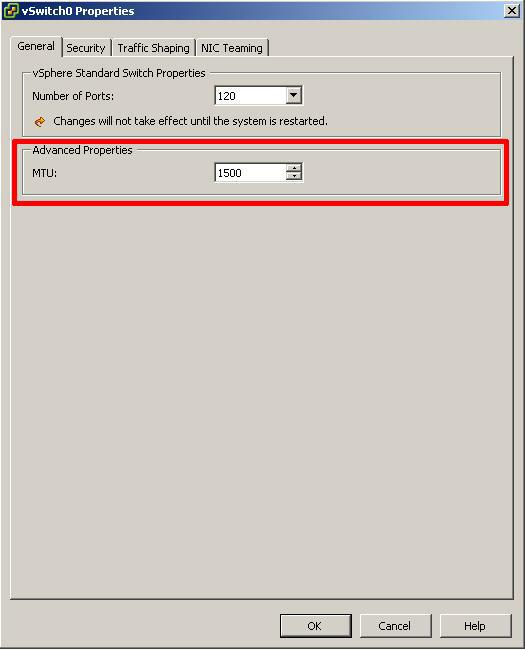
The default MTU (frame) size is 1500, enter the MTU (jumbo frame size) either 9000 (9216 if you switch is HP). Check with your network switch and SAN/NAS vendor for correct jumbo frame size.
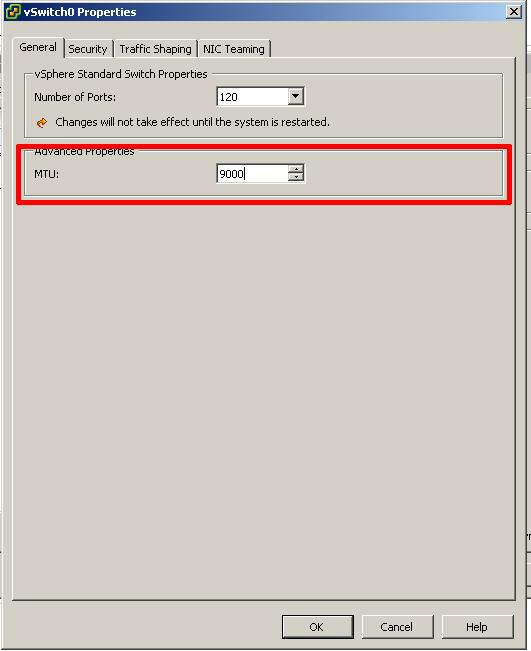
Click OK and Close.
- 6
-
Jumbo Frames have been enabled successfully
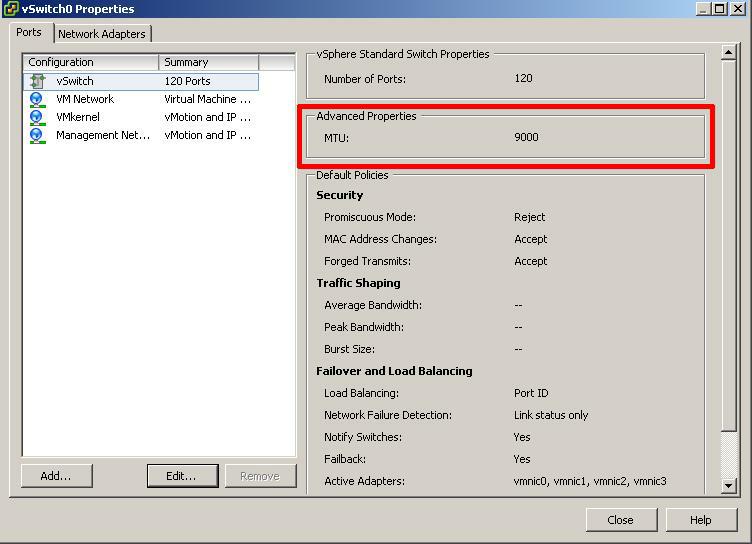
You have successfully configured your vSwitch for jumbo frames.
- 7
-
Test Network Change
Once you have configured jumbo frames, it is important to test this change before commissioning any ESXi 5.0 server into production.


![[Valid RSS]](http://andysworld.org.uk/images/valid-rss.png "Validate my RSS feed")