In my previous
VMware Articles, most featured Intermediate VMware Topics. My next series of articles will concentrate on topics for the VMware Novice; this is the
fourth article in this series.If you would like to read the other articles in this series, they are listed here for your convenience.
HOW TO: Install and Configure VMware vSphere Hypervisor 5.1 (ESXi 5.1)
HOW TO: Connect to the VMware vSphere Hypervisor 5.1 (ESXi 5.1) using the vSphere Client
HOW TO: Create an ISO CD-ROM/DVD-ROM image (*.iso), and MD5 checksum signature, for use with VMware vSphere Hypervisor 5.1 (ESXi 5.1)
In this series of basic VMware articles for the Novice, I’ll be showing you the basic VMware skills required to install, configure and deploy virtual machines using VMware’s FREE VMware vSphere Hypervisor (ESXi).
In this article we will show you HOW TO: Upload an ISO CD-ROM/DVD-ROM image to a VMware datastore for use with VMware vSphere Hypervisor 5.1 (ESXi 5.1) using the vSphere Client, and checking its MD5 checksum signature is correct. There are other third party tools, that can be used to upload ISO image files, these include:-
The above applications, require additional installation and configuration, in this article we will use the VMware vSphere Client.
- 1
-
Connect to the VMware vSphere Hypervisor 5.1 (ESXi 5.1) or vSphere vCenter Server using the vSphere Client
Please refer to my EE article on HOW TO: Connect to the VMware vSphere Hypervisor 5.1 (ESXi 5.1) using the vSphere Client
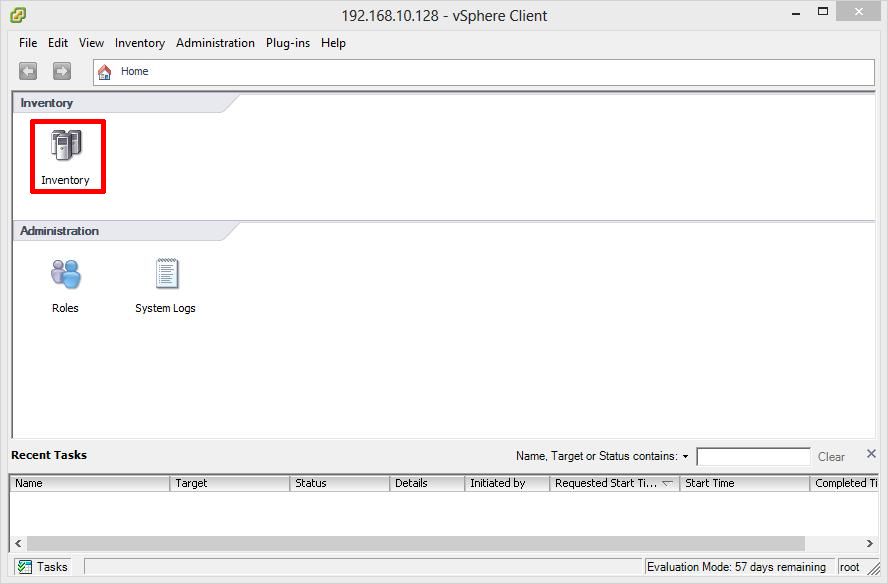
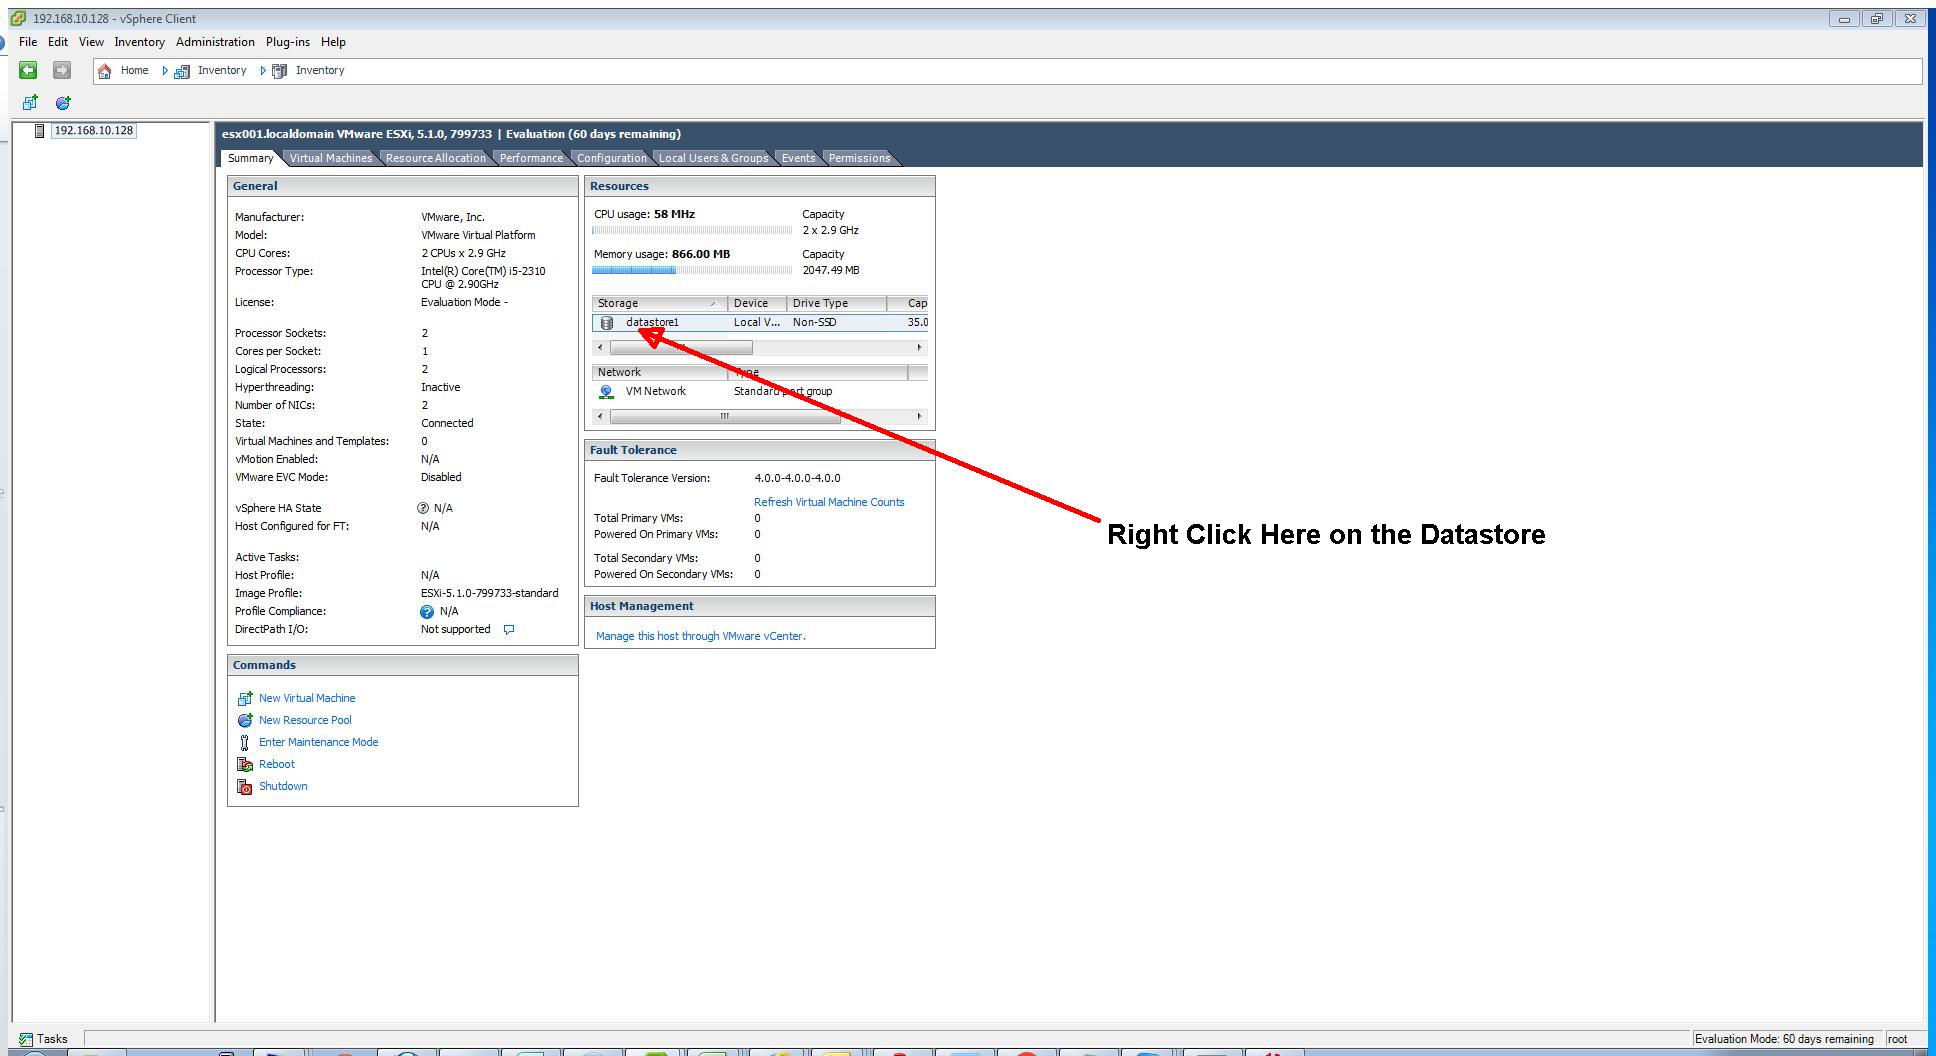
Once connected to the “default hypervisor home page”, click the Inventory icon, to see the server’s Inventory.
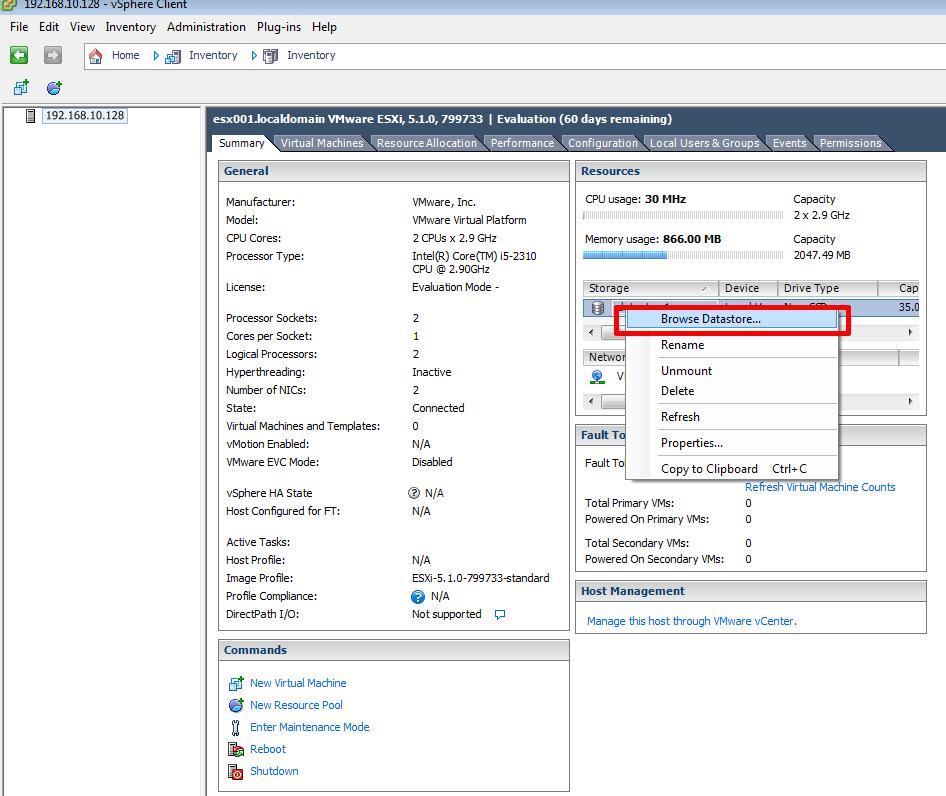
Right Click the datastore name ‘datastore1’ and select Browse Datastore.
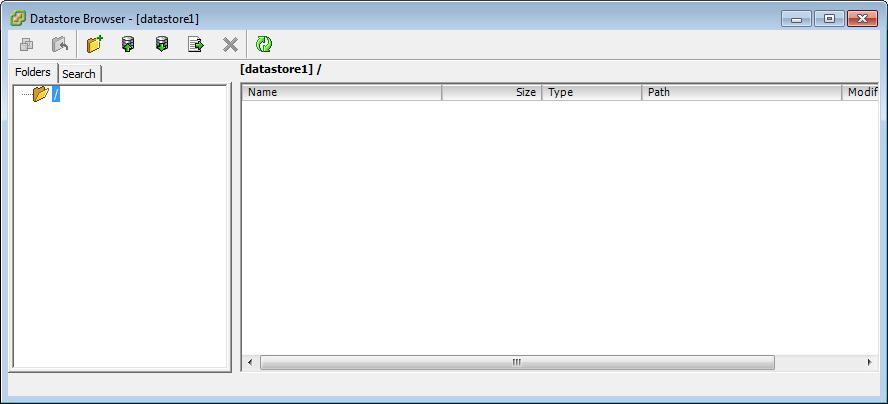
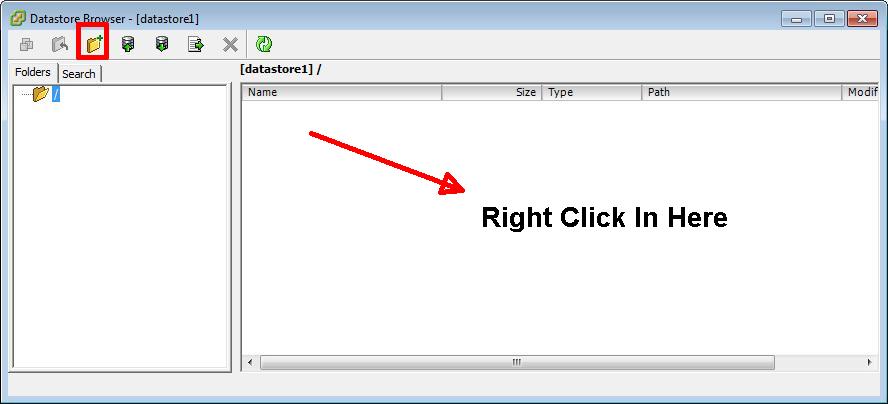
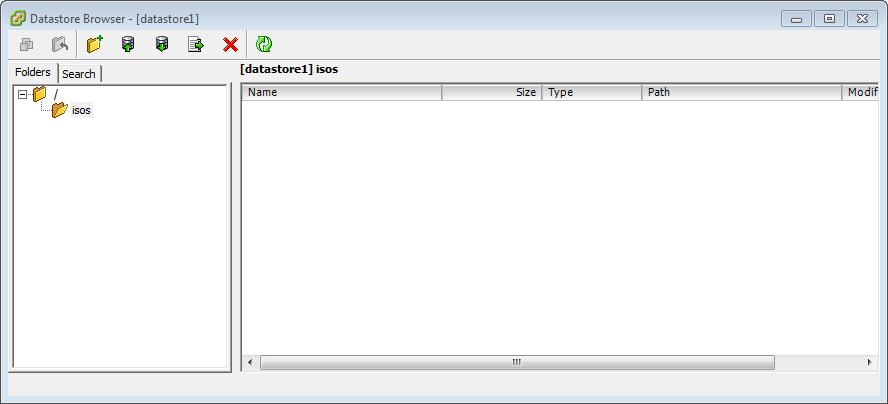
The Datastore Browser window will be opened, and you can browse the files and folders, that are located on the datastore. If no virtual machines or files are present, this will be empty. To organise your ISO image files, we would recommend you create a folder called isos. Either select the ‘Create A New Folder’ icon, on the ribbon bar, or right-click in the right-hand empty panel, and select New Folder.
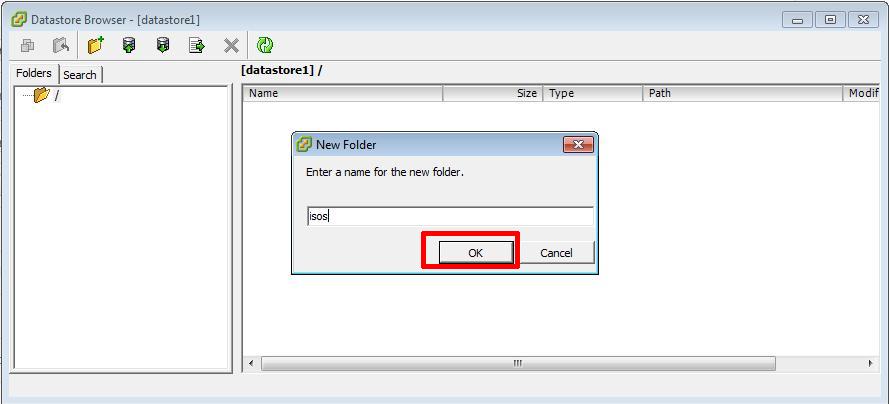
Enter folder name – isos, and Click OK
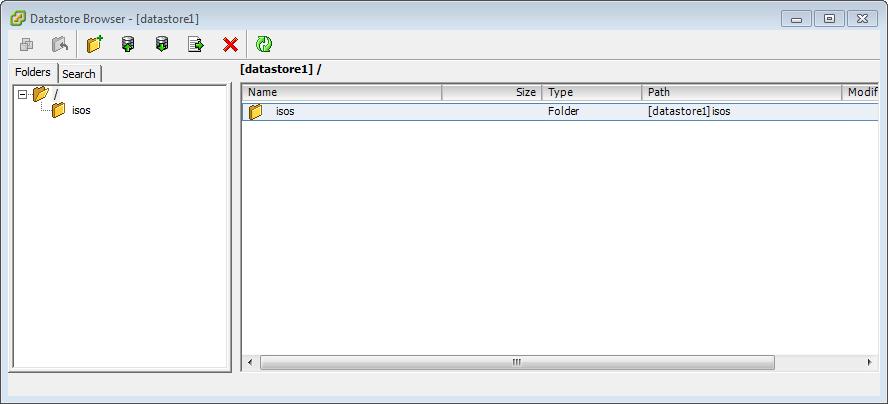
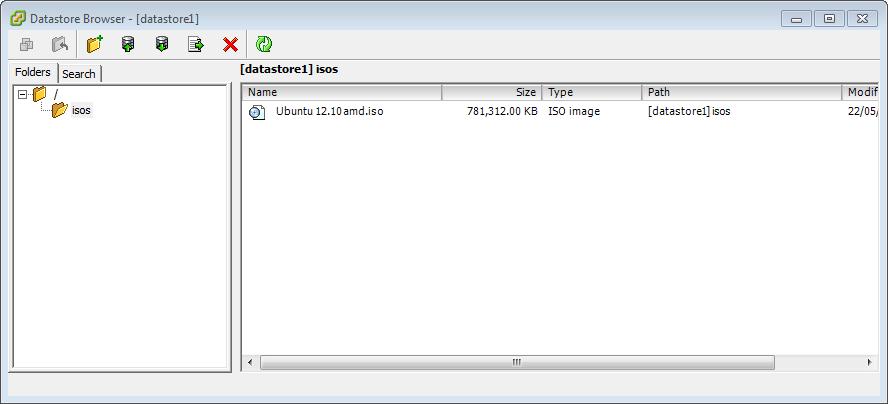
The isos folder will be shown in the datastore
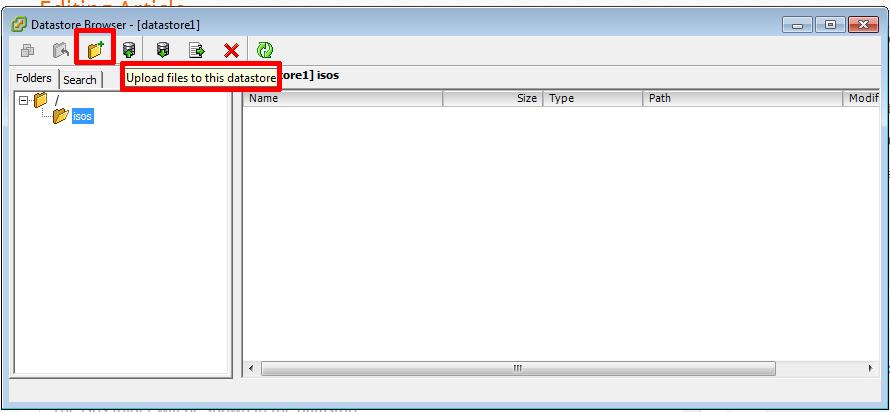
Select and Double-Click the isos folder to change folders.
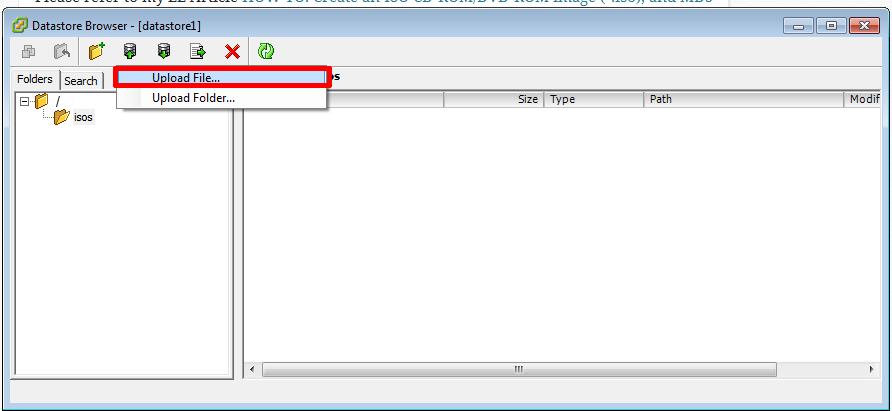
Select the ‘Upload files to this datastore’ icon on the ribbon bar.
Select Upload File…
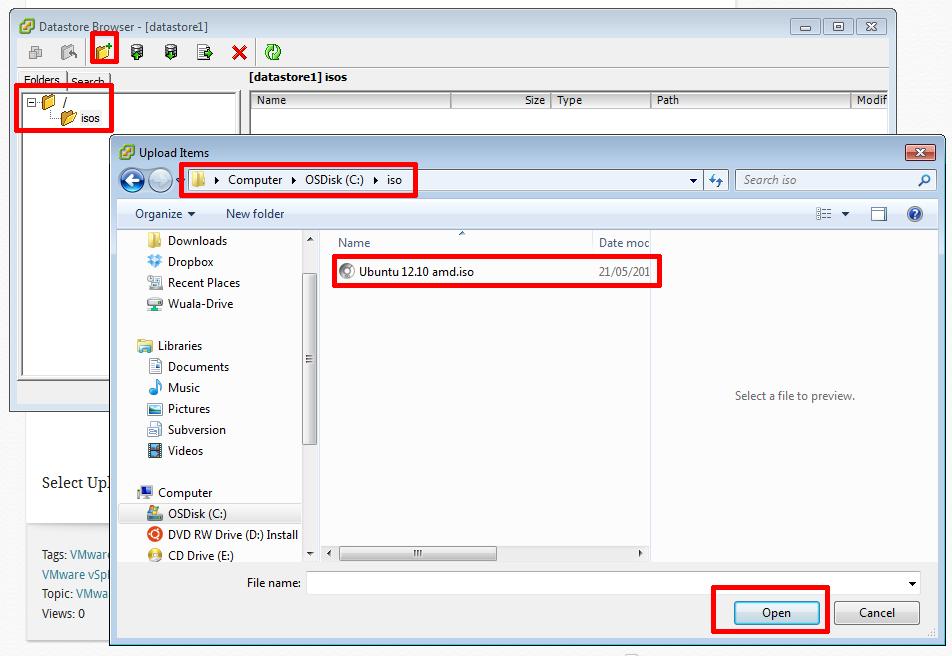
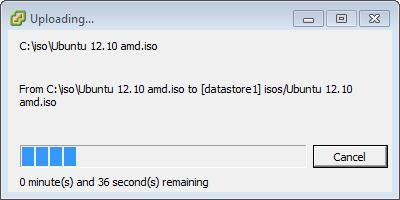
Browse to location of the stored iso image file on your computers hard disk, in my example, we have stored the iso image file, in c:isos, from our previous EE Article, the filename is Ubuntu 12.10 amd.iso. Click OK to continue and upload the file.
Select Yes to the Upload/Downloading Operation Warning.
The ISO image file, e.g. Ubuntu 12.10 amd.iso will be upload to datastore1 in the folder isos. This can take several minutes depending upon size and speed of connection to the VMware vSphere Hypervisor 5.1 (ESXi 5.1) host server.
datastore1 with the ISO image uploaded and stored in the folder isos. Click the X in the top right hand corner to Close the Datastore Browser.
- 3
-
Confirming the upload of the ISO image file has been transferred successfully using the MD5 checksum signature
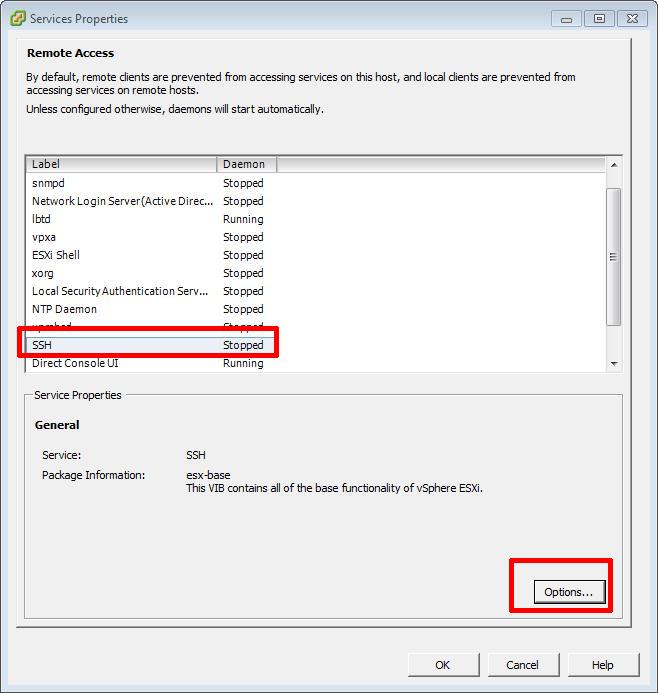
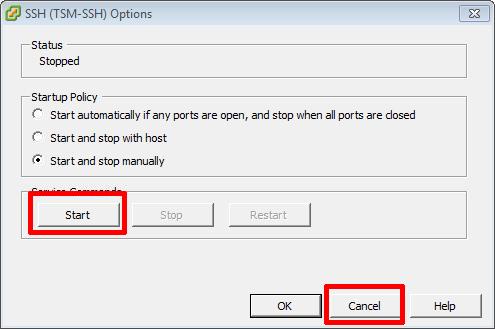
To complete the following step SSH must be enabled and running on your VMware vSphere Hypervisor 5.1 (ESXi 5.1) host server, if SSH is not running you will receive a connection refused message.
To Enable SSH on your VMware vSphere Hypervisor 5.1 (ESXi 5.1) host server, please see my Andysworld! article HOW TO: Enable SSH Remote Access to a VMware vSphere Hypervisor 5.1 (ESXi 5.1)
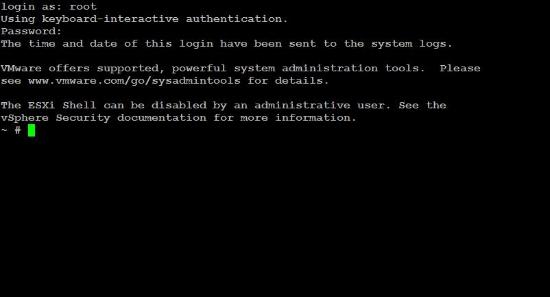
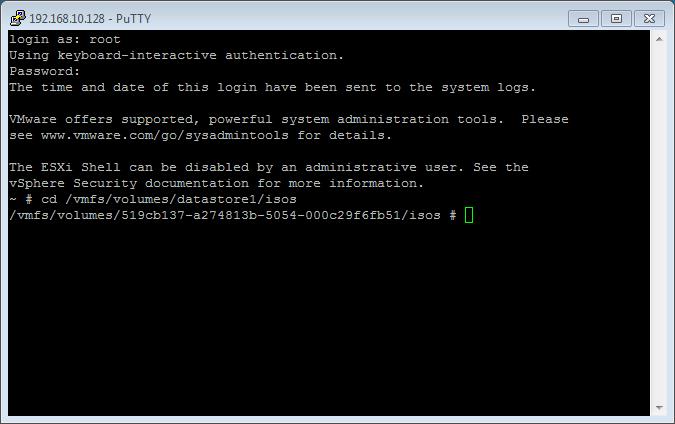
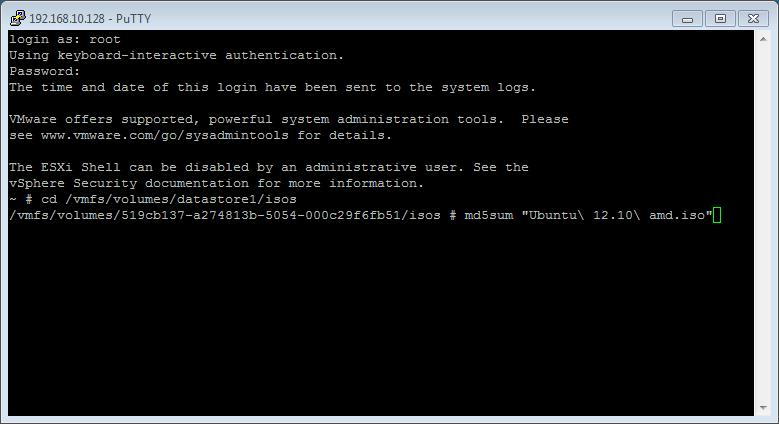
Connect to the VMware Hypervisor ESXi server via SSH. Using PuTTY a free telnet and SSH client or another SSH client Login and Connect to the VMware Hypervisor ESXi server, using IP address or hostname of the VMware Hypervisor ESXi server, using root username and password credentials. This can also be performed if you have access to the console.
You will need to change folder or directories to the location of the iso image file. The VMware VMFS datastores are mapped here /vmfs/volumes. Use the following command to change to the datastore1 datastore and isos folder.
cd /vmfs/volume/<datastore name>/<folder name>
example :- cd /vmfs/volumes/datastore1/isos
type cd /vmfs/volumes/datastore1/isos in the SSH session window.
When you have successfully changed folders to the location of the isos image file which has been uploaded, use the following command to check the MD5 checksum signature.
md5sum <filename>
example md5sum Ubuntu 12.10 amd.iso
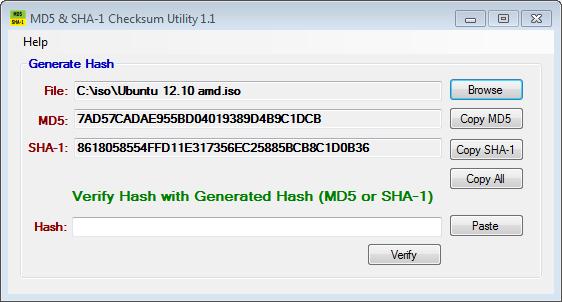
type md5sum Ubuntu 12.10 amd.iso in the SSH session window. After several minutes, and the time taken, depends on the size of the ISO image file, and speed of host processor and storage, a MD5 checksum signature will be displayed. The number displayed next to the filename – 7ad57cadae955bd04019389d4b
9c1dcb – is the MD5 checksum signature. Compare this number with the original number computed before the ISO image file was uploaded, if they match, the transfer was successful. If they do not match, repeat Step 2 above.Congratulations, you have successfully uploaded an ISO CD-ROM/DVD-ROM image to a VMware datastore for use with VMware vSphere Hypervisor 5.1 (ESXi 5.1) using the vSphere Client, and checked its MD5 checksum signature is correct.


![[Valid RSS]](http://andysworld.org.uk/images/valid-rss.png "Validate my RSS feed")