In VMware vSphere 4 1 and 5.0, if you have two or more hosts, using shared storage, (SAN/NAS) you can create a VMware vSphere Cluster and enable High Availability mode (HA), if you have the correct VMware vSphere Licensing.
VMware vSphere High Availability (HA) provides easy to use, cost effective high availability for applications running in virtual machines. In the event of VMware vSphere server failure, affected virtual machines are automatically restarted on other VMware vSphere production servers with spare capacity.
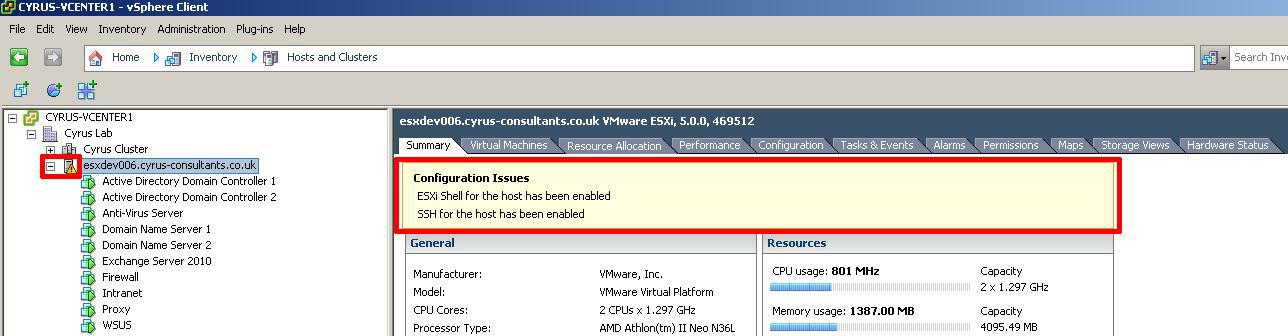
You may have noticed that after Turning On vSphere HA in Cluster settings from the vSphere Client that a Configuration Issues warning yellow box may appear on the Summary page of ALL host ESXi servers in the vSphere Cluster.
The Configuration Issues reports “This host currently has no management network redundancy”
You will also notice there is also a yellow/orange warning triangle displayed on ALL the vSphere ESXi host servers in the vSphere Cluster.
The only issue, is that the Warning triangle displayed in VMware vSphere vCenter can mask real warning events.
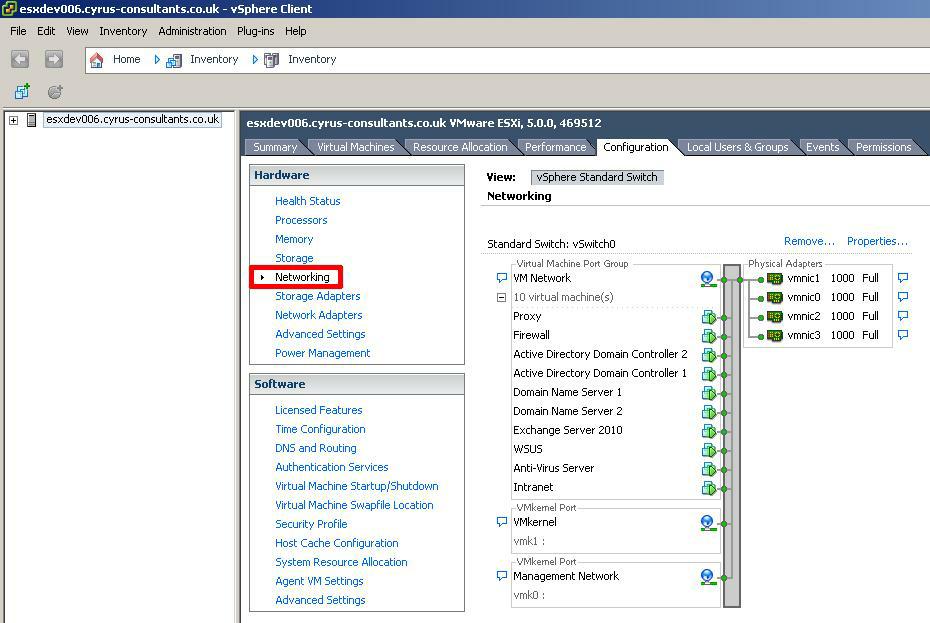
VMware vSphere HA will still function correctly, the configuration issue, is warning that there is only one physical network interface connected to the virtual vswitch which has the service console (ESX) or management network interface (ESXi) connected.
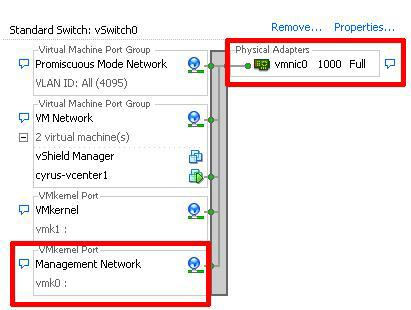
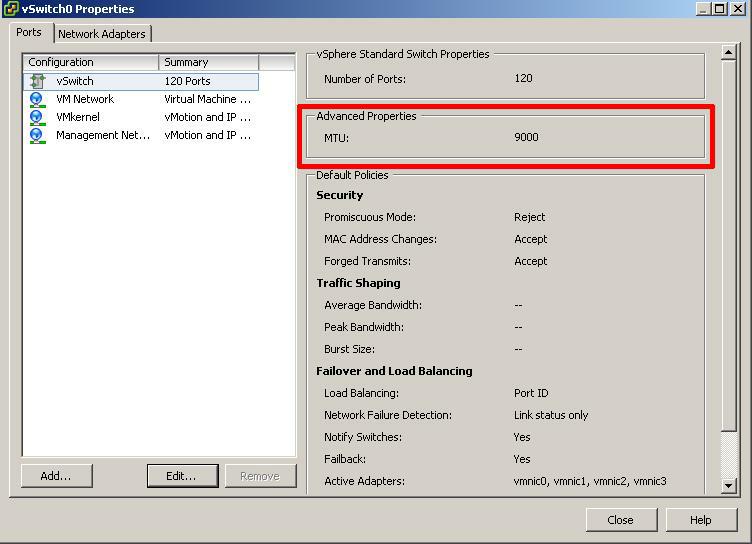
example vSwitch with single physical network interface vmnic0
These configuration issues and warnings alert triangles, can be suppressed as follows
- 1
-
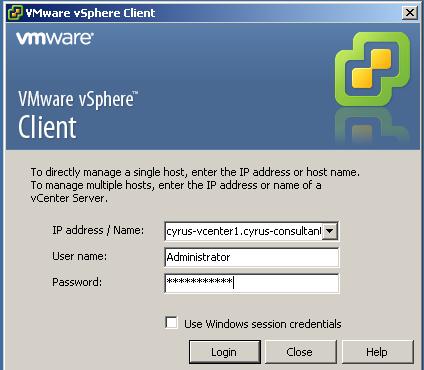
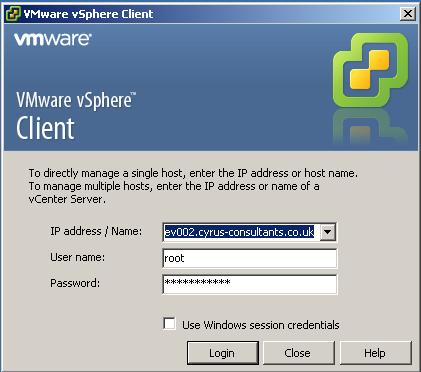
Connect to the VMware vSphere vCenter Server
Using the VMware vSphere Client, Login and Connect to the VMware vSphere vCenter server, using IP address or hostname of the VMware vSphere vCenter server, using vCenter Server Administrator username and password credentials.
- 2
-
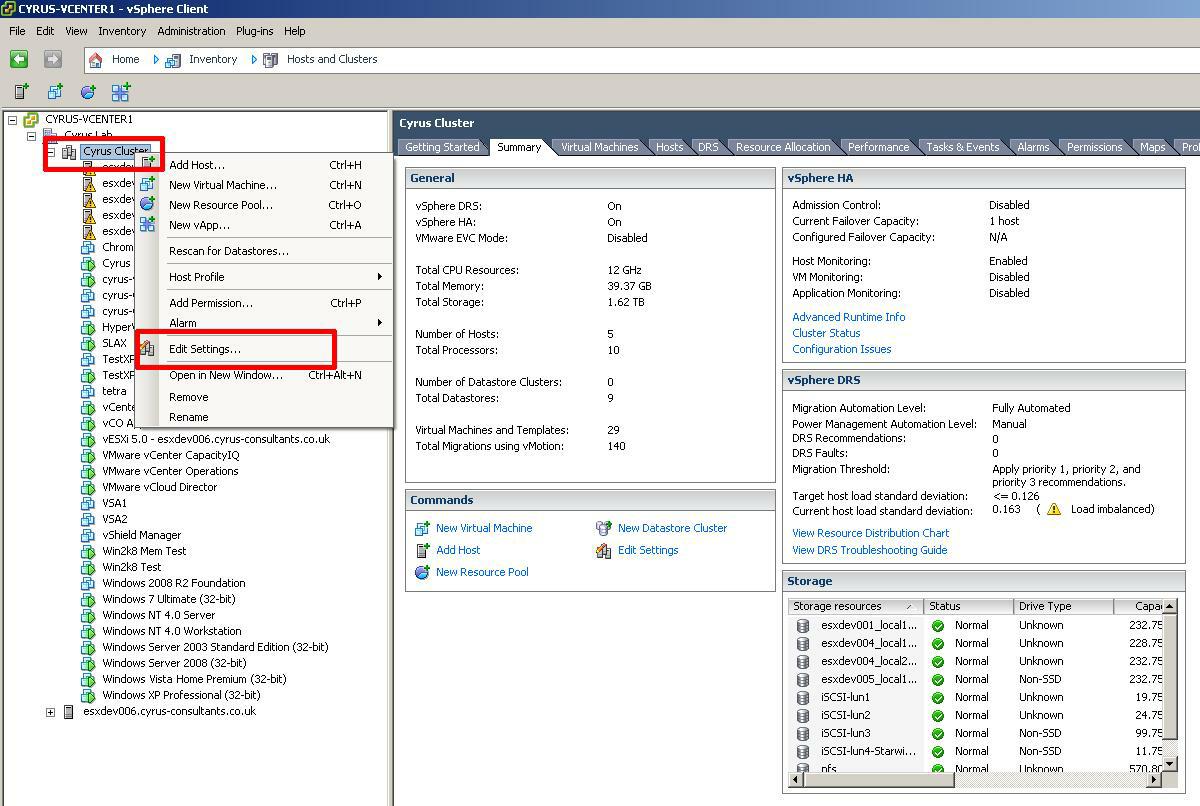
Select the Cluster in Inventory
Select the Cluster in Inventory > Hosts and Clusters, Right Click the Cluster in the right hand panel, and select Edit Settings
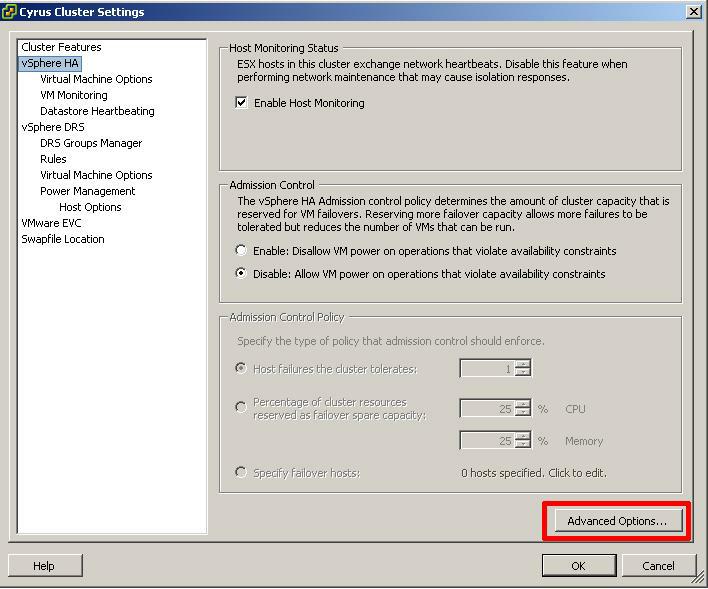
The vSphere Cluster settings dialgoue box will be opened.
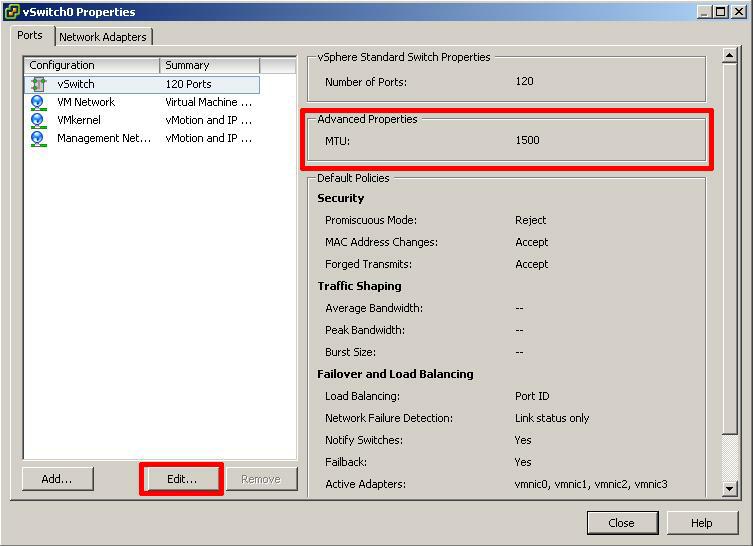
Select vSphere HA and click Advanced Options, bottom right
the Advanced Options (vSphere HA) diaglogue box will open.
- 4
-
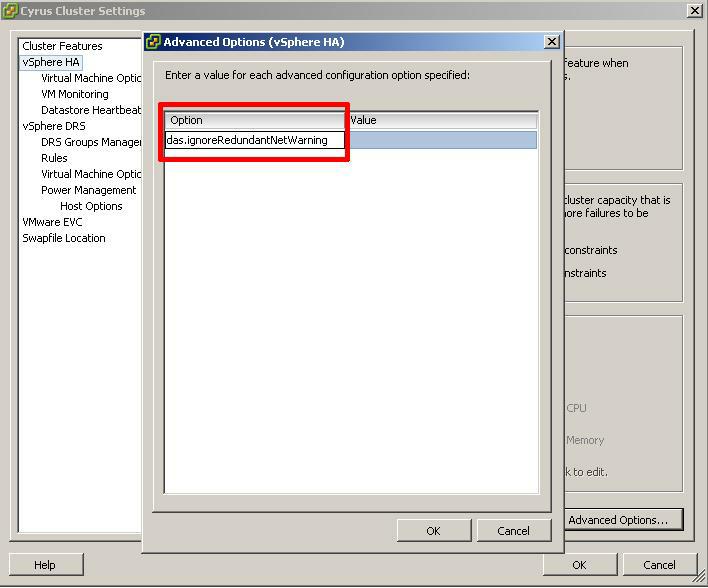
Add ‘das.ignoreRedundantNetWarning’ value
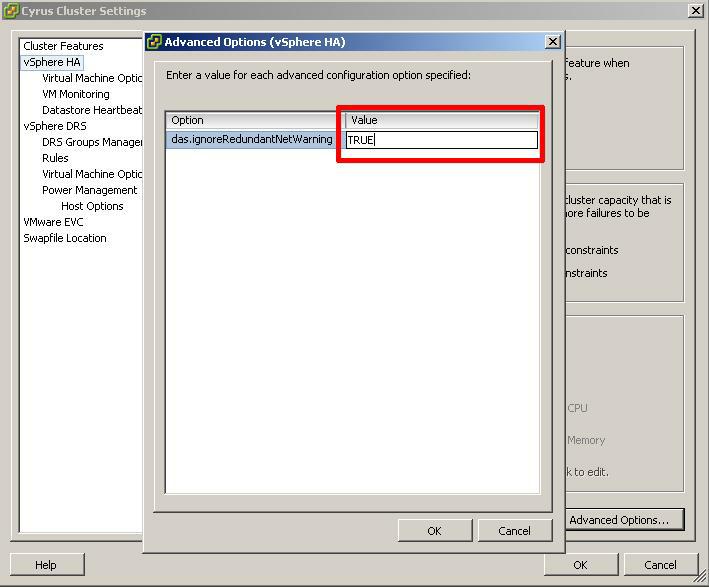
To suppress the configuration issues box and warning triangles, the das.ignoreRedundantNetWarning needs to be added with a value of TRUE.
Click the left hand column under Option, and enter das.ignoreRedundantNetWarn
ing
Click the right hand column under Value, and enter TRUE.
Click OK to return to Cluster Settings.
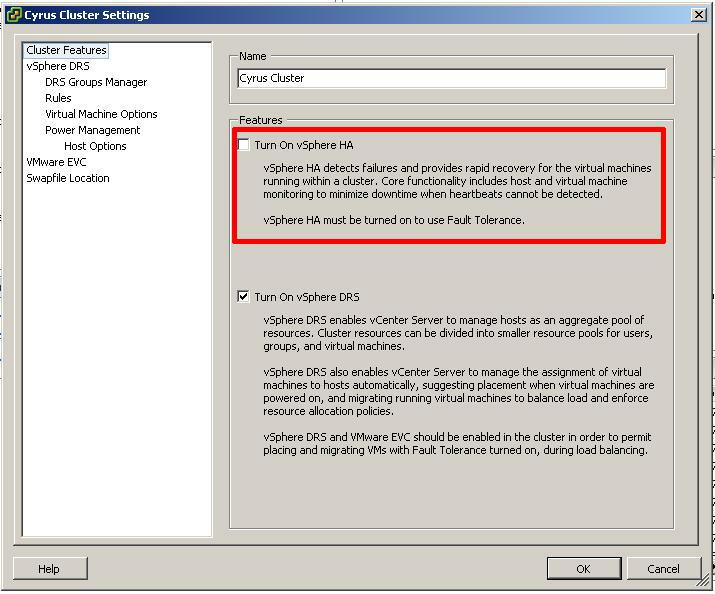
Click Cluster Features and remove the Tick from Turn On vSphere HA.
This action will disable HA on ALL ESX/ESXi hosts in the cluster. Please note I would recommend any changes to a production environment be carried out and schedule out of core SLA hours.
Click OK. The HA cluster will be reconfigured, this will take a few seconds.
Select the Cluster in Inventory > Hosts and Clusters, Right Click the Cluster in the right hand panel, and select Edit Settings
The vSphere Cluster settings dialgoue box will be opened.
Select Turn ON vSphere HA (by clicking and ensuring a Tick appears in the box)
Click OK.
The HA cluster will be reconfigured, this will take a few seconds. (Tested with Five hosts takes 40 seconds).
The Configuration Issues yellow box in the Summary Page and Warning Triangle will disappear immediately.
Thank you for reading my article, please leave valuable feedback.


![[Valid RSS]](http://andysworld.org.uk/images/valid-rss.png "Validate my RSS feed")