In my previous
VMware Articles, most featured Intermediate VMware Topics, my next series of articles will concentrate on topics for the VMware Novice.
In these series of basic VMware articles, I’ll be showing you the basic skills required to install, configure and deploy virtual machines using VMware’s FREE VMware vSphere Hypervisor.
This article will show you how to install and configure the VMware vSphere Hypervisor 5.1 on a computer. VMware vSphere Hypervisor 5.1 is also known as ESXi 5.1.
The FREE version of ESXi 5.1 is limited to 32GB per server.
- ESXi 5.1 will install and run only on servers with 64-bit x86 CPUs.
- ESXi 5.1 requires a host machine with at least two cores.
- ESXi 5.1 supports only LAHF and SAHF CPU instructions.
- ESXi 5.1 requires the NX/XD bit to be enabled for the CPU in the BIOS.
A full list of the ESXi 5.1 Hardware Requirements can be found in the VMware ESXi 5.1 Install Guide
Check the VMware Hardware Compatability Lists (HCL), to discover if your computer is certified for use with ESXi 5.1.
If your computer is not listed on the VMware HCL, it may still be possible to install and run VMware ESXi 5.1 on your laptop, desktop, or server. The HCL exists because the server vendor and VMware have certified and tested ESXi 5.1 will function correctly, on the servers listed on the HCL.
-
Register with VMware.com and Download VMware vSphere Hypervisor 5.1
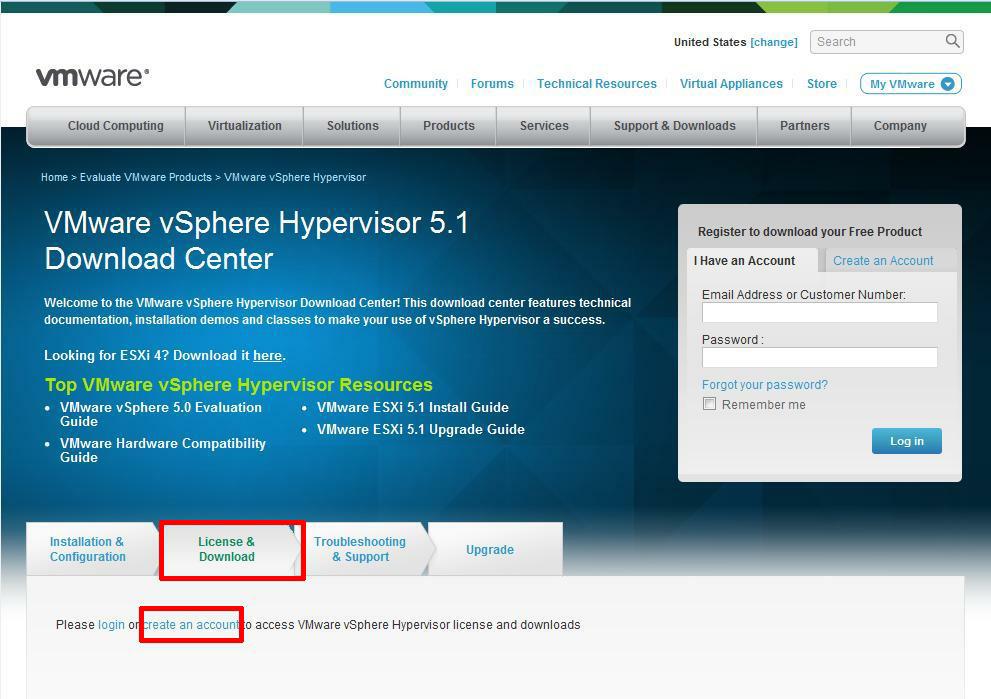
Open the following link in your web browser
https://my.vmware.com/web/vmware/evalcenter?p=free-esxi5&lp=default
Click the License and Download Tab
Click Create an Account, to Create an Account and Login to the VMware Download Center. VMware will email you an Activation link which needs to be opened to create the account.
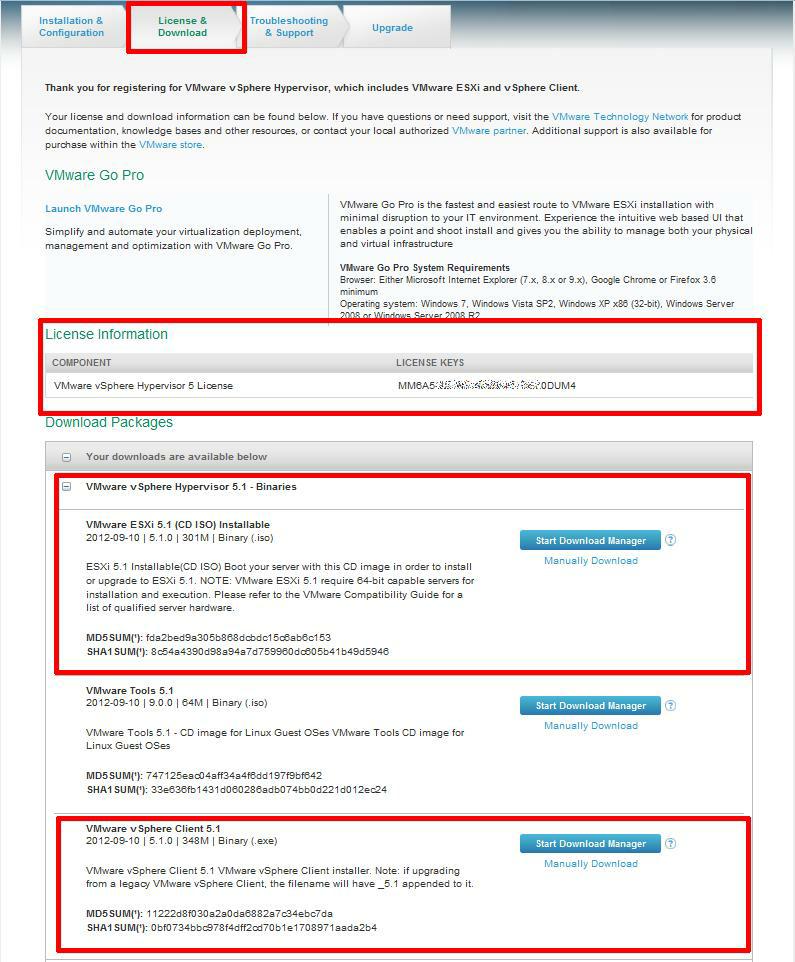
The following page will be displayed when you have successfully logged into the VMware Download Center.
Pay special attention to the FREE License information which is displayed, and record this License Number, this will be required in a later article.
Click the download link for VMware ESXi 5.1 (CD ISO) Installable to download the software required to install ESXi 5.1 and also download the VMware vSphere Client 5.1. The VMware vSphere Client 5.1 software is the client software that allows us to connect and manage the ESXi 5.1 server, this will be required in a later article.
Either use the Download Manager or Manually Download button (which uses your web browser). The CD ISO is only 301MB so should not take too long to download. We have a very slow internet connection, at approx 350 kB/sec, and it takes us approximately 10 minutes to download.
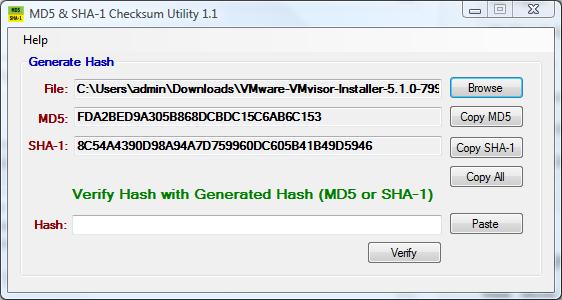
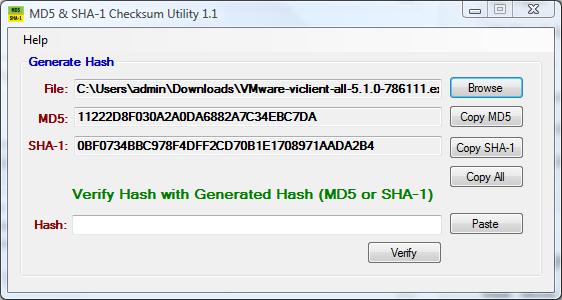
Once the downloads have been completed using your favourite MD5 and SHA1 checksum utility, confirm the downloads have been downloaded correctly, using the published MD5 and SHA1 checksums from the VMware website. We use the MD5 & SHA-1 Checksum Utiliy 1.1 from http://raylin.wordpress.com/downloads/md5-sha-1-checksum-utility/.
Many VMware vSphere Hypervisor 5.1 installations fail due to corrupt downloads.
-
Installing VMware vSphere Hypervisor 5.1 (ESXi 5.1)
Write (Burn) the VMware-VMvisor-Installer-5.1.0-799733.x86_64.iso downloaded in Step 1, to a blank CDROM, using your favourite CD writing software. We use ISO Recorder (http://alexfeinman.com/isorecorder.htm). If you are using remote server utilities, e.g. HP iLo or Dell iDRAC,. you can attach the virtual CDROM drive in the server to the VMware-VMvisor-Installer-5.1.0-799733.x86_64.iso ISO, so there is no requirement to write a CDROM.
This is a step which is often missed, ensure the BIOS BOOT order is set to BOOT from the CDROM Device or ATAPI device in the server, otherwise the computer will not BOOT from the CDROM.
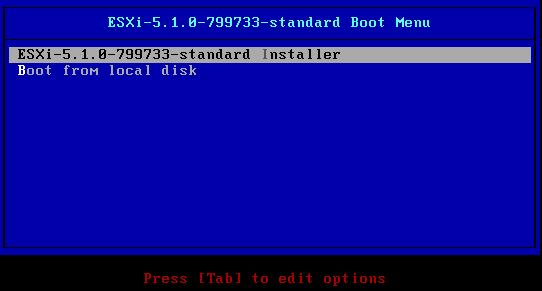
Power on the Computer, the computer will BOOT from the CDROM, and the following BOOT screen will be displayed
The default option is to BOOT ESXi-5.1.0-799733-standard Installer after 10 seconds, hit any key will pause the BOOT process.
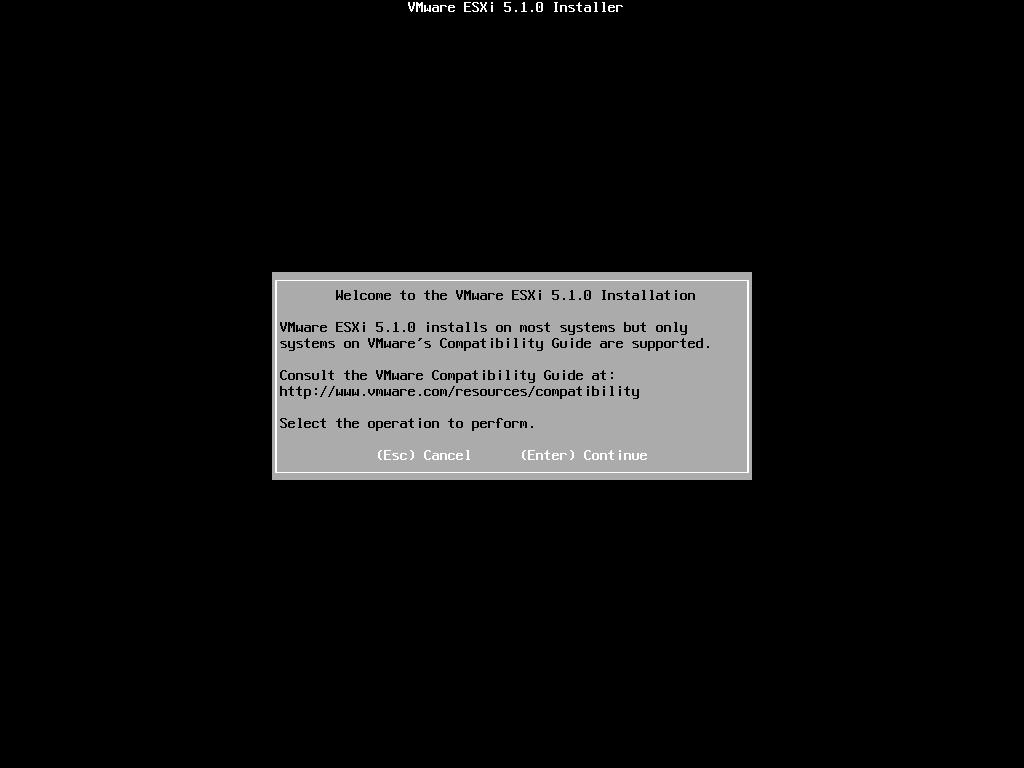
At the Welcome to the VMware ESXi 5.1.0 Installation screen Hit Enter to Continue the installation.
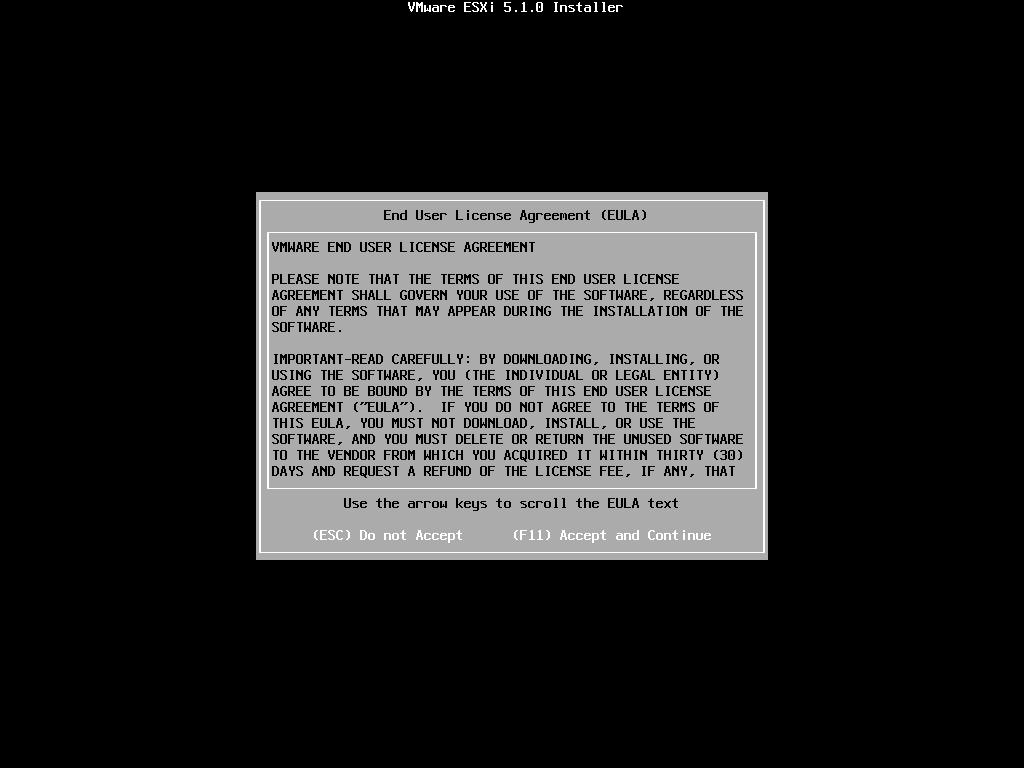
Press F11 (Function Key 11) to Accept the VMware End User License Agreement (EULA)
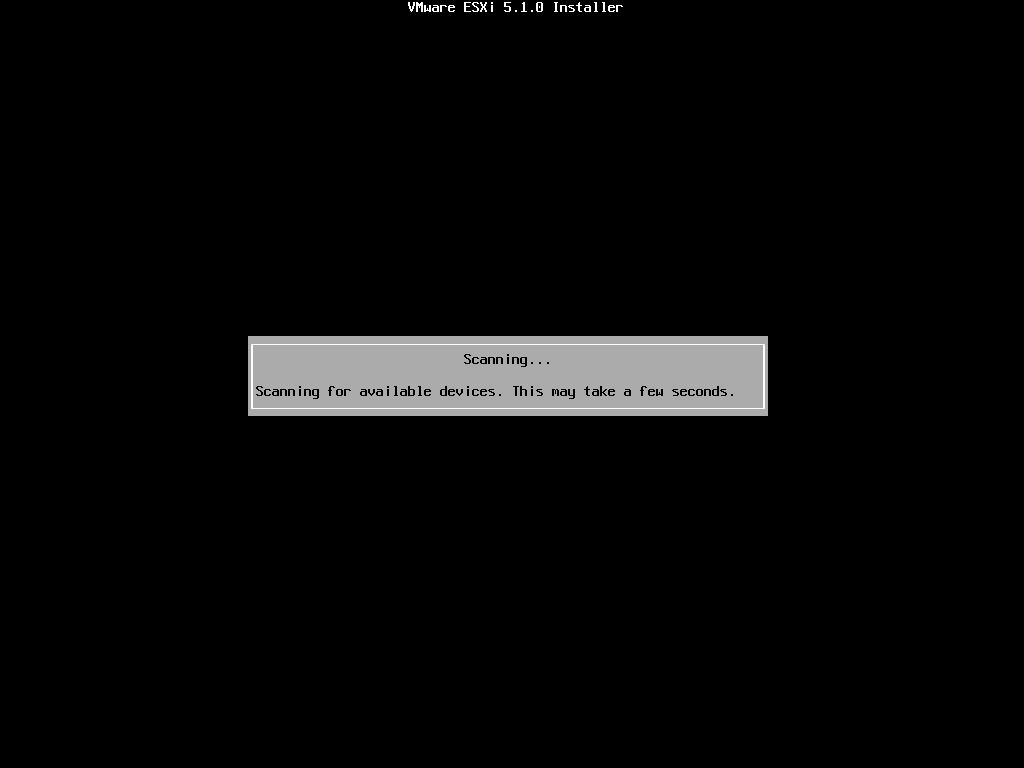
The ESXi installer will scan the computer storage controller for available devices to install ESXi.
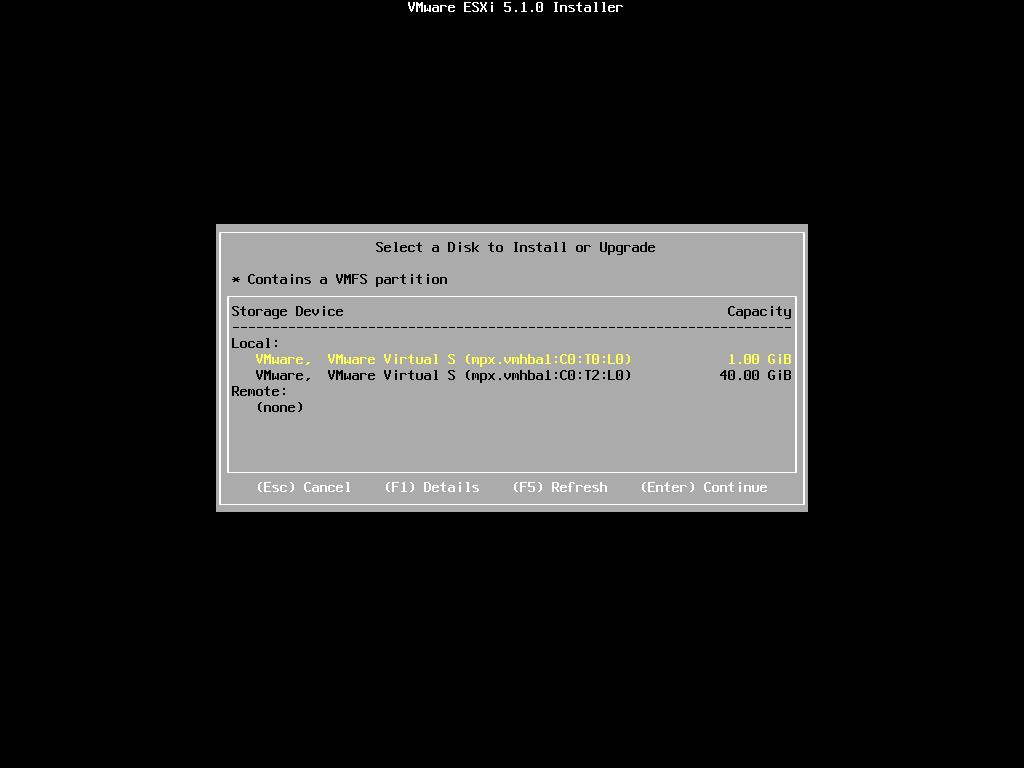
ESXi can be installed on a USB flash drive, SD card attached to the computer, local SATA, local RAID Array, or Fibre Channel or iSCSI LUN. All these are supported options. As the footprint for ESXi is very small only 1GB is required for the ESXi OS installation.
We have written an Article here on How to Backup an ESXi installation on an USB Flash Drive or SD card, for security or redundancy. After you have completed the ESXi 5.1 installation, shutdown the server, remove the USB flash drive or SD card, and duplicate it using our Article.
When prompted select a disk to install ESXi on, in the following example, we have two disks connected to this computer, a single 1GB disk, and a 40GB disk. We are going to use the small disk for the OS. The larger 40GB disk will be used later for the storage of virtual machines.
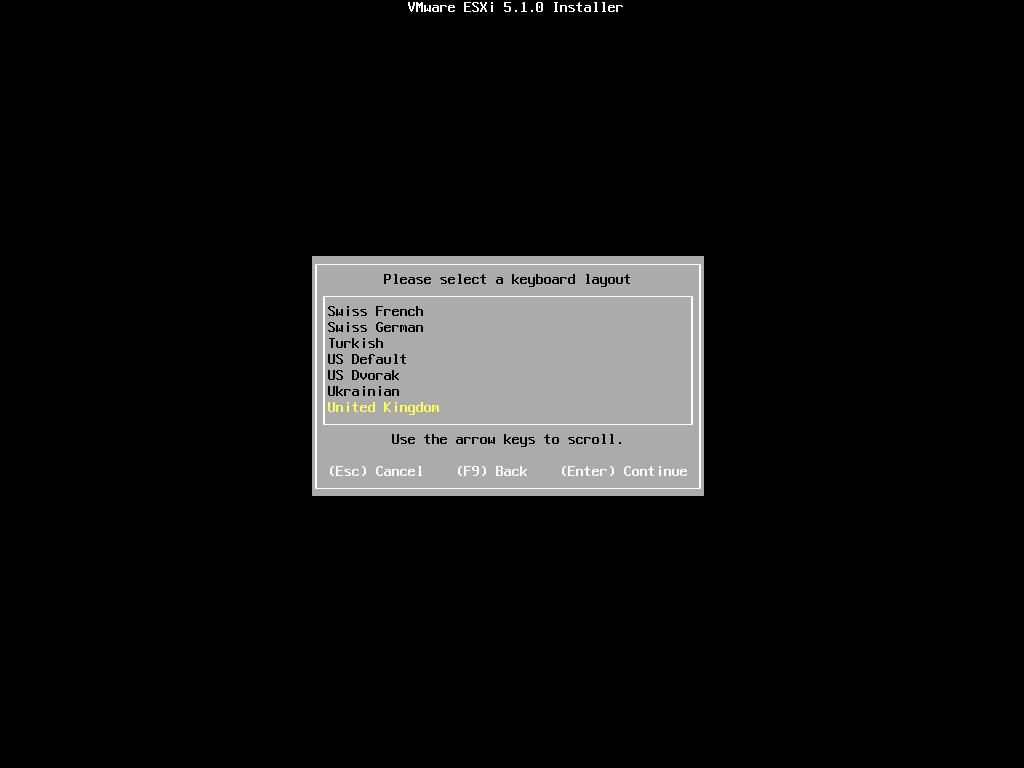
When prompted, select the keyboard layout and hit Enter to continue.
When prompted enter a root password, confirm the password and hit Enter to continue
The following will be displayed
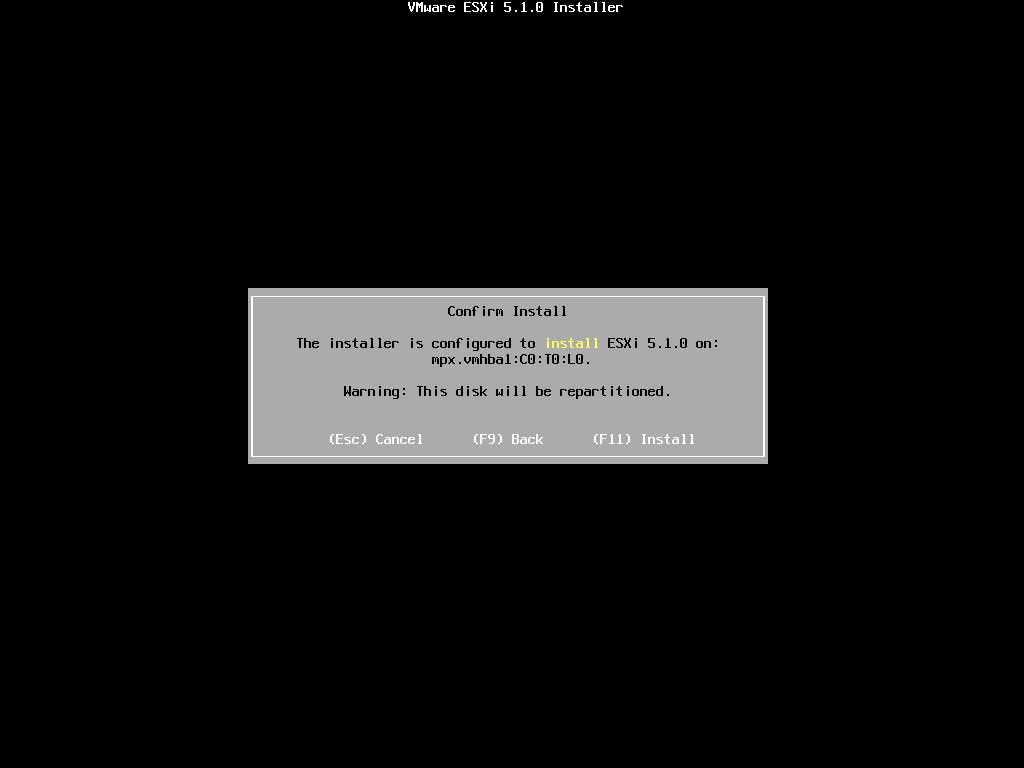
When prompted Confirm the Installation on the selected disk and press F11 (Install)
– Function Key 11
All data will be erase, as the disk will be repartitioned.
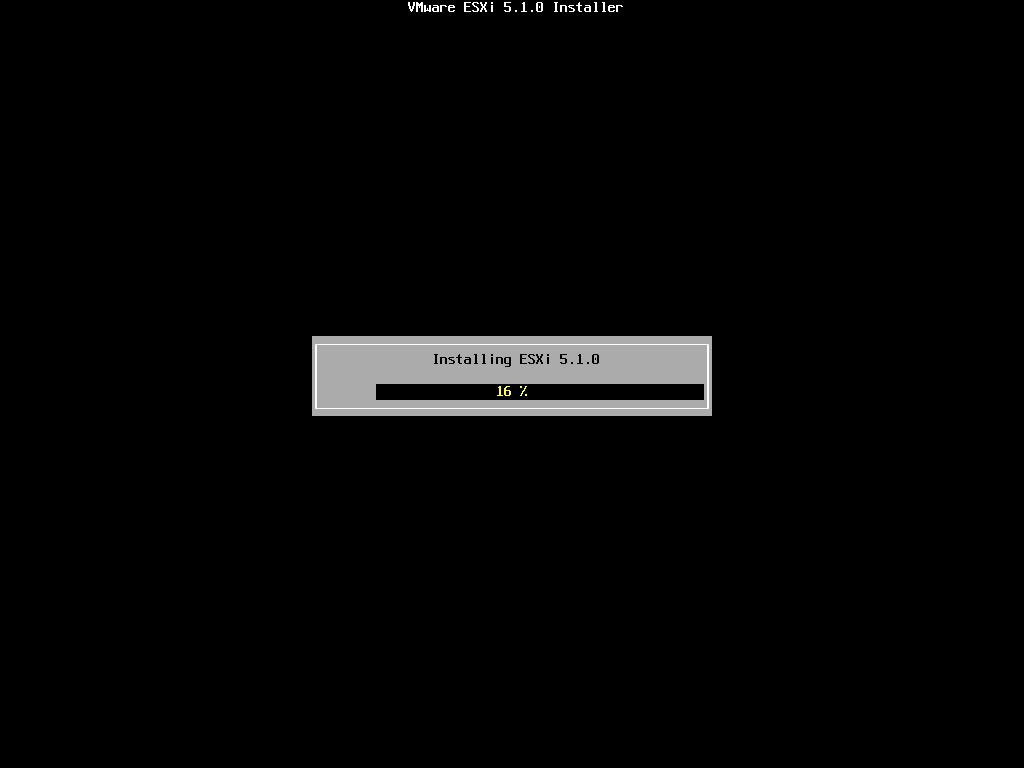
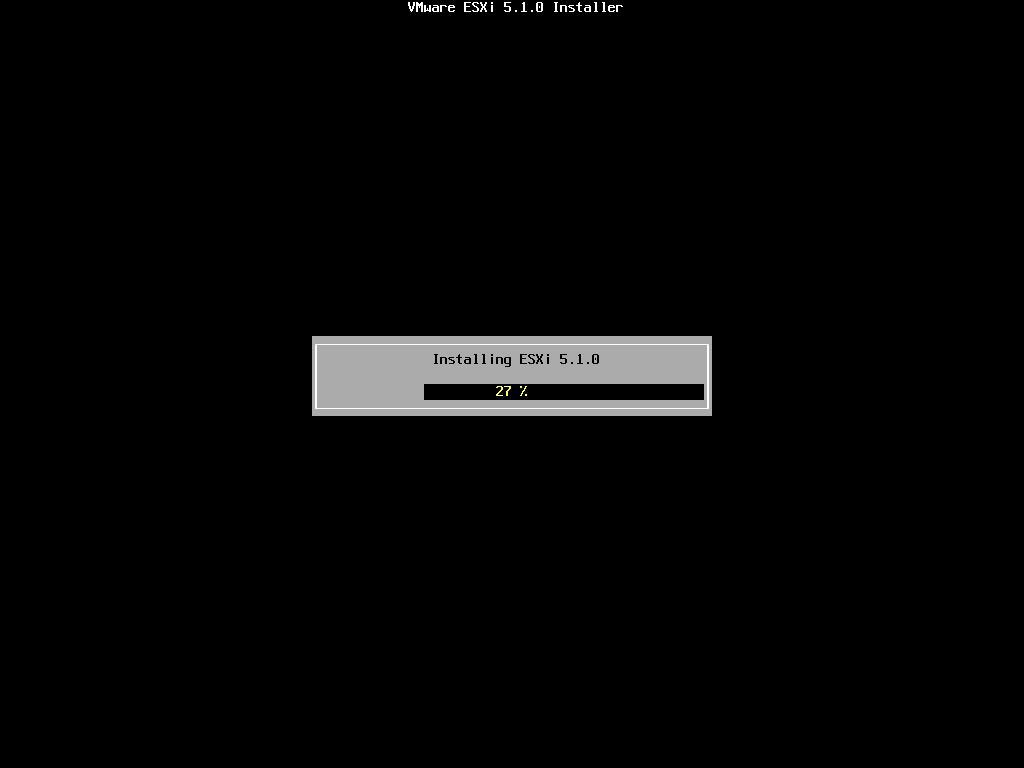
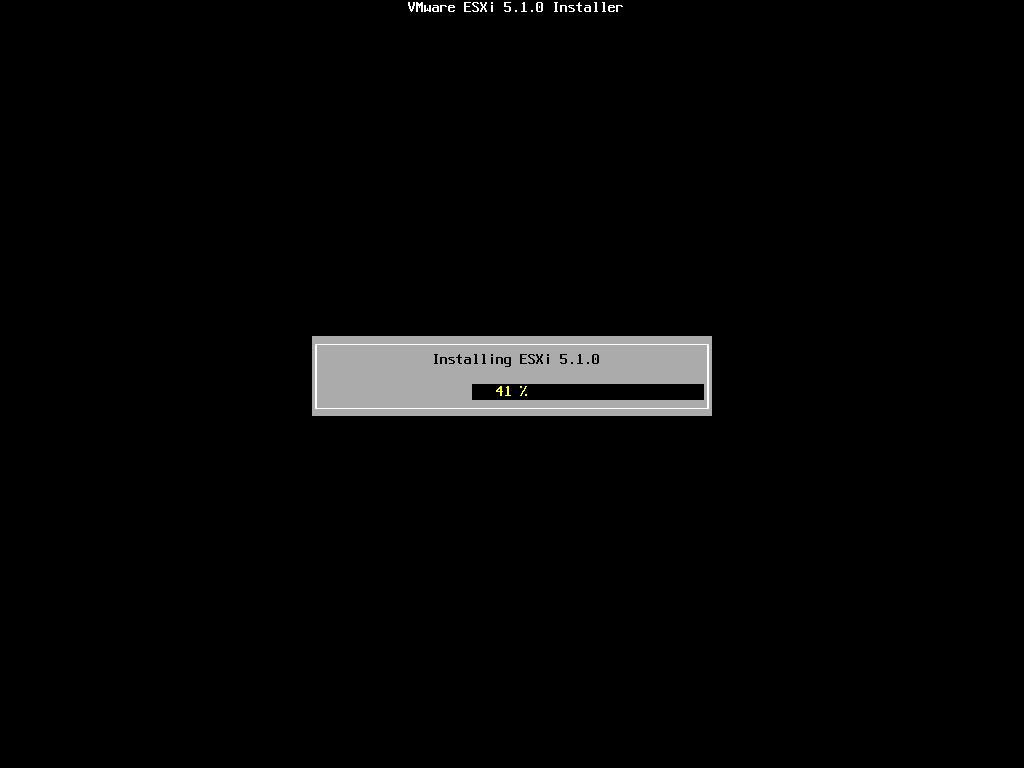
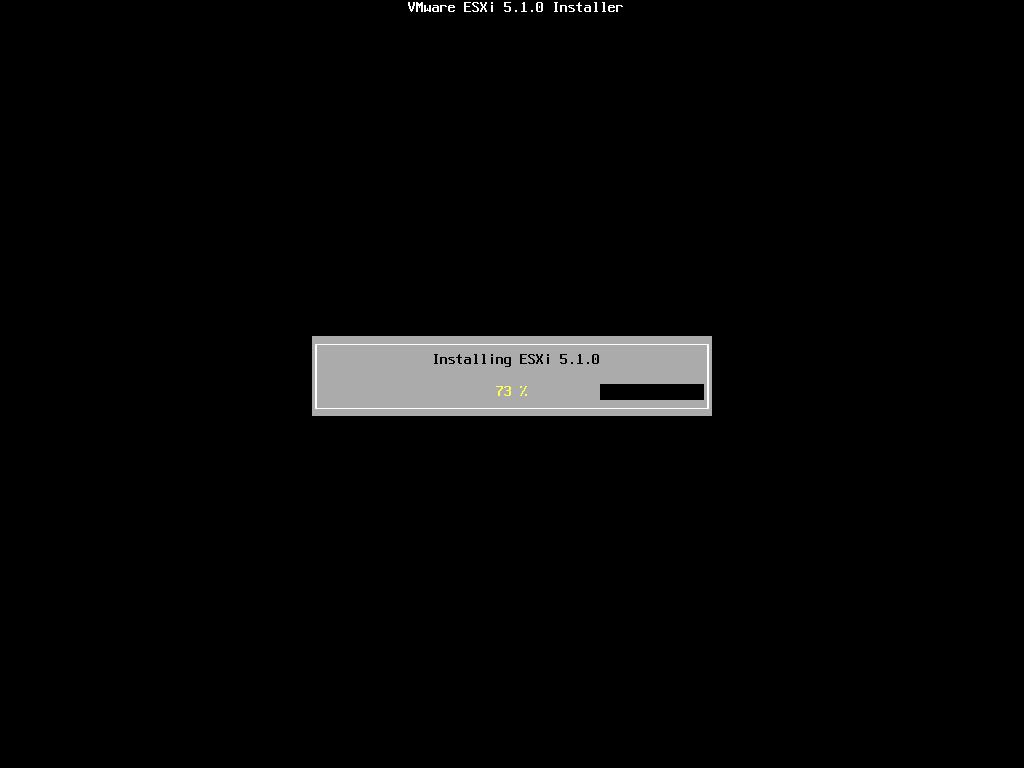
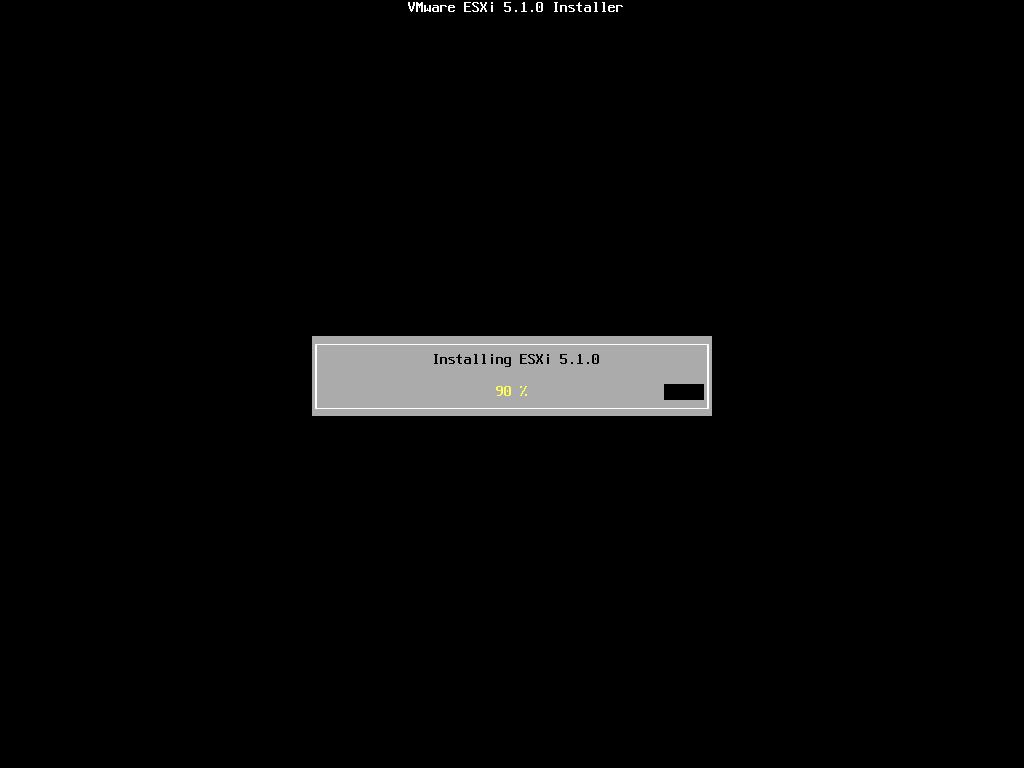
The Progress Bar will confirm installation progress.
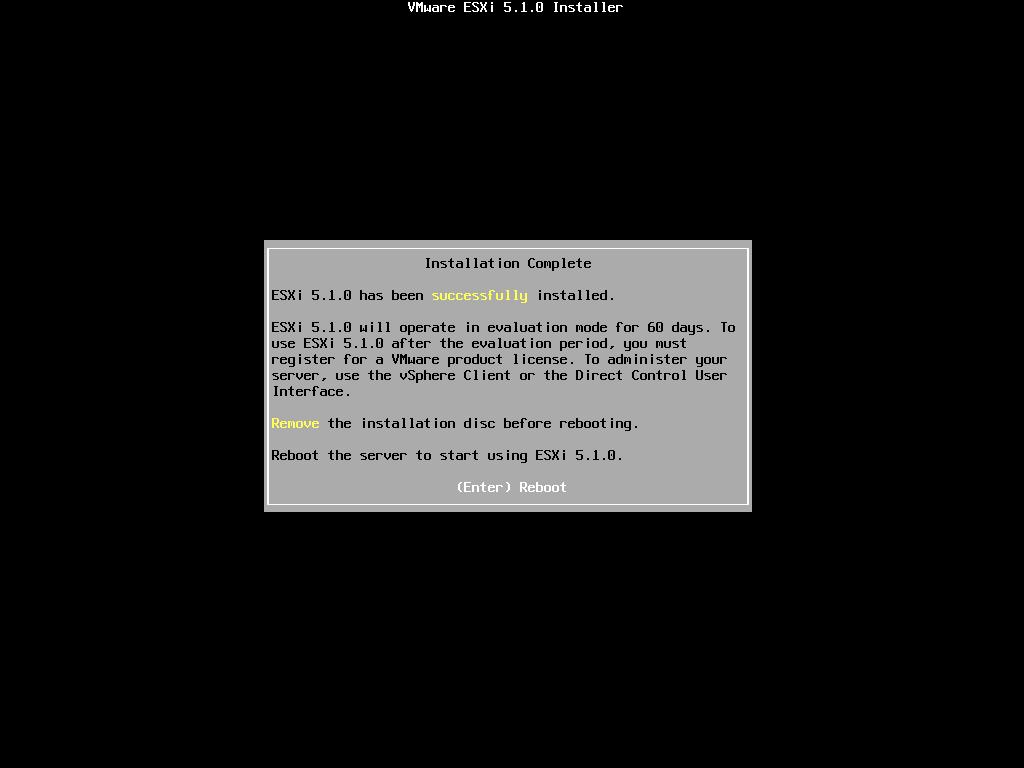
The installation only takes approximately 5-10 minutes, depending upon speed of storage. When the installation has completed the following screen will be displayed.
Remove the CDROM installation disk before rebooting. Hit Enter to Reboot. After hitting Enter the follow screen will be displayed and the computer will reboot.
ESXi 5.1.0 will operate in evaluation mode for 60 days. This is the same mode as a FULLY LICENSED ESXi 5.0 server. If you wish to evaluate all the bells and whistles that ESXi 5.0 has to offer, do not register your FREE license. for 60 days, this will allow you to evaluate ESXi 5.0 server fully. On day 59/60, Apply your FREE license to continue using the product, or you will not be able to power on any virtual machines.
-
Configuring VMware vSphere Hypervisor 5.1 (ESXi 5.1)
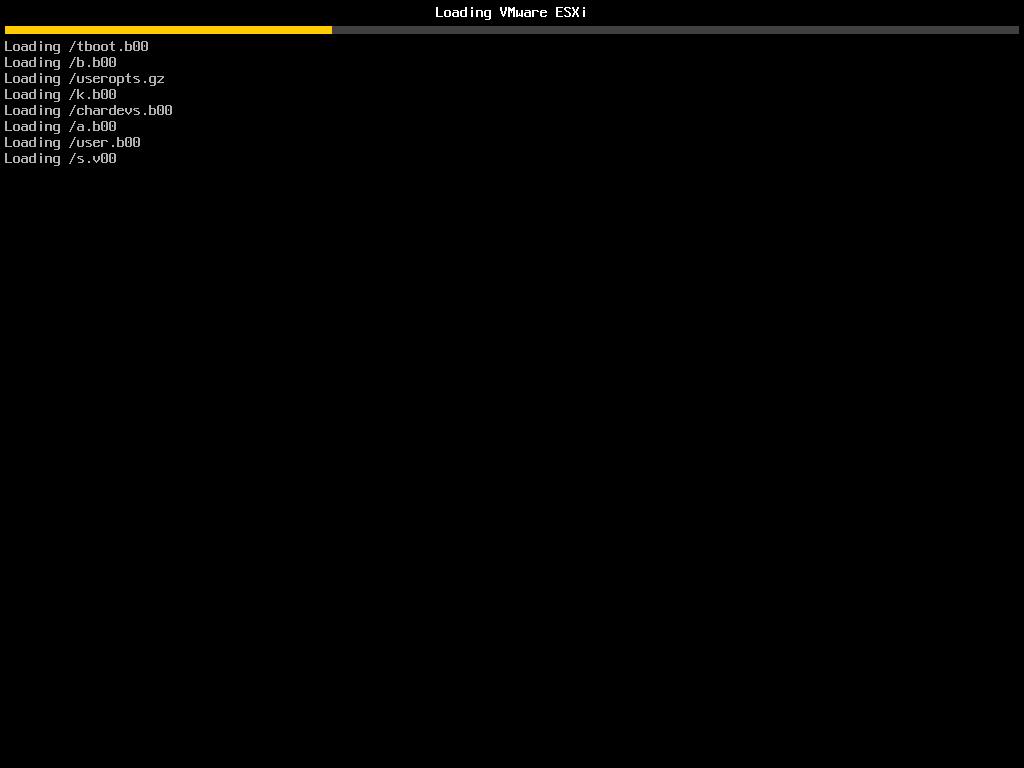
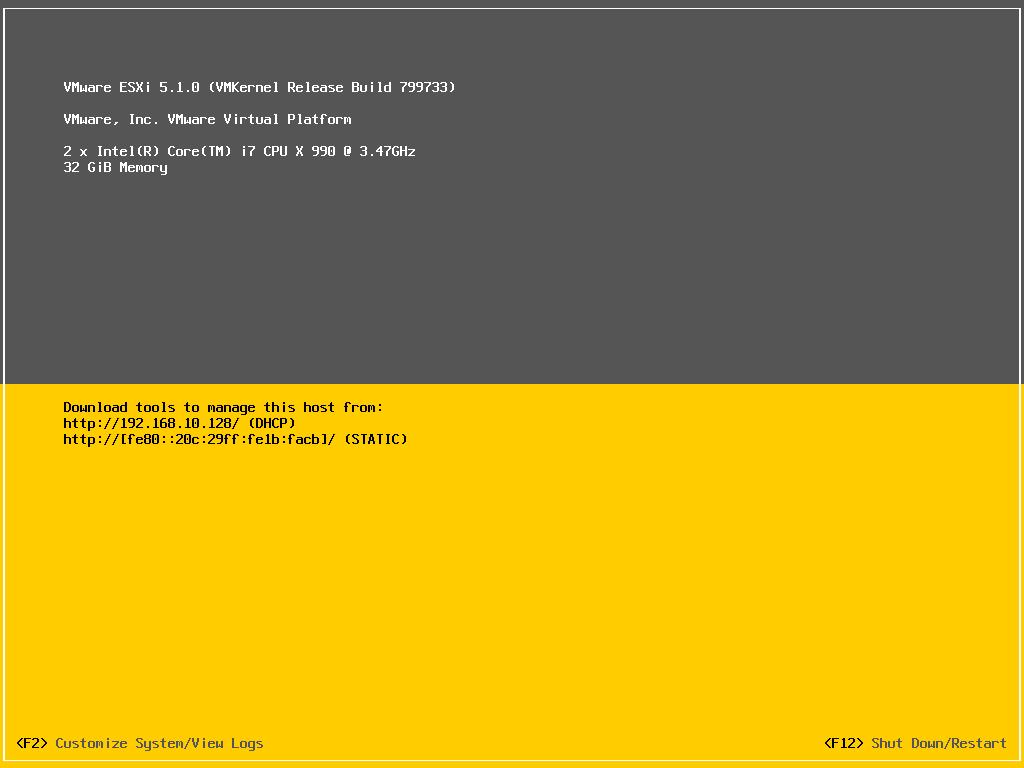
The following screen is displayed when VMware ESXi 5.1.0 first boots
The server is fully booted when it displays the following screen
The default server configuration is to use DHCP, if you do not have a DHCP server issuing IP Addresses on your network you will need to assign an IP Address. We recommend you use a static IP Address for your ESXi Host Server.
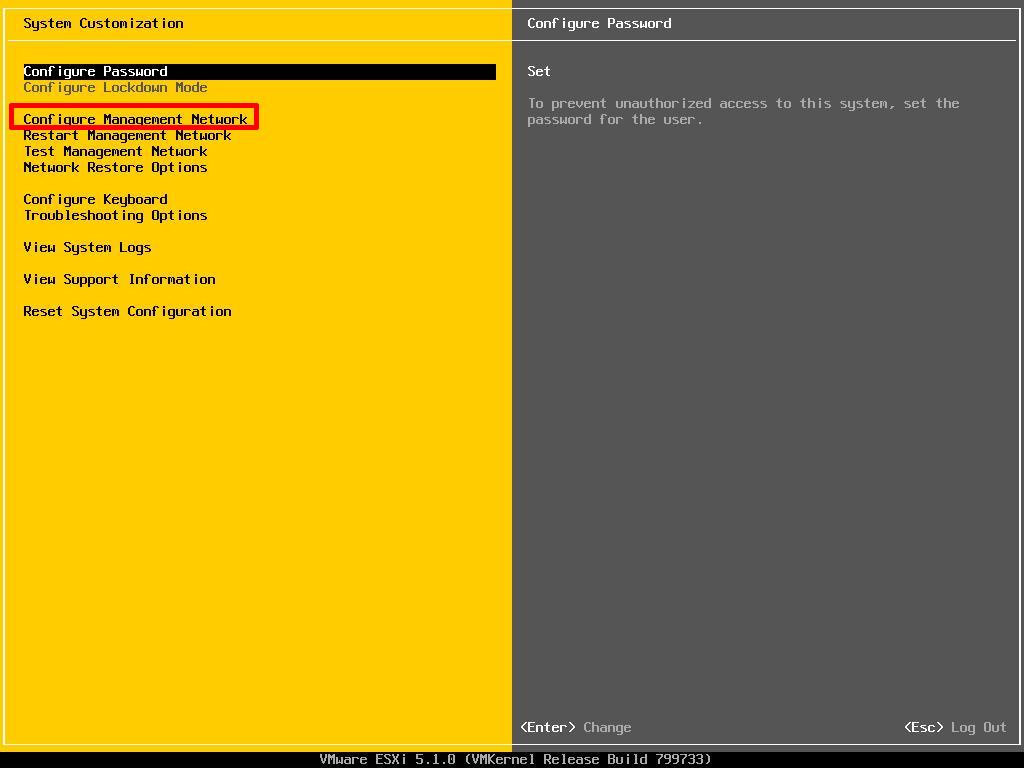
Press F2 to Customize System, you will be prompted to enter the root username and password.
Select Configure Management Network to change Network Parameters.
Select IP Configuration
Set the Static IP address and network configuration, Subnet Mask and Default Gateway, it’s important to set the correct Default Gateway, as this will be used later. Hit Enter to confirm and save the configuration.
Select DNS Configuration, enter the correct DNS information for your network, and enter a hostname for your server. Hit Enter to save the configuration.
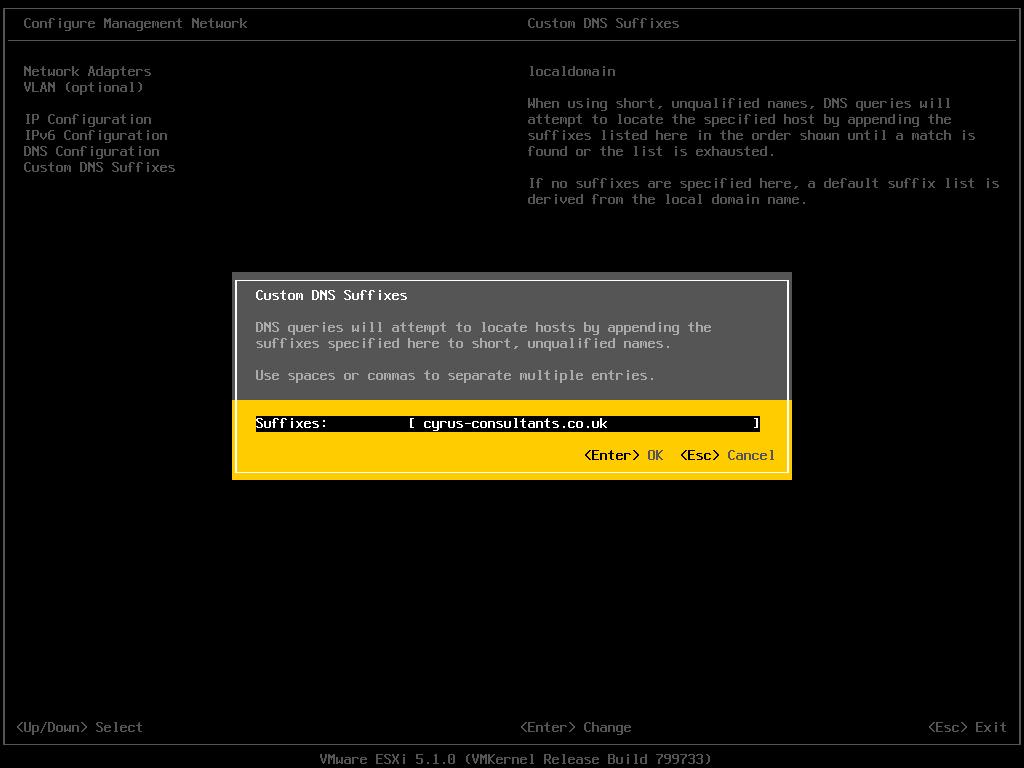
Select Custom DNS Suffixes
Enter your DNS suffix (the domain name for your network). Make sure you have created a DNS A Record in your DNS, so that this server can be resolved correctly through forward and reverse lookups.
Hit Enter to save your configuration.
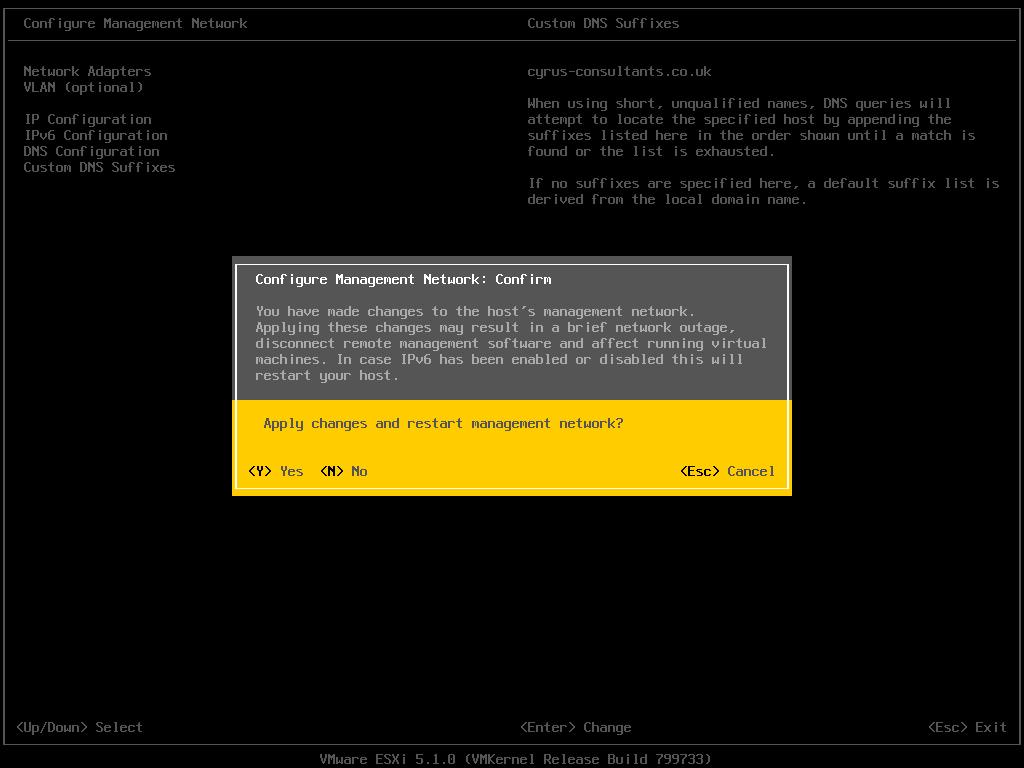
Press Escape, the following screen will appear, select Y(es) to apply changes.
Press Escape to Logout and return to the console screen.
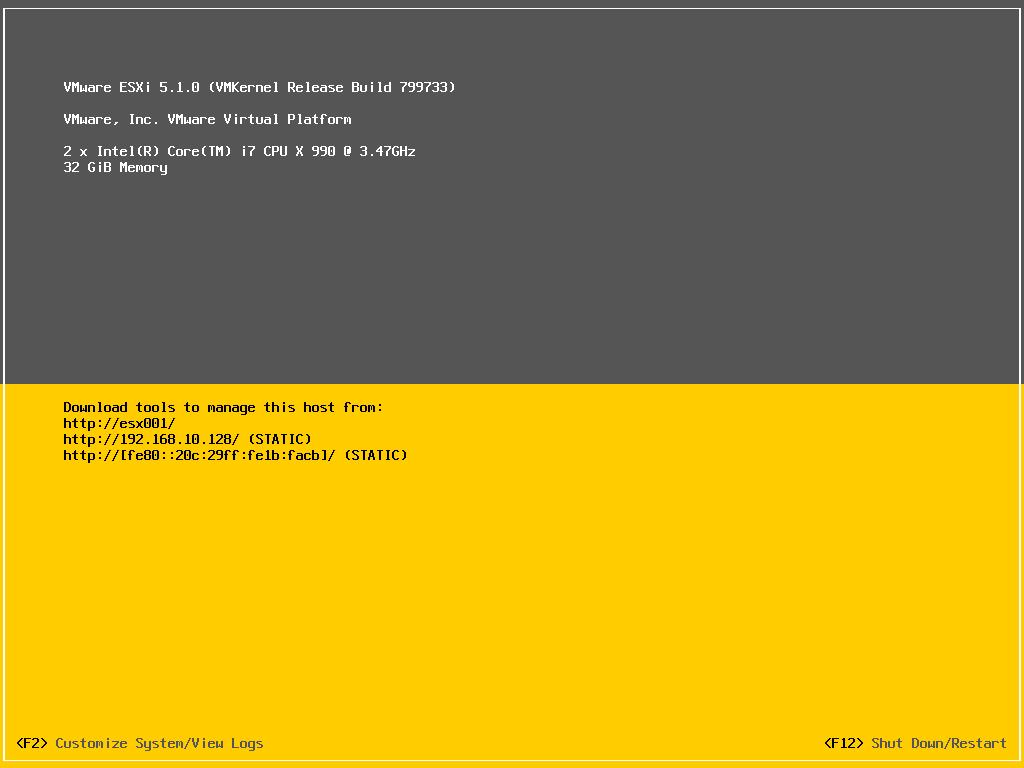
You will notice on the console screen, the server now has a hostname configured, and correct static IP Address.
Congratulations you have successfully installed and configured VMware vSphere Hypervisor 5.1.
In the next article in the series, we will connect and continue to configure the VMware vSphere Hypervisor 5.1.
Part 2 of the Series has now been published here
HOW TO: Connect to the VMware vSphere Hypervisor 5.1 (ESXi 5.1) using the vSphere Client


")
")


![[Valid RSS]](http://andysworld.org.uk/images/valid-rss.png "Validate my RSS feed")