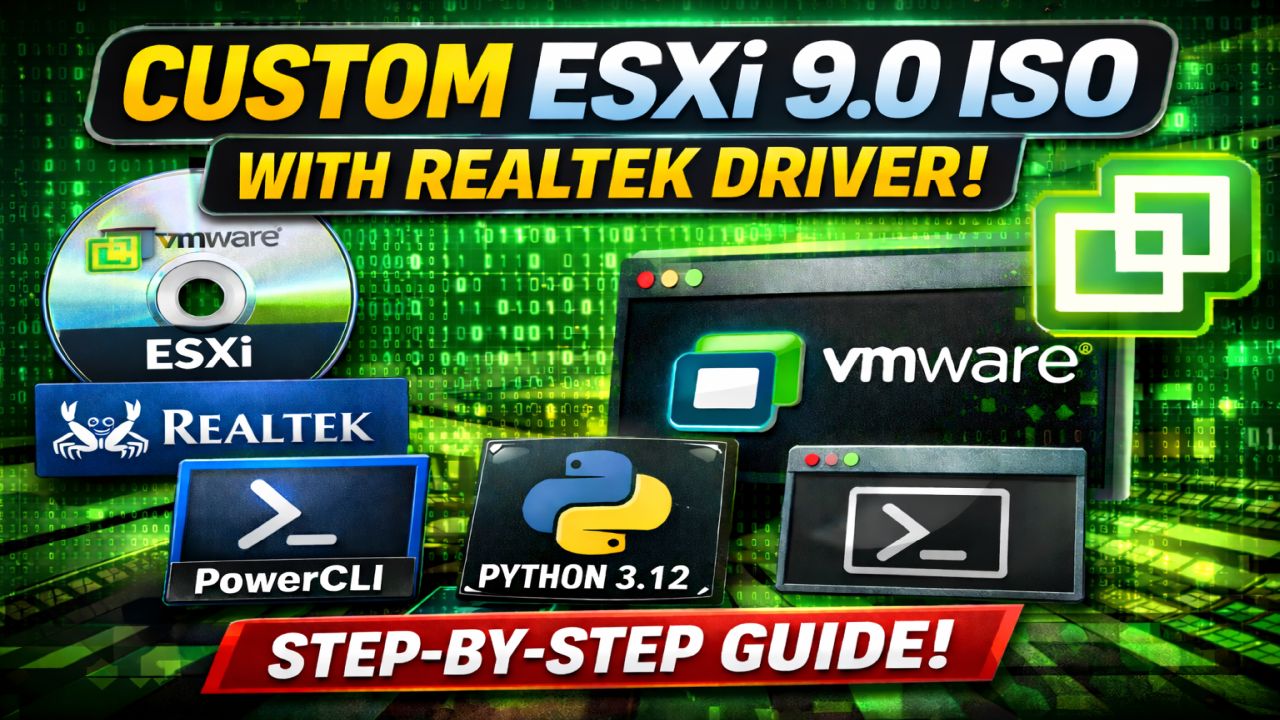
HOW TO: Create a Custom VCF 9.0 VMware ESXi 9.0 ISO with Realtek Driver (PowerCLI)
Author: Andy – Andysworld.org.uk
Good news for homelab enthusiasts! We finally have a working Realtek network driver for ESXi 9.0. In this guide, I’ll show you step-by-step how to create a customised VMware ESXi 9.0 ISO for VCF 9.0 with the Realtek driver injected (slipstreamed) using PowerShell 7 and VMware PowerCLI.
Why This Matters
If you’re running ESXi in a homelab environment using consumer hardware, Mini PCs, or whitebox builds, Realtek NIC support has historically been a challenge. With the latest Realtek driver available, we can now build a custom ESXi 9.0 ISO that works perfectly in lab environments.
This process allows you to:
- Inject the Realtek driver into the ESXi 9.0 image profile
- Create a bootable ISO installer
- Export an offline ZIP bundle
Important Disclaimer
ESXi 9.0 depot files require a valid Broadcom contract. I do not distribute depot files, customised ISOs, or any Broadcom software. Please obtain required files through official channels.
Prerequisites
- PowerShell 7
- VMware PowerCLI (latest version)
- Python 3.12
- VMware ESXi 9.0 Depot ZIP
- VMware Realtek Driver ZIP
Method 1 – Manual Image Build (PowerCLI)
Step 1 – Load the ESXi Depot
Add-EsxSoftwareDepot .\VMware-ESXi-9.0.0.0.24755229-depot.zipStep 2 – Load the Realtek Driver Depot
Add-EsxSoftwareDepot .\VMware-Re-Driver_1.101.01-5vmw.800.1.0.20613240.zipStep 3 – List Available Image Profiles
Get-EsxImageProfile | Select NameStep 4 – Clone the Standard Profile
$newProfile = New-EsxImageProfile `
-CloneProfile 'ESXi-9.0.0-14755229-standard' `
-Name 'ESXi-9.0.0-14755229-standard-Realtek-nic' `
-Vendor "Andysworld.org.uk"
Step 5 – Inject the Realtek Driver
Add-EsxSoftwarePackage -ImageProfile $newProfile -SoftwarePackage "if-re"Step 6 – Export the Custom ISO
Export-ESXImageProfile -ImageProfile $newProfile -ExportToIso -FilePath "$($newProfile.Name).iso"Step 7 – Export the Offline Bundle
Export-ESXImageProfile -ImageProfile $newProfile -ExportToBundle -FilePath "$($newProfile.Name).zip"Step 8 – Verify Output
dirYou should now have both a customised ISO and ZIP bundle ready for deployment in your homelab.
Method 2 – Scripted Approach
If you prefer automation, you can use a PowerShell script to perform the entire process in one go. The script automates:
- Loading depot files
- Cloning image profiles
- Injecting the Realtek driver
- Exporting ISO and ZIP bundles
This method is ideal for repeat builds or lab rebuilds.
Who Is This For?
- Homelab enthusiasts
- VMware learners
- Mini PC / Whitebox ESXi users
- VCF 9.0 lab deployments
This guide is intended for lab and educational use only, not production environments.
Final Thoughts
Creating a custom ESXi image is a valuable skill for anyone running a VMware homelab. With the Realtek driver now available for ESXi 9.0, lab builders can continue using affordable hardware while staying current with VMware releases.
If you found this guide helpful, check out more VMware content here at Andysworld.org.uk.
![[Valid RSS]](http://andysworld.org.uk/images/valid-rss.png "Validate my RSS feed")