 Climbing the ladder, slowly….
Archive for February, 2013
No.22 @ExpertsExchange
Thursday, February 28th, 2013No Added Shergar! – Fish Pie Packs – Scott’s of Pocklington
Tuesday, February 26th, 2013 🙂
🙂
HOW TO: Connect to the VMware vSphere Hypervisor 5.1 (ESXi 5.1) using the vSphere Client
Tuesday, February 26th, 2013In my previous VMware Articles, most featured Intermediate VMware Topics. My next series of articles will concentrate on topics for the VMware Novice; this is the second article in this series.
In this series of basic VMware articles for the Novice, I’ll be showing you the basic VMware skills required to install, configure and deploy virtual machines using VMware’s FREE VMware vSphere Hypervisor (ESXi).
This article will show you how to connect and complete some basic configuration of the VMware vSphere Hypervisor 5.1 on a computer. VMware vSphere Hypervisor 5.1 is also known as ESXi 5.1.
If you have missed the first article in the series, it’s here: HOW TO: Install and Configure VMware vSphere Hypervisor 5.1 (ESXi 5.1)
- 1
-
Download Tools to Manage the ESXi Host Server
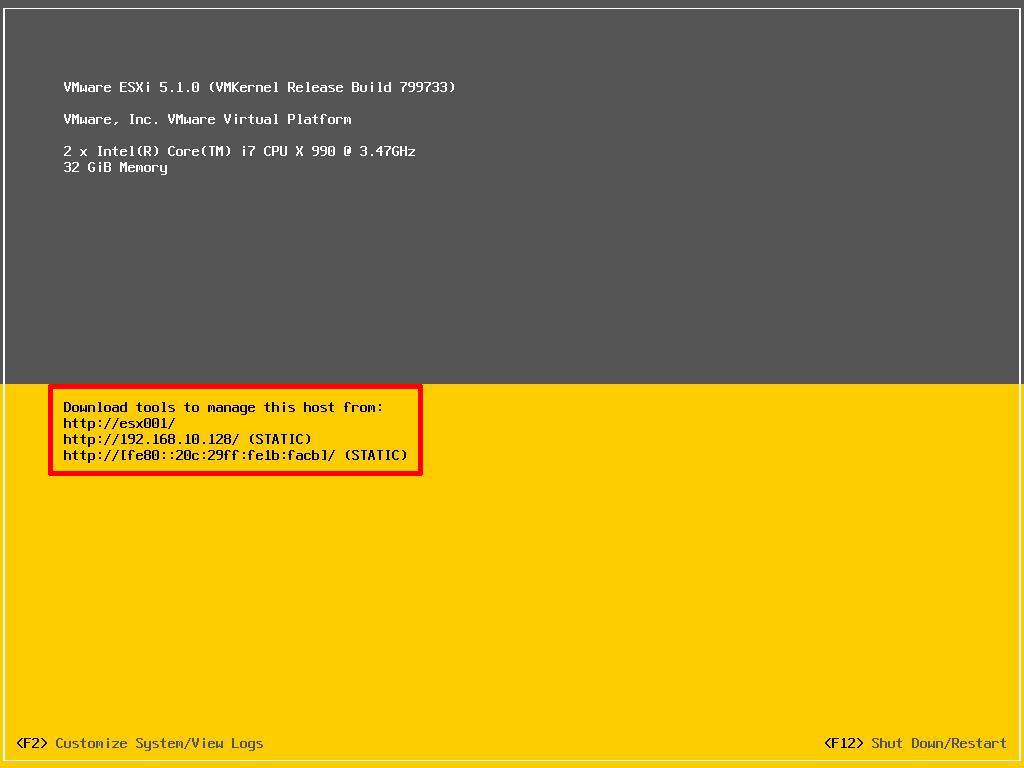
When the VMware vSphere Hypervisor (ESXi 5.1) server is fully BOOTED and started the above screen is displayed. This screen is called the Direct Console User Interface (DCUI). The majority of the management is performed remotely from another Windows computer using software tools called the VMware vSphere Client. You cannot manage or install virtual machines from the ESXi 5.1 server console; this must be completed remotely from another computer.
You can obtain the VMware vSphere Client software package (VMware-viclient-all-5.1.0-786111.exe) from the VMware website, as detailed in the first article of this series:
HOW TO: Install and Configure VMware vSphere Hypervisor 5.1 (ESXi 5.1) or you can download the software from the VMware vSphere Hypervisor (ESXi 5.1) .
Make a note of the IP Address of the server which is displayed on the console, and using a web browser, browse to the web URL http://192.168.10.128. (This is the IP Address displayed on the console screen; your IP address will be different).
The following screen will be displayed, because VMware’s SSL certificate has been “self-signed” the warning is normal. Click Continue to this website. In this example we are using Internet Explorer 10.

After clicking continue, the Welcome to VMware ESXi 5.1 screen will be displayed:
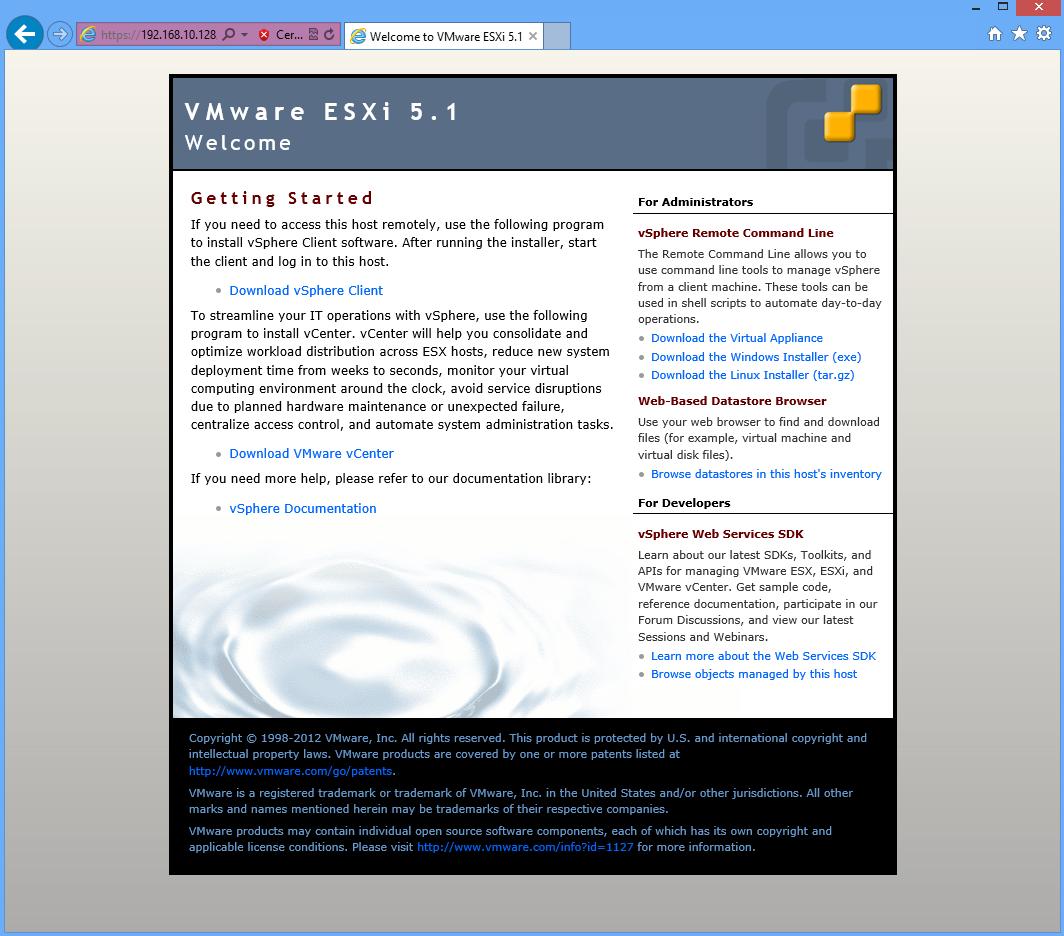
Click Download vSphere Client
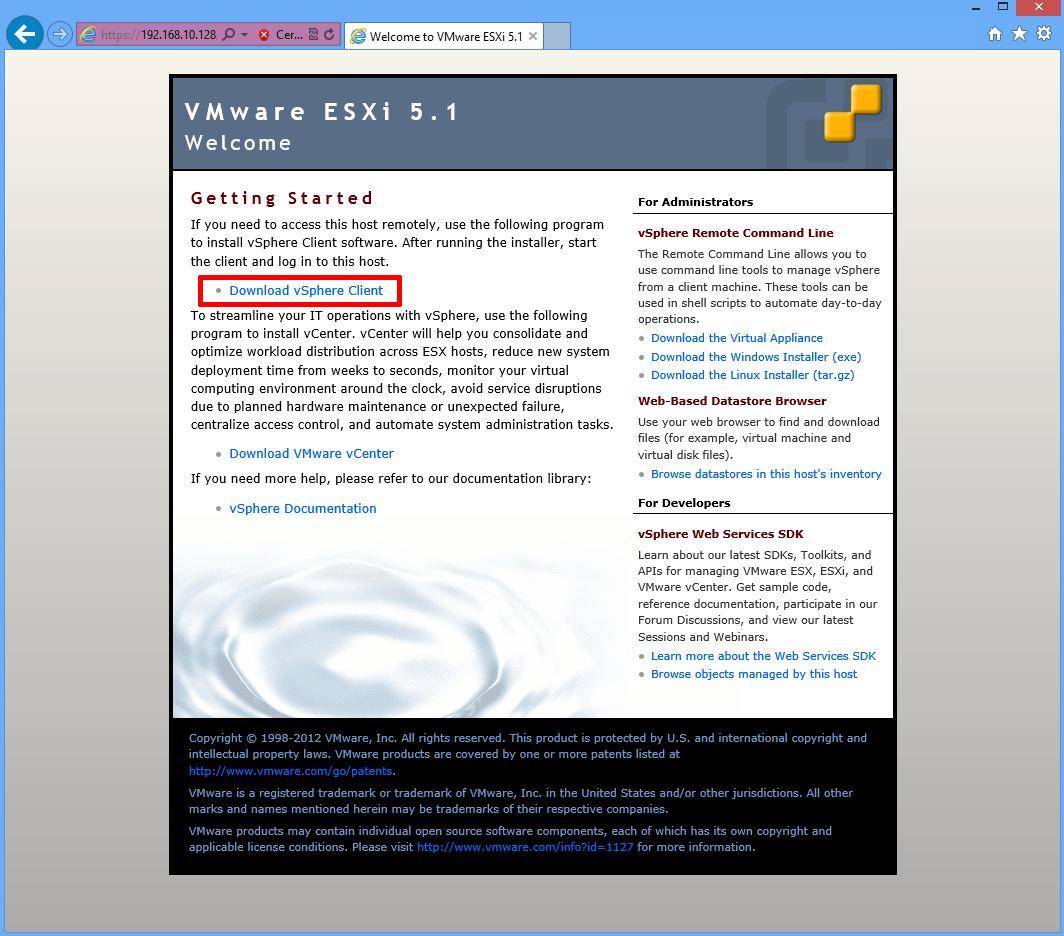
This link used to download the vSphere Client from the ESXi Host server, but has recently been replaced to a VMware Link (http://vsphereclient.vmware.com/vsphereclient/7/8/6/1/1/1/VMware-viclient-all-5.1.0-786111.exe), so you can either download direct from VMware, or find the link through your ESXi 5.1 server. This does test that your ESXi 5.1 Host basic networking is working correctly.
For the sake of this article, we are going to download the vSphere Client from VMware, using the web link included on the Welcome to VMware ESXi 5.0 page. At the following prompt click Save.

Depending upon your Internet download speed, this can take between two and 30 minutes, as it is approximately 350MB in size.
- 2
-
Installing the VMware vSphere Client
Once the download has been completed click Run. The setup files will be extracted, and the VMware vSphere 5.1 Client InstallShield Wizard will appear.
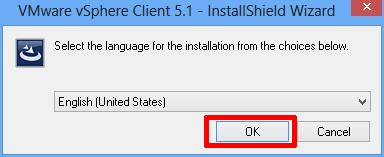
Click OK to Continue. The following Welcome screen will appear, Click Next to Continue.
That is followed by Next to Continue on the End-User Patent Agreement screen

Select “I agree to the terms of the license agreement” on the VMware End User License Agreement screen and Click Next to Continue.

Select the Destination Folder. We recommend the Default location C:\Program Files (x86)\VMware\Infrastrucuture\ followed by Next to Continue. (The VMware vSphere Client in this Tutorial is being installed on a 64-bit version of Windows, so this is the reason for the x86 reference. Your location could read C:\Program Files\VMware\Infrastrucuture\).

Click Install to Continue at the Ready to Install the Program screen

Click Finish to Complete the installation of the VMware vSphere Client.

- 3
-
Connecting to the VMware vSphere Hypervisor ESXi 5.1 server
Click the VMware vSphere Client icon on your computer Desktop, or click Start > Programs > VMware > VMware vSphere Client icon
![]()
Using the VMware vSphere Client, login and connect to the VMware vSphere Hypervisor ESXi 5.1 server, using the IP address or hostname of the ESXi server, using the root username and password credentials.
In this tutorial the IP address of the ESXi 5.1 server is displayed on the console in Step 1. The IP address is 192.168.10.128. Enter the IP address, and username root, followed by the password. Click Login.

A Security Warning will appear, stating an untrusted SSL certificate is installed on your server. This is normal, because it’s a VMware “self-signed” certificate and can be replaced. (We will cover this in a later article in the series). Click Ignore and Tick the box to Install.

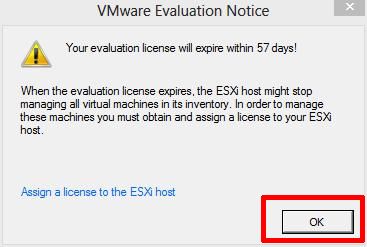
Click OK to acknowledge the VMware Evaluation Notice
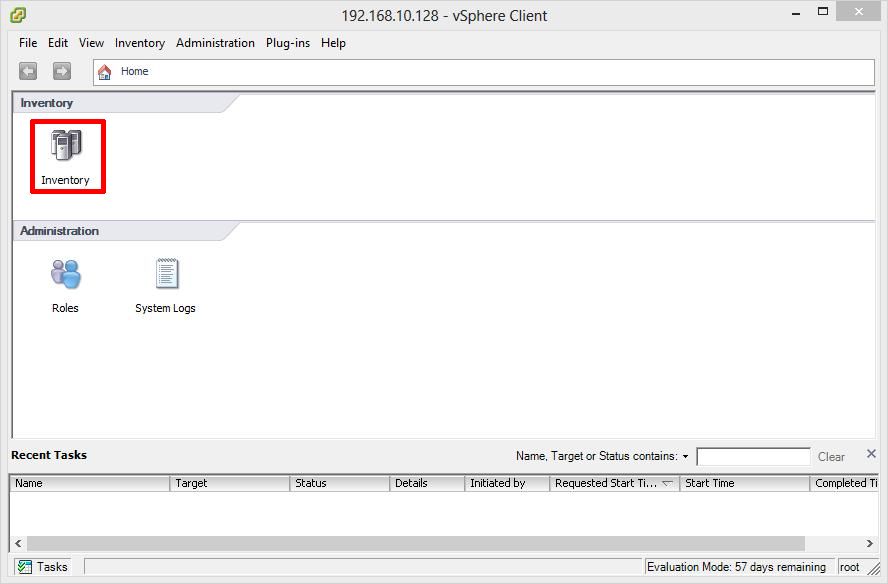
You are now connected to the VMware vSphere Hypervisor ESXi 5.1 Server. Click the Inventory icon, to see the server’s Inventory.
The following Inventory is displayed. You will notice it states The ESXi host does not have persistent storage. To store virtual machines (often referred to as Guests or VMs, the VMs must be stored and reside on an ESXi host datastore. The VMware vSphere Hypervisor ESXi server has a compatible filing system called VMFS (similar to Microsoft Windows NT/2000/XP/2003/2008/2012/7/8, which has its own filing system called NTFS). There are two versions of VMFS: VMFS-3 for earlier versions of vSphere e.g. 3.x and 4.x, and WMFS-5 for vSphere 5.x.
- 4
-
Conducting a simple task using the VMware vSphere Client
In this step, we will complete a simple task using the vSphere Client, this task is to Create a new VMFS datastore, so we can store VMs. This is the minimum configuration requirement for your ESXi host.

Click “Click here to create a datastore…”
At the Add Storage screen select Disk/LUN followed by Next to Continue, personally we feel the dialgoue box should be called Add New Storage e.g. it’s storage which has never been allocated or presented for use with a VMware server.

At the next screen select the actual Disk or LUN, pay special attention to the sizes shown. The size should match the size of disk, LUN or array size you have created for your VMFS datastore, followed by Next to Continue. In this tutorial we are going to select the 40GB Disk/LUN, the first entry in the list.

At the VMFS file system version select VMFS-5. Only select VMFS-3 if you require mixed-mode support with versions of ESX/ESXi less than 5.0. Click Next to Continue.

The Current Disk Layout will be shown. If this is a used disk, it could show other partition types. (NTFS, FAT32, Linux, Swap, ext2, ext3) Click Next to Continue. This is a new disk in this tutorial, so A new partition will be created and used.

At the next screen enter the name for the datastore (do not use / \ * # ! @ (non-alpha numeric characters); it will accept them, but you will have issues later. The dash and underscore are okay.) followed by Next to Continue

There are many different types of naming conventions. We like to use name of the server followed by underscore (_) local for local disk, iscsi for iscsi disk, nfs for nfs storage, fibre for fibre channel, a number to indicate disk or LUN id number, followed by VMFS type, e.g. 3 or 5. For example: esxdev009_local1_vmfs5

At the Disk/LUN – Formatting screen, select Maximum available space, and click Next to Continue.

Check the Summary screen for the datastore you are about to create and Click Finish to create the datastore.

You are now ready to use your ESXi server.
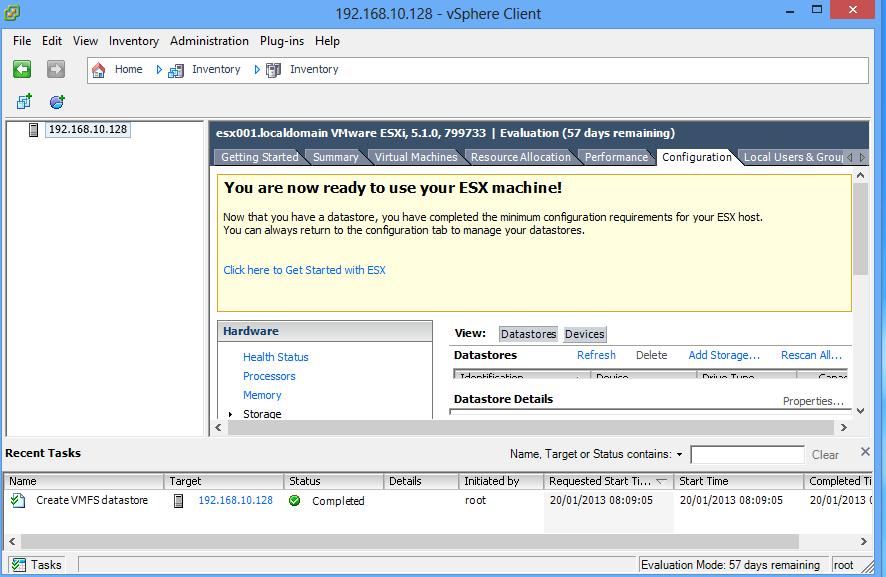
Congratulations you have successfully installed the VMware vSphere Client, Connected to your VMware vSphere Hypervisor 5.1 server, and Created your first VMware VMFS-5 datastore ready to store Virtual Machines.
In the next article in the series, we will connect and continue to configure the VMware vSphere Hypervisor 5.1.
No.23 @ExpertsExchange
Tuesday, February 26th, 2013 Climbing up the ladder…..
No.24 @ExpertsExchange
Tuesday, February 26th, 2013 Just as I was typing this, I’m now No.23@ExpertsExchange
Puzzled by a distorted, bent Mac Book Pro case?
Friday, February 22nd, 2013I discovered today, an Apple Mac Book Pro laptop would not sit flush on my desk, it had a “wabble”, I turned it over, expecting to find one of the rubber feet missing, to discover the case was distorted and bent!

The user went to make enquiries as to whether any of his work colleagues, had dropped his Apple Mac Book Pro, whilst he was away from his desk, in conversation with me. Nobody in his office, reported to him, they had dropped his Apple Mac Book Pro, later whilst installing Apple Mountain Lion, the laptop went bang, it still remained working, but the install failed, it re-installed fine.
the cause of the distorted case, was later to be found on removal of the case…

faulty battery, notice the bulge on the battery, this has caused the case to distort!
Andy’s Google Nexus 4
Tuesday, February 19th, 2013time to move on…and enter the 21st Century
I already have an iPad1, Amazon Kindle Fire (which has a customized version of “Amazon Android”), I wanted something different, rather than a common iOS based iPhone 4 or iPhone 5.
enter the Google Nexus 4
So, I’ve recently purchased a Google Nexus 4.


(it’s also got the same name as the off-world Replicants in my favourite film!)
and the Nexus 4 is brilliant, time to cash in Apple shares!
I’m currently testing GiffGaff network based on O2, which at present (18 Feb 13), is the cheapest mobile network for truly Unlimited Data.
I usualy use Three (3) for my iPad, MiFi and laptops, but Three (3) is getting expensive.
Andy’s Mobile Phone Collection and History (1992 – Almost Present!)
Monday, February 18th, 2013
This has been a blog, I’ve been working on for the last month, that has been marked as Draft, and I could not publish until now, because Lindsey also reads my blog, and this topic conceals a little secret!
These are most of the mobile phones I’ve owned and used. It’s a very modest collection of mobile phones compared to some mobile phone owners, that change phones every few months or years. – well I think so! (for a gadget minded, nerdy, IT Consultant!)
I first owned a Nokia 101, followed by a NEC P4, in 1992, (not displayed, they must be in a box somewhere), and then in 1994, purchased a Nokia 232 (far left in picture) from People’s Phone on the High Street. These were all GSM Analog phones.
In 1998, I upgraded to my first Digital phone which was a Nokia 5110, on Vodafone (not displayed, in another box!), later in 1999, I switched to Orange and purchased a Nokia 7110e (almost the Matrix phone!), one of the first WAP (Internet phones) using GPRS. Used Windows CE based Smartphones on O2 in 2004, with the XDA IIs and Windows Mobile 5 and 6 on the XDA Mini S, these were slow, small screens, had memory leaks, required daily reboots, and so I carried on using my faithful Nokia 7110e, in 2004, the students at a local school, use to mock me about the “brick of a phone I had”. In 2006, I needed a tri-band phone for holiday in Mexico/Cuba, so purchased a Nokia 6230i. I also acquired and tested a 3G phone, on Three’s Network, a LG U8120, and emergency phones I keep in the car the VX1.
So my current daily mobile phone is still a Nokia 6230i. (phone on the far right of picture)….until now…See Part II tomorrow.
No Sea-HorseMeat in Any Of Our FishCakes – Scott’s of Pocklington
Sunday, February 17th, 2013

Tom Heap from Countryfile, in Pocklington Costa Coffee – Pig Welfare!
Friday, February 15th, 2013I was in Pocklington late this afternoon, before an appointment with the quack, in the latest change to the Pocklington High Street, Pocklington moves into the 21st Centry, with it’s very own Costa Coffee! It’s been open approximately two weeks.
and Lindsey spotted Tom Heap from Countryfile, finishing a Coffee, with a soundman, and production assistant. They had BBC Countryfile paperwork, on leaving I asked the production assistant, what Countryfile article they were filming, and she said “Pig Welfare!”, I replied “you’ll be lucky to find any pigs around here with the decline in Pig Farming” in East Riding of Yorkshire, due to low pig meat prices, I think we may only have 1 or 2 local Pig farmers in the area now, and hard working farmers they are as well!
On the way back to my car, the film crew had a tripod in front of my vechile, whilst Tom, did a walk towards camera….


so, tune into Countryfile this weekend!
![[Valid RSS]](http://andysworld.org.uk/images/valid-rss.png "Validate my RSS feed")